Last year I decided that for a friend's birthday I'd paint him a Gargant. He already has a couple of each of the main types of Ork gargants, so for it to be special, it had to be something new.
The Feral Ork Steam Gargant seemed to fit the bill - a nice model, reasonable price, but
most importantly Well Orky!

After the parts were sanded, filed, trimmed, washed and prepped, the main body of the Gargant
was assembled using superglue. The weapons and tracks weren't attached to make them easier to
paint: instead, I glued them to cocktail sticks so that they could be held without touching the paint.

I also made a slight customisation, by adding a combined banner pole/observation tower, attached to the back of the miniature. The pole is an old aluminium "blind" rivet: I keep a bunch of them because the joint at the base makes them look great as banner poles. At the top of the pole is a plastic
turret from an unfinished Mega Gargant.
I drilled out the barrels of the guns and the flues of the smokestacks: it's a simple job but it adds that touch of professionalism.

I took one look at where the the Gut-Buster cannon was supposed to be mounted and realised that it wouldn't last very long if it was just glued, so I drilled holes in the two parts and used a small
piece of cocktail stick as a dowel to attach them to each other.

Next, everything was given a nice, even coat of Chaos Black undercoat. I normally do it in two stages: I try to cover 80% of the miniature in the first coat, then I take it inside so that I can see
where I've missed (bright sunlight can obscure the thin patches), and then take it out to cover the remaining 20% in the second coat.

Once the undercoat was dry I gave the whole miniature a heavy dry-brushing with Bolt Gun Metal. The intention here isn't to give it a light coat - when it's done it almost looks like it's gone back to
bare metal. But the black undercoat shows through in the crevices and depressions, which is what we really want.

Then I gave the main chassis a coat of chestnut ink wash. I startedout with a 75% solution but quickly realised that it was better to use pure in wash instead. I also washed the wheels and suspension on
the tracks, but left the treads untouched. I gave the same treatment to the weapons, leaving the blade of the Choppa in Bolt Gun Metal.

The next stage is to dry-brush the miniature with several shades of Grazen Brass mixed with Mithril Silver, going from almost pure brass to almost pure silver. This is the pay-off really - all the
previous work is really in preparation for this moment, when the intended effect finally shows through. Then I painted in the essential details, colouring a few panels in bright red and yellow to
indicate that they'd been patched up from other machines, and painting the piping in red or brass.

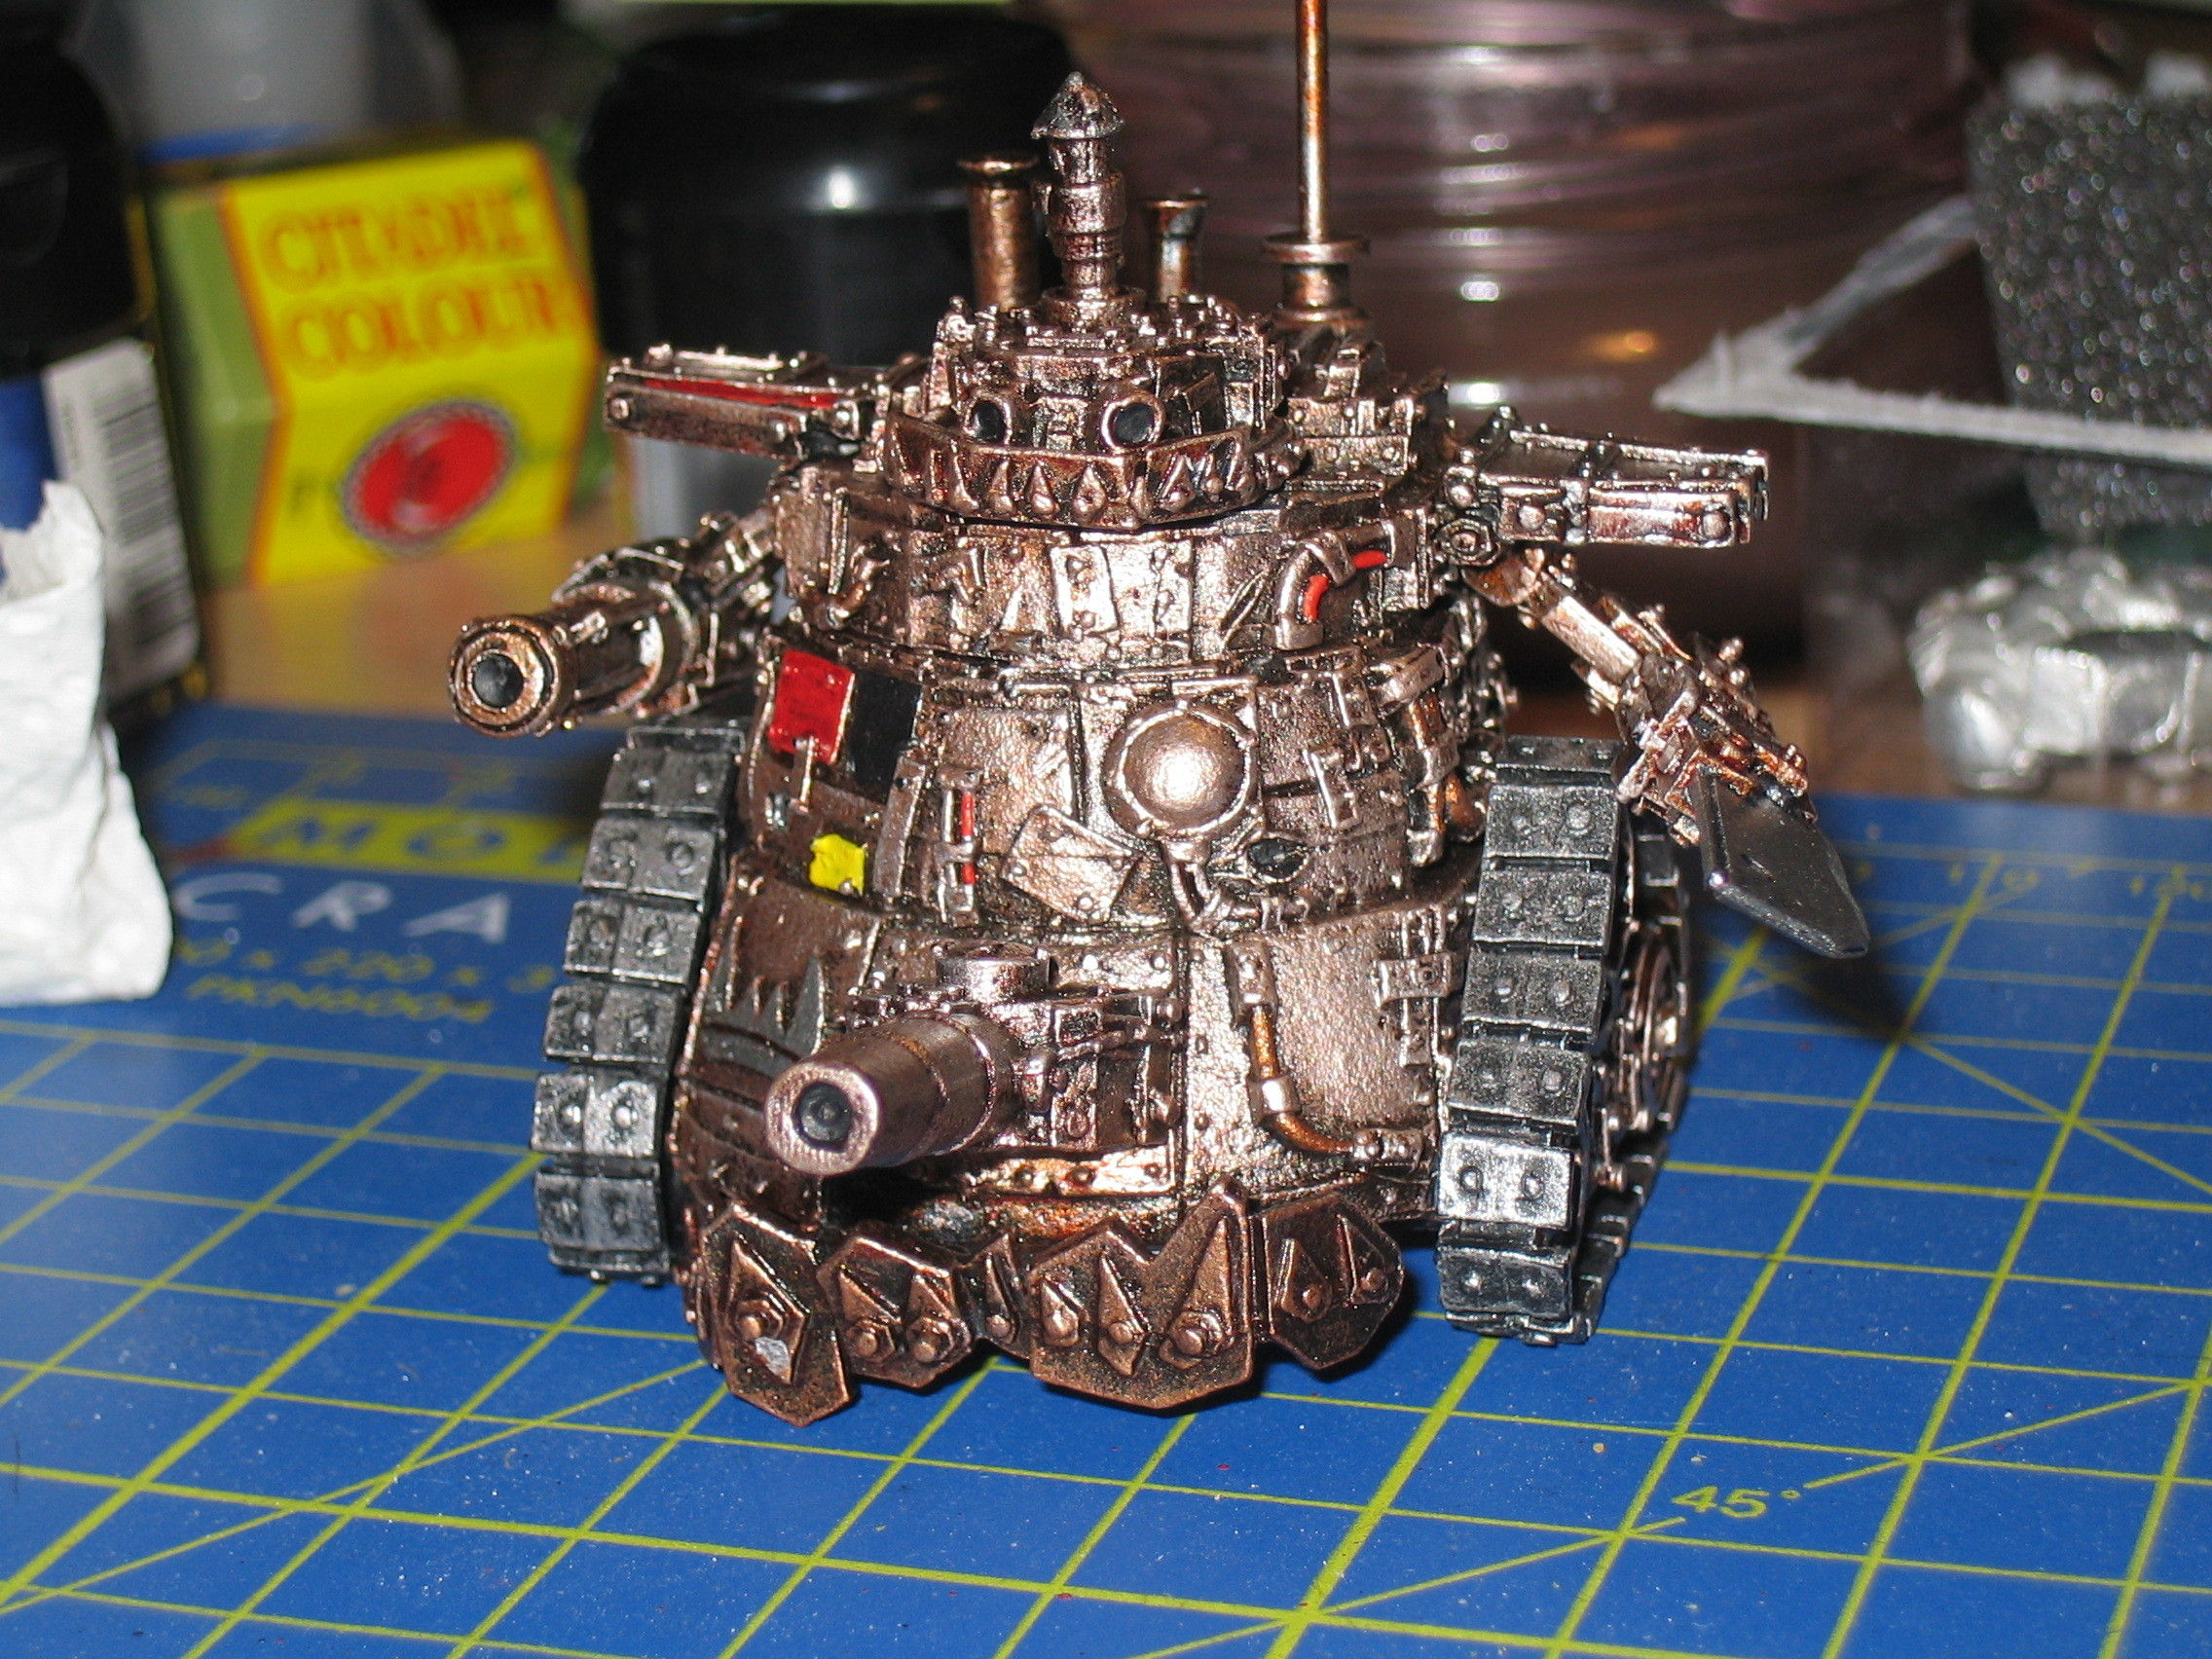
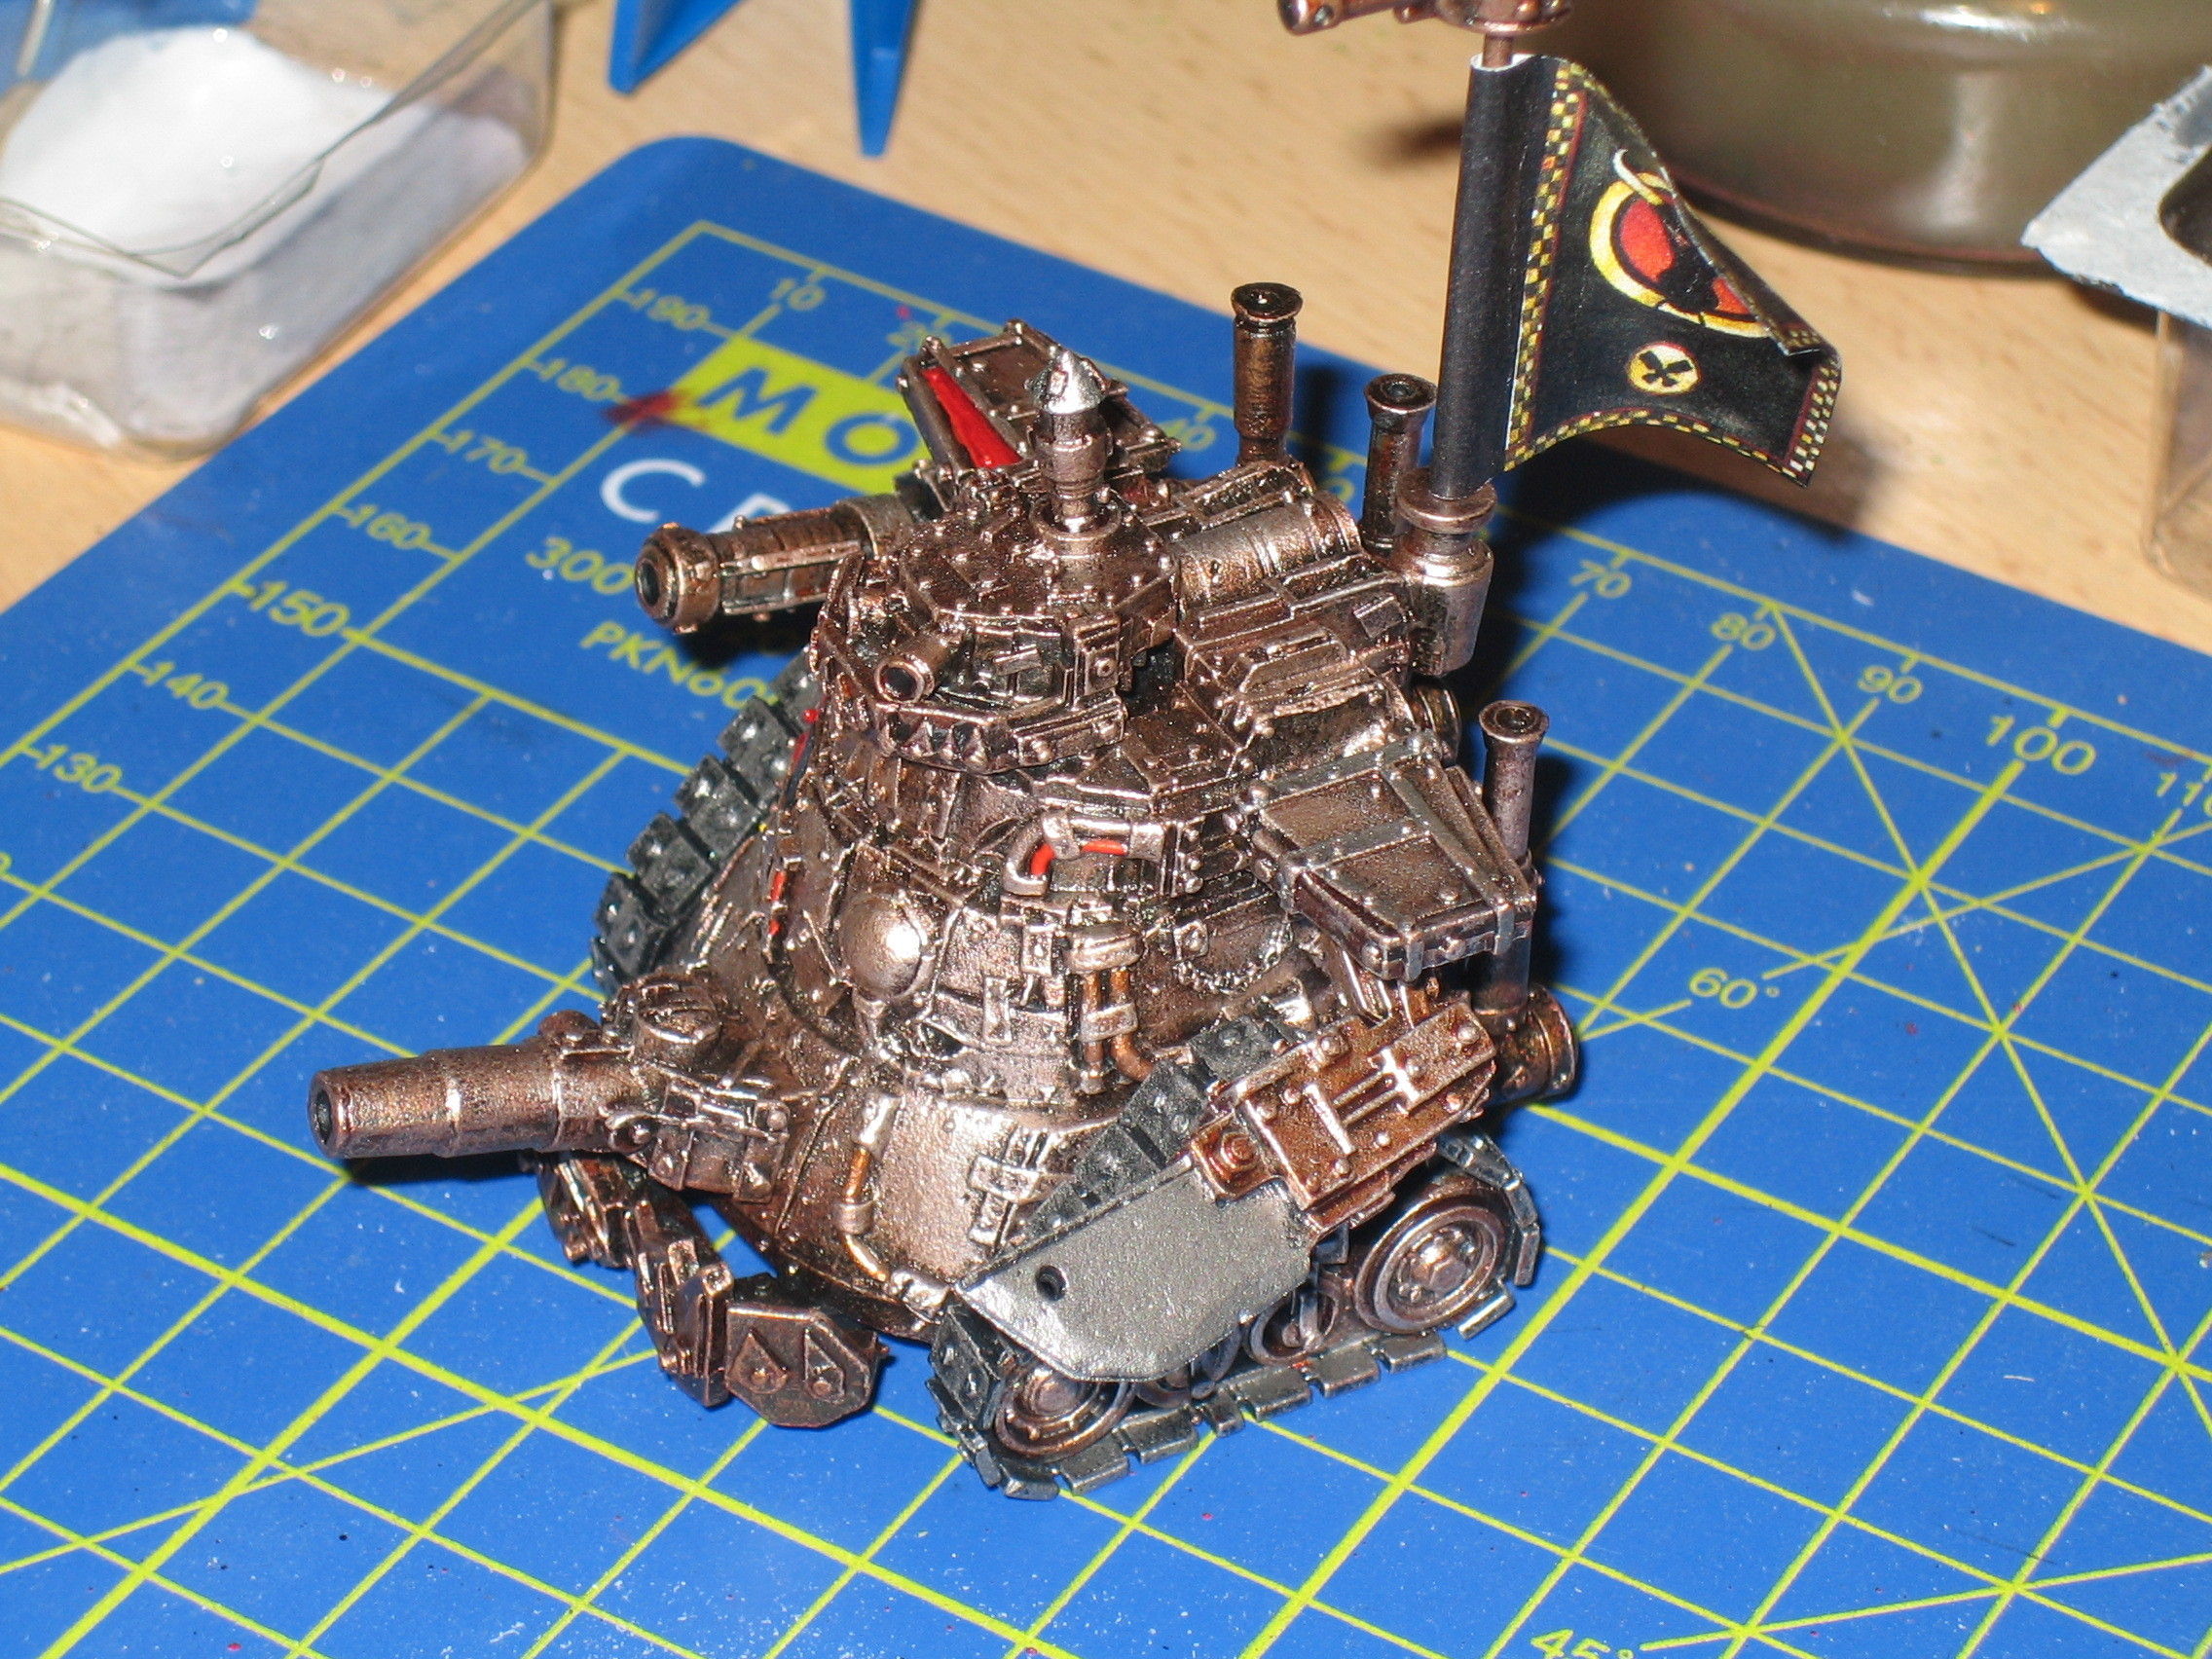
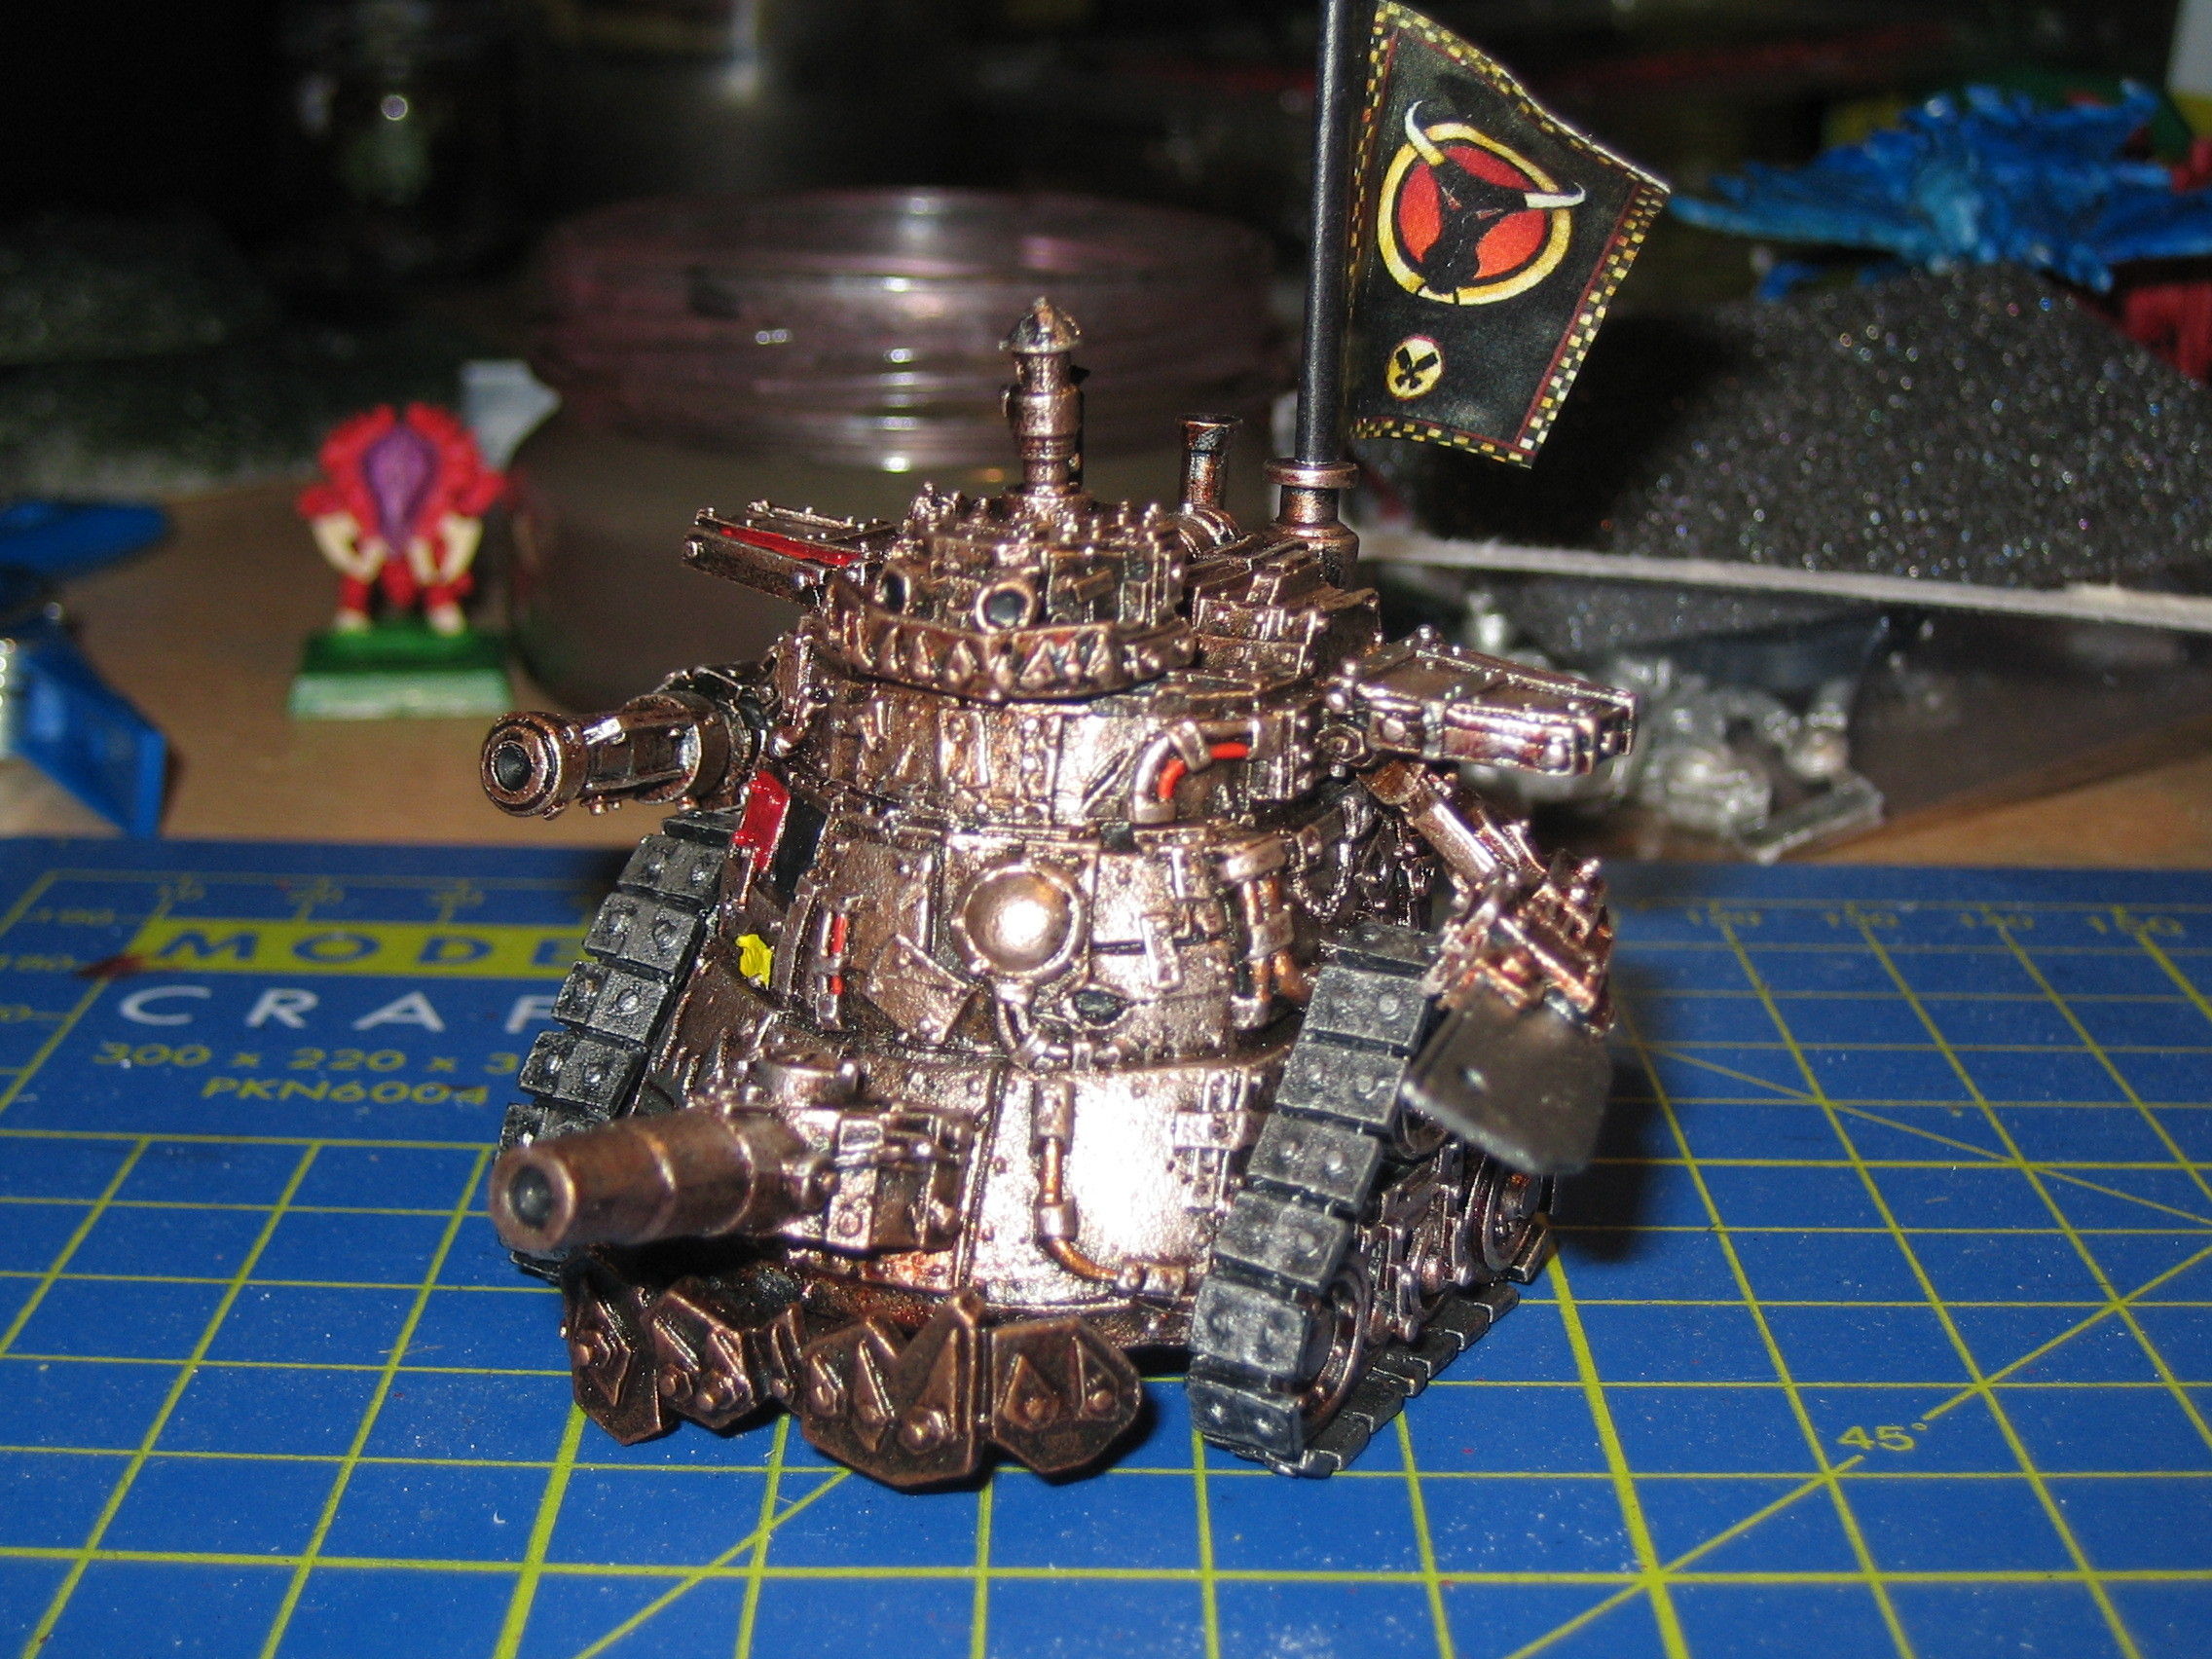
Finally, the Gargant can be assembled: I needed to sand off some of the paint to give the superglue good metal surfaces to bond to. And it's done! The only remaining task was to use a colour laser printer to produce a banner for the banner
pole, and attach it using PVA to glue the two sides of the baner together (I also touched up the edges of the banner with black).
Here are some pictures of the finished miniature: