As with the Leviathan, the legs are definitely the trickiest part of the model, and you need to take a lot of time testing out positioning. The general procedure is: measure twice, then measure again, then check on the Internet to see if anyone else has done it the same way, then measure again, then cut!
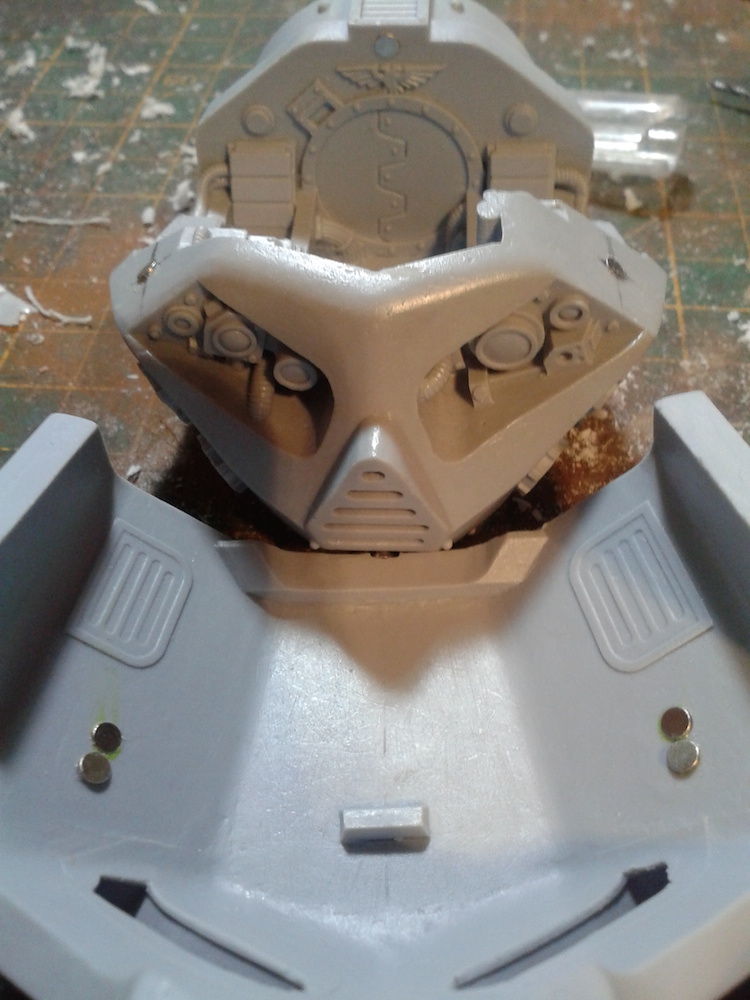
One innovation that I haven't seen anyone else write about is the magnetisation of the "helmet", or the roof of the Titan's head. I did this by drilling holes in the appropriate places (you'll notice that I had to do this a couple of times before i got it right) and inserting 3mm magnets that I bought from Gladius Game Arts.
Most of the leg and pelvis of the Titan has now been primed black, and the superstructure will then be sprayed using Army Painter chain mail. I tried a variety of white metal Vallejo model air paints but decided that none of them looked right over a black primer.
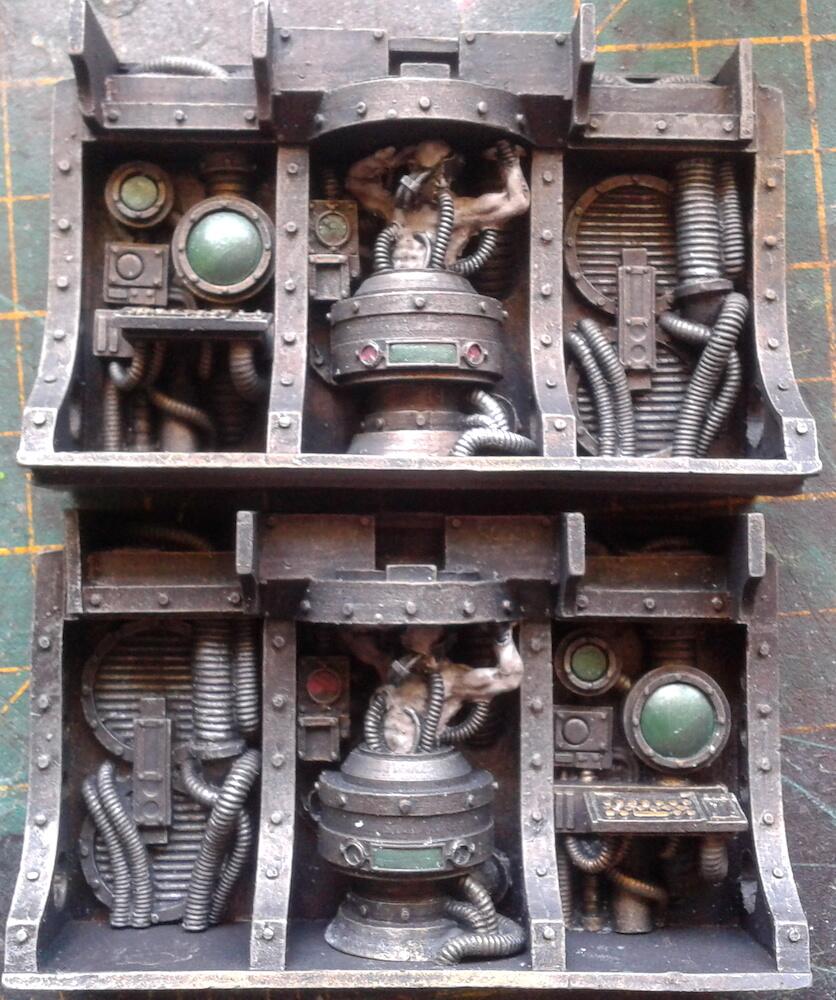
I've finished some of the interior parts: here are the wall panels that will sit inside the Titan's body:
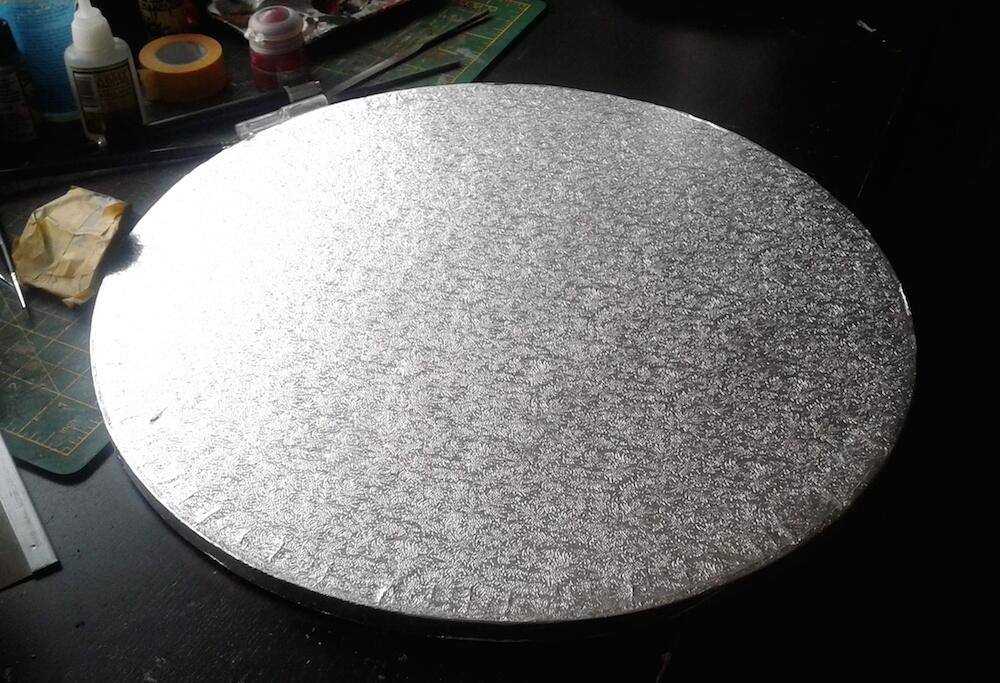
I also have plans to give the Titan a base, although it would probably be fairly impractical to use it for gaming, so it's probably just going to be for display purposes. I found a 36cm-diameter cake base which looks like it will do the trick:
As I should probably have expected, I've made a few mistakes along the way, the most annoying of which was the realisation that I'd glued this plasticard logo onto the knee pad upside-down!
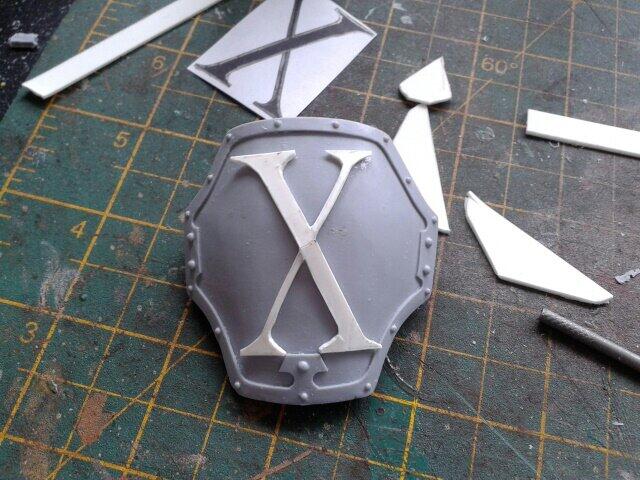
In the process of removing it I caused a fair bit of damage to the surface of the knee pad which I then made worse through clumsy application of a rotary tool. So exactly how I fix that will be the subject of a future post.
More to follow!