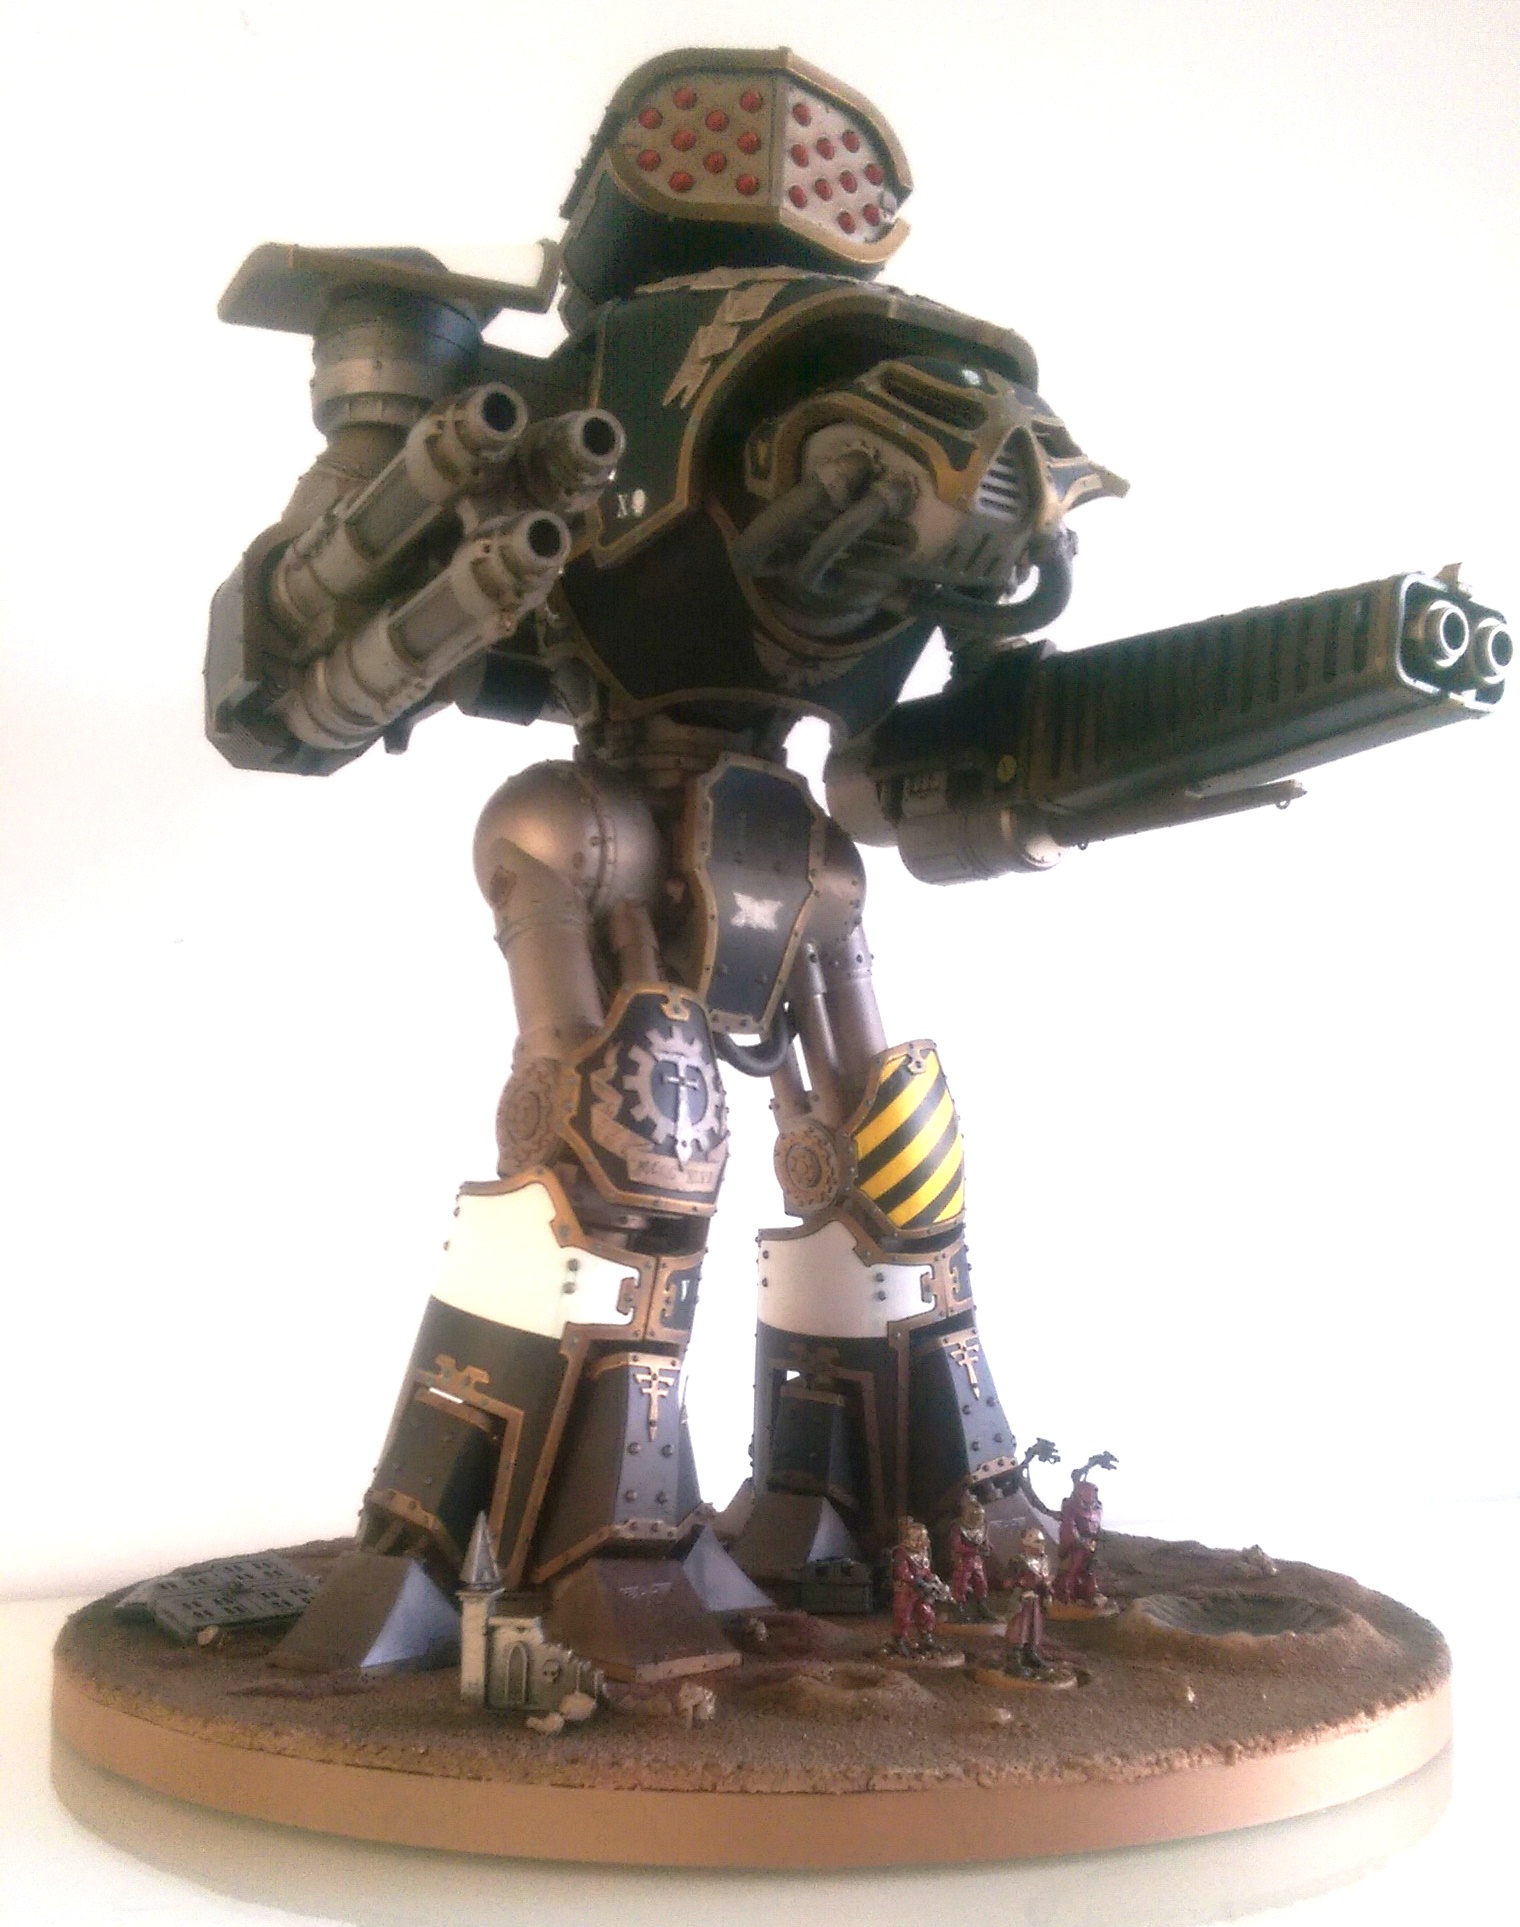
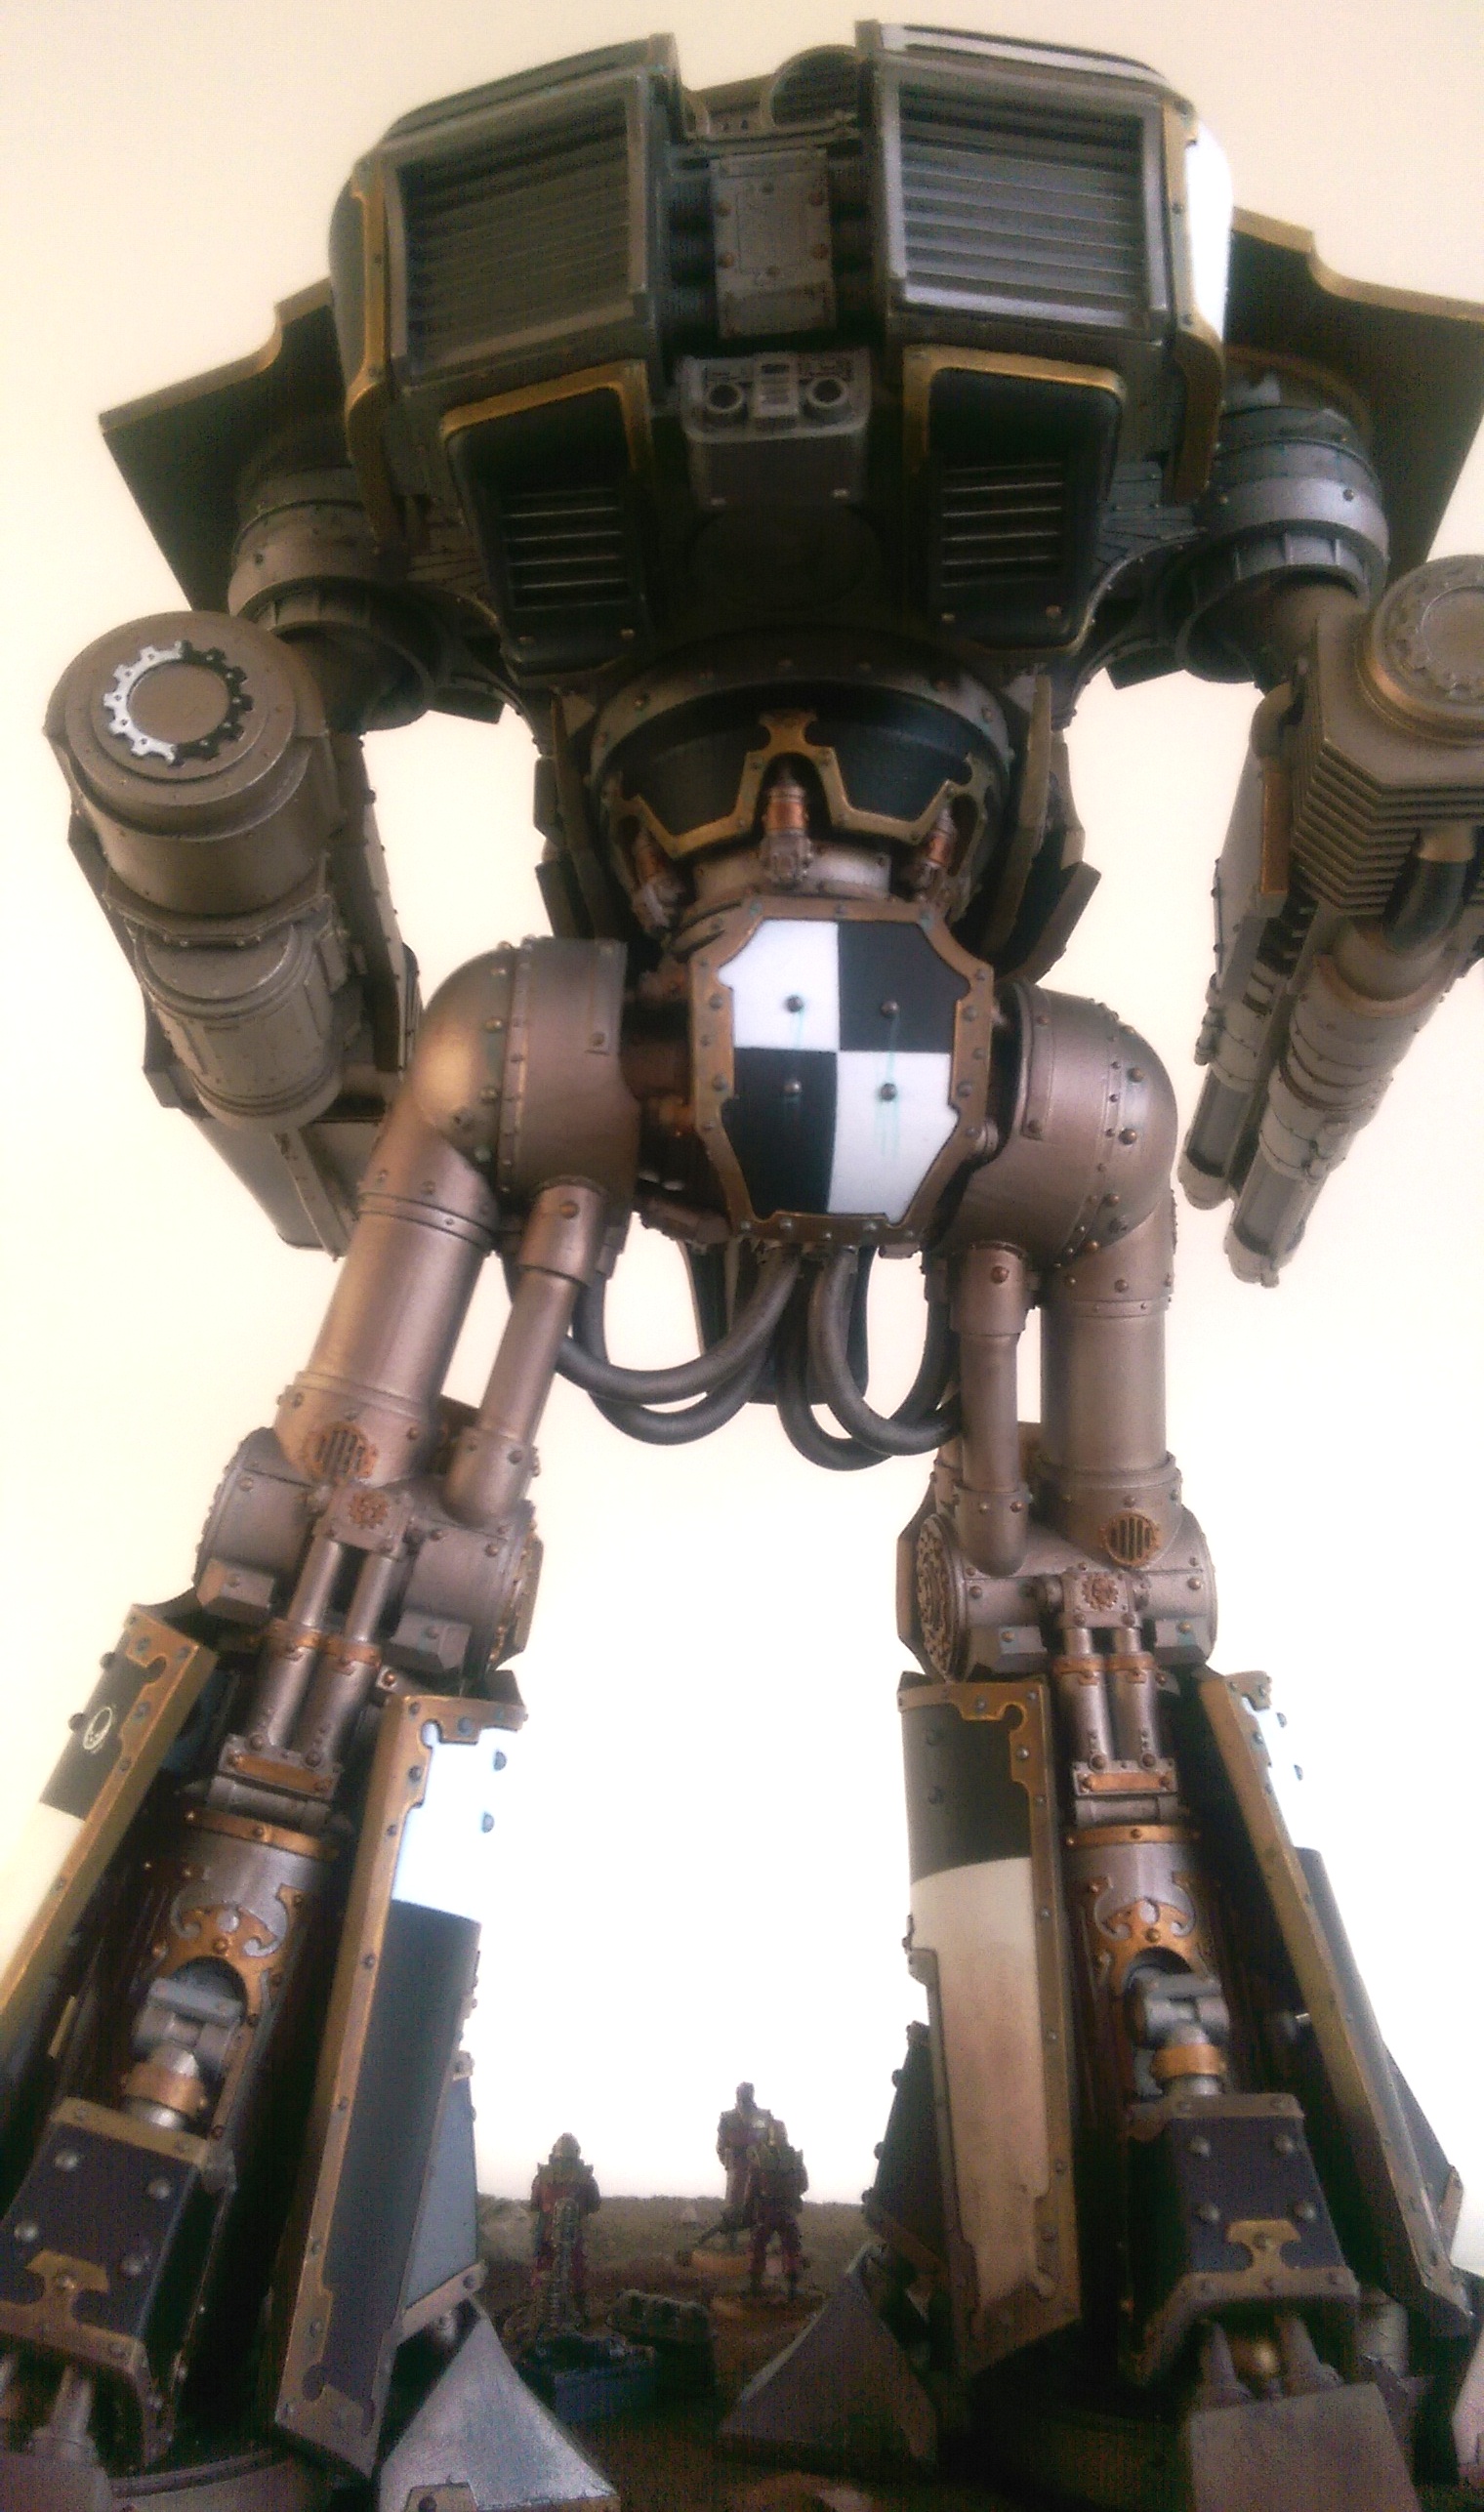
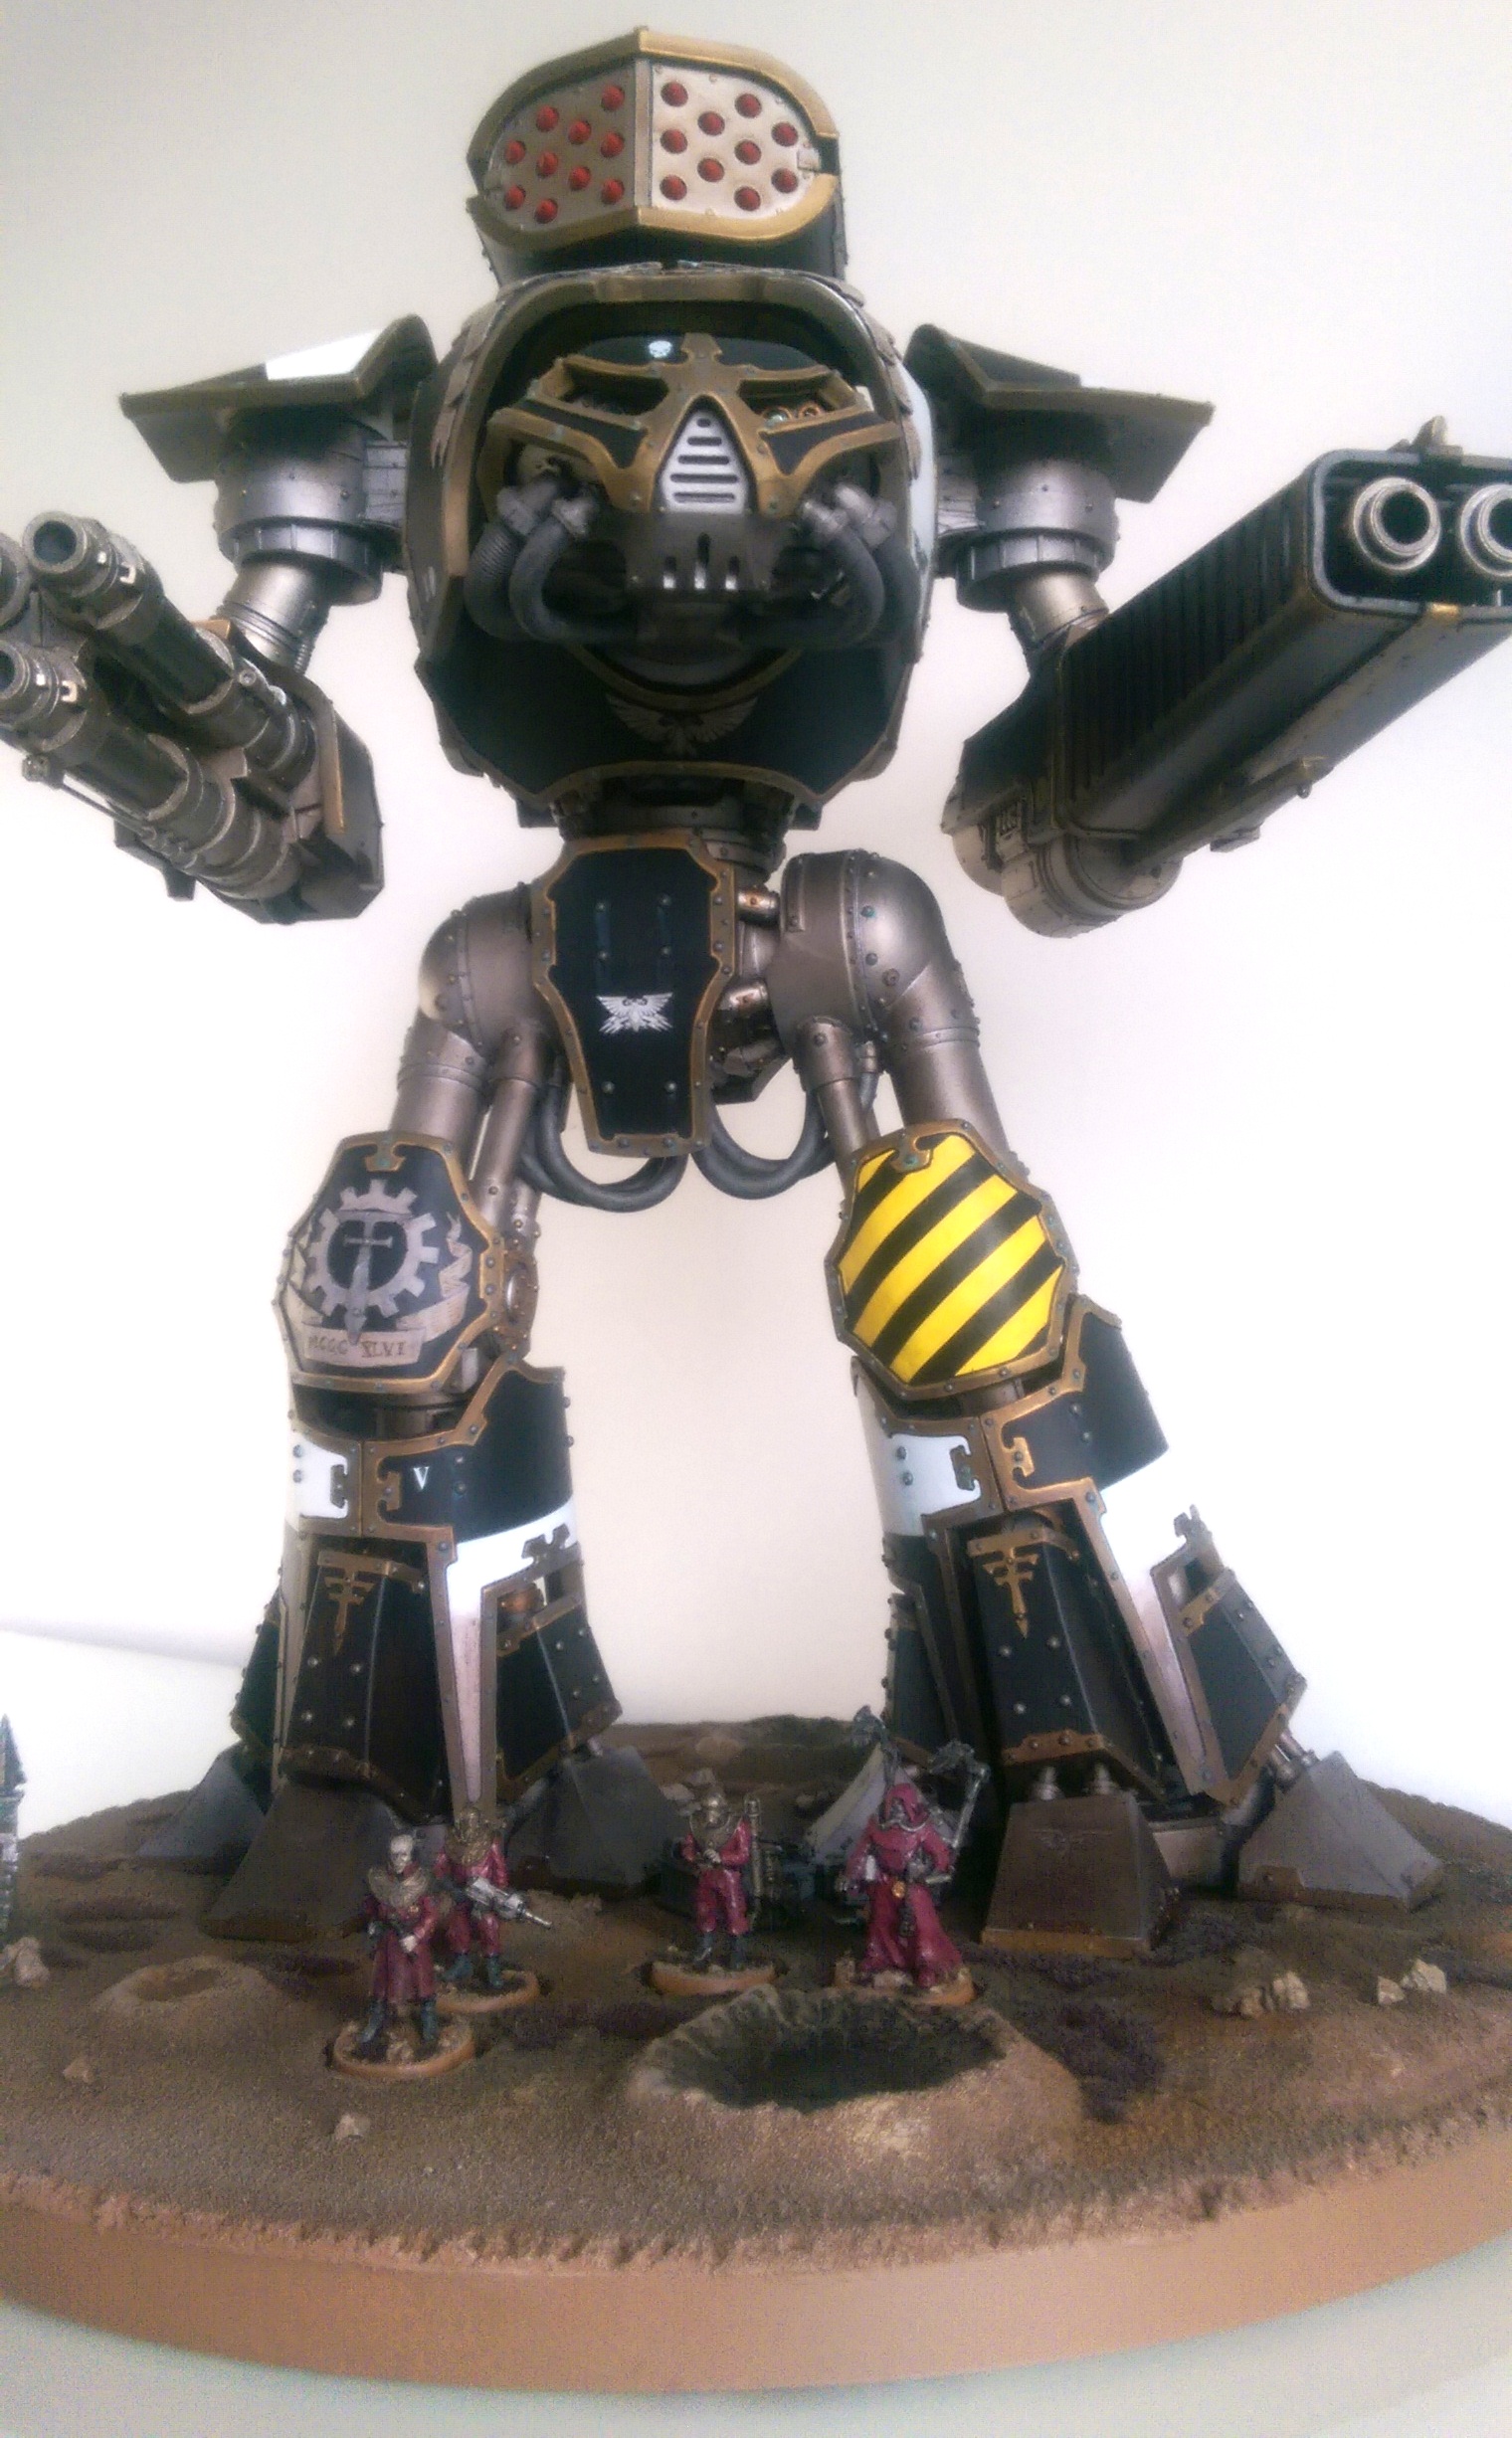
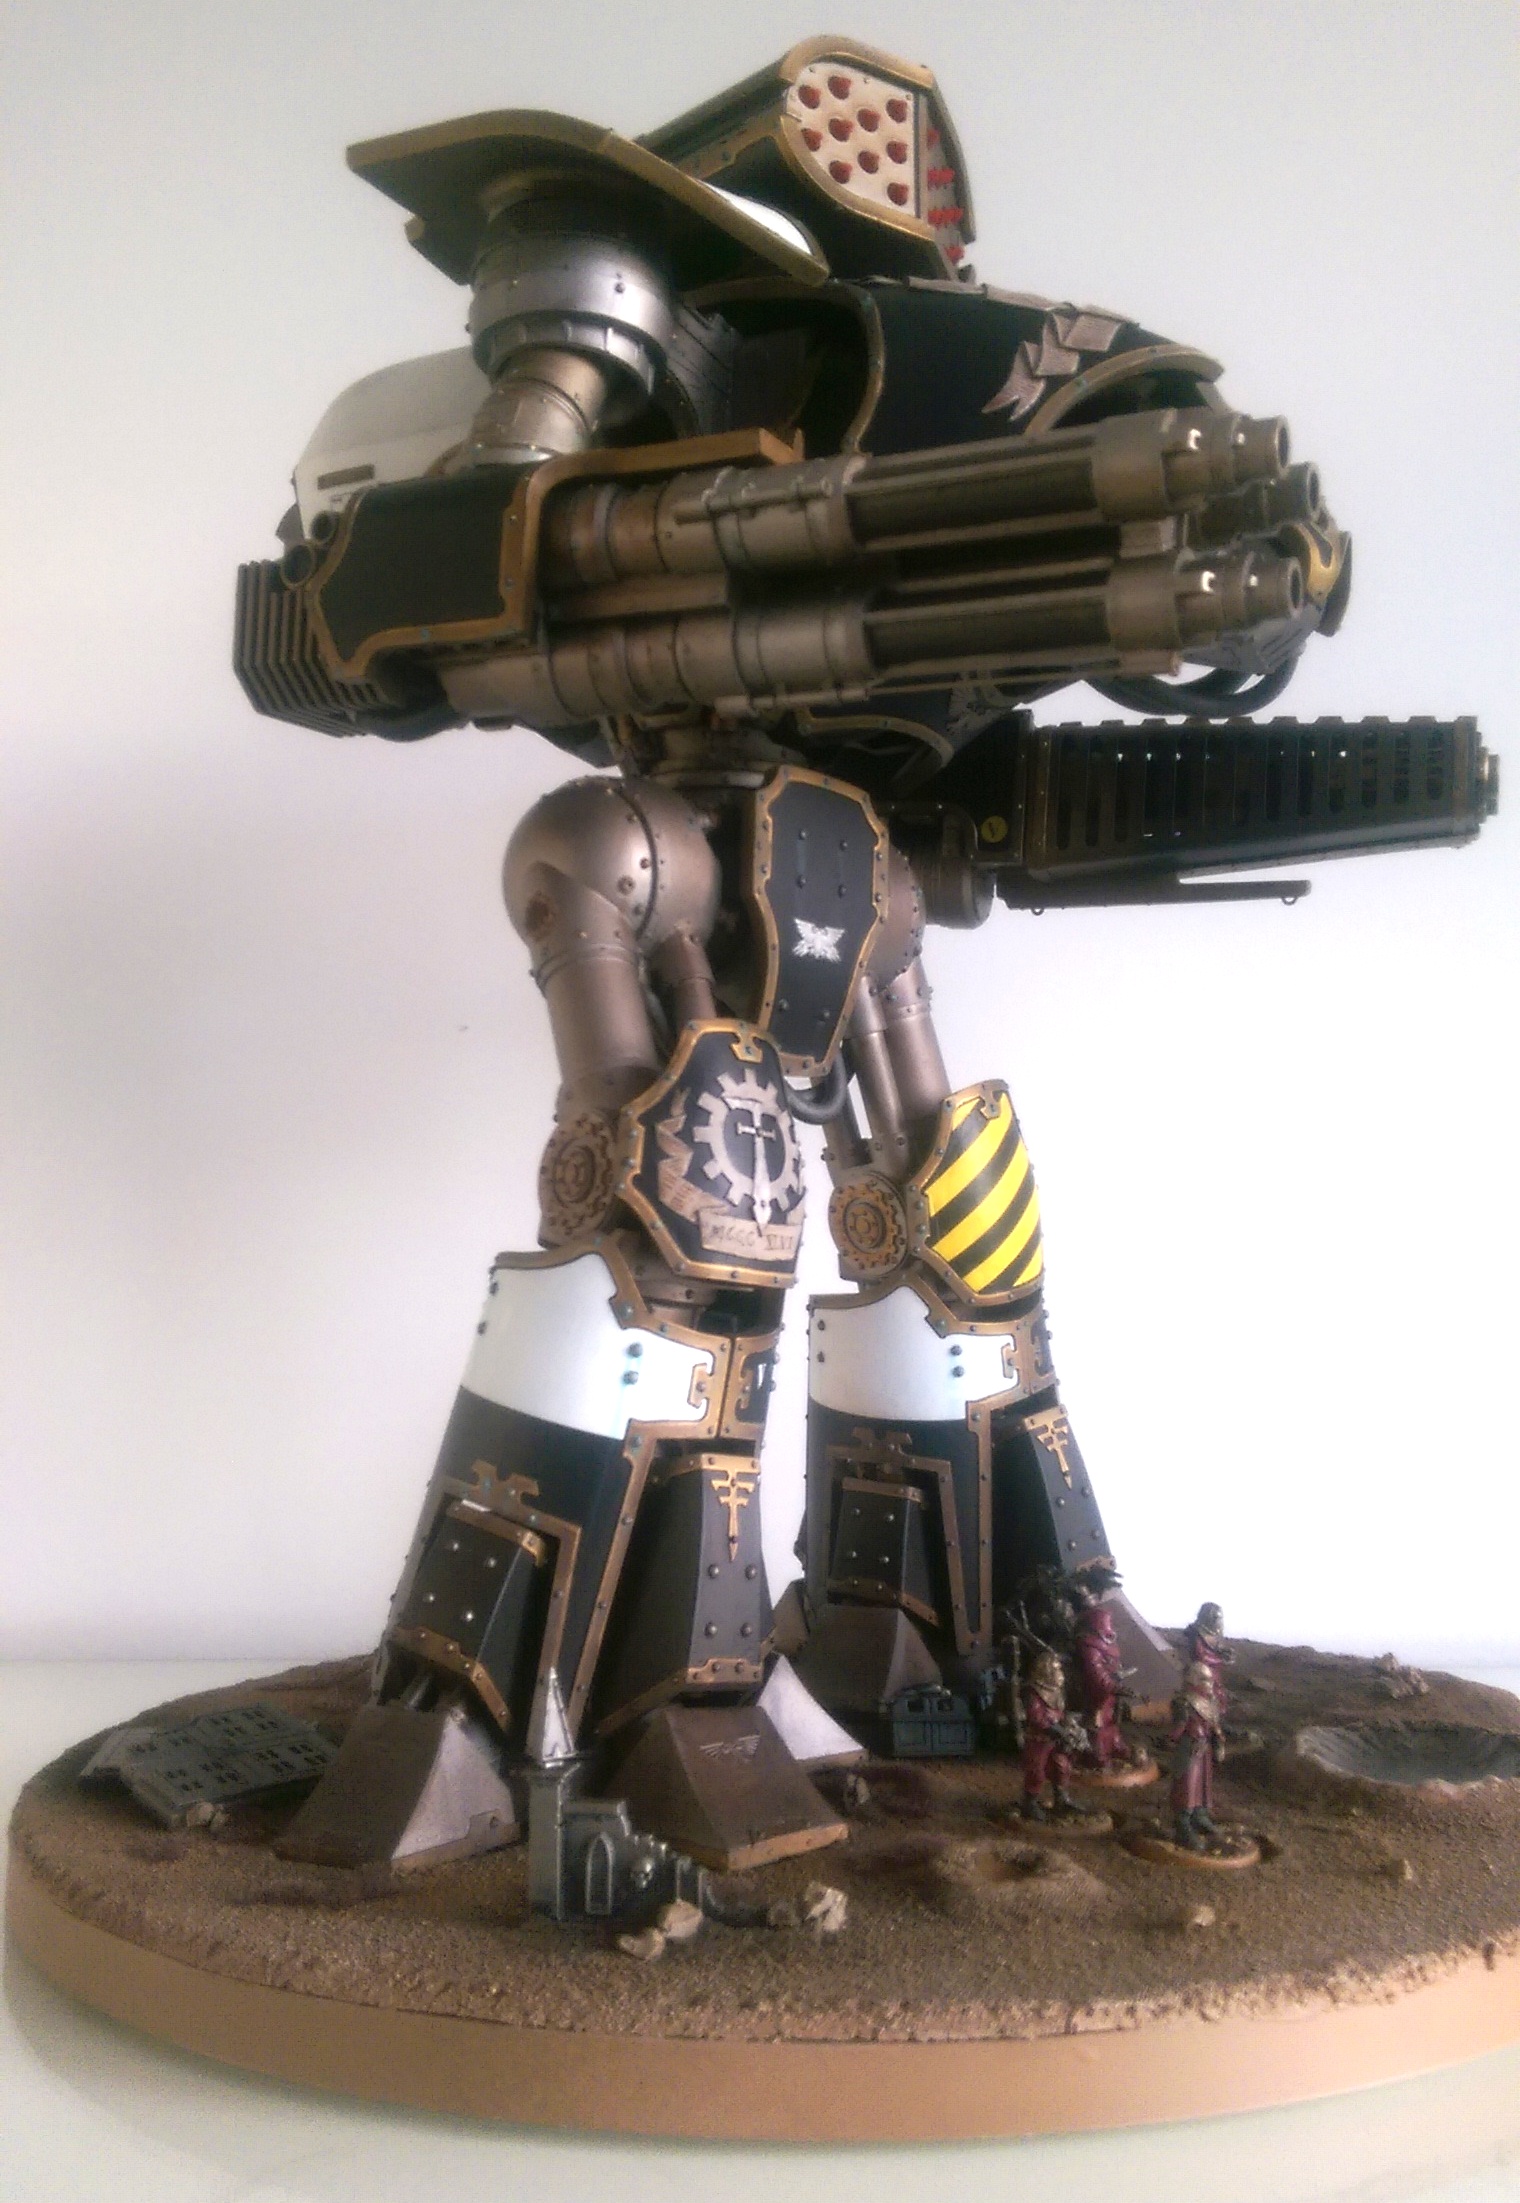
 I started working on the Reaver in May, and finally finished it at the beginning of December. That's six months!
I am generally very happy with how it's turned out. There were a few glitches along the way but as is the case with any hobby project, those problems that did come up were fixable.
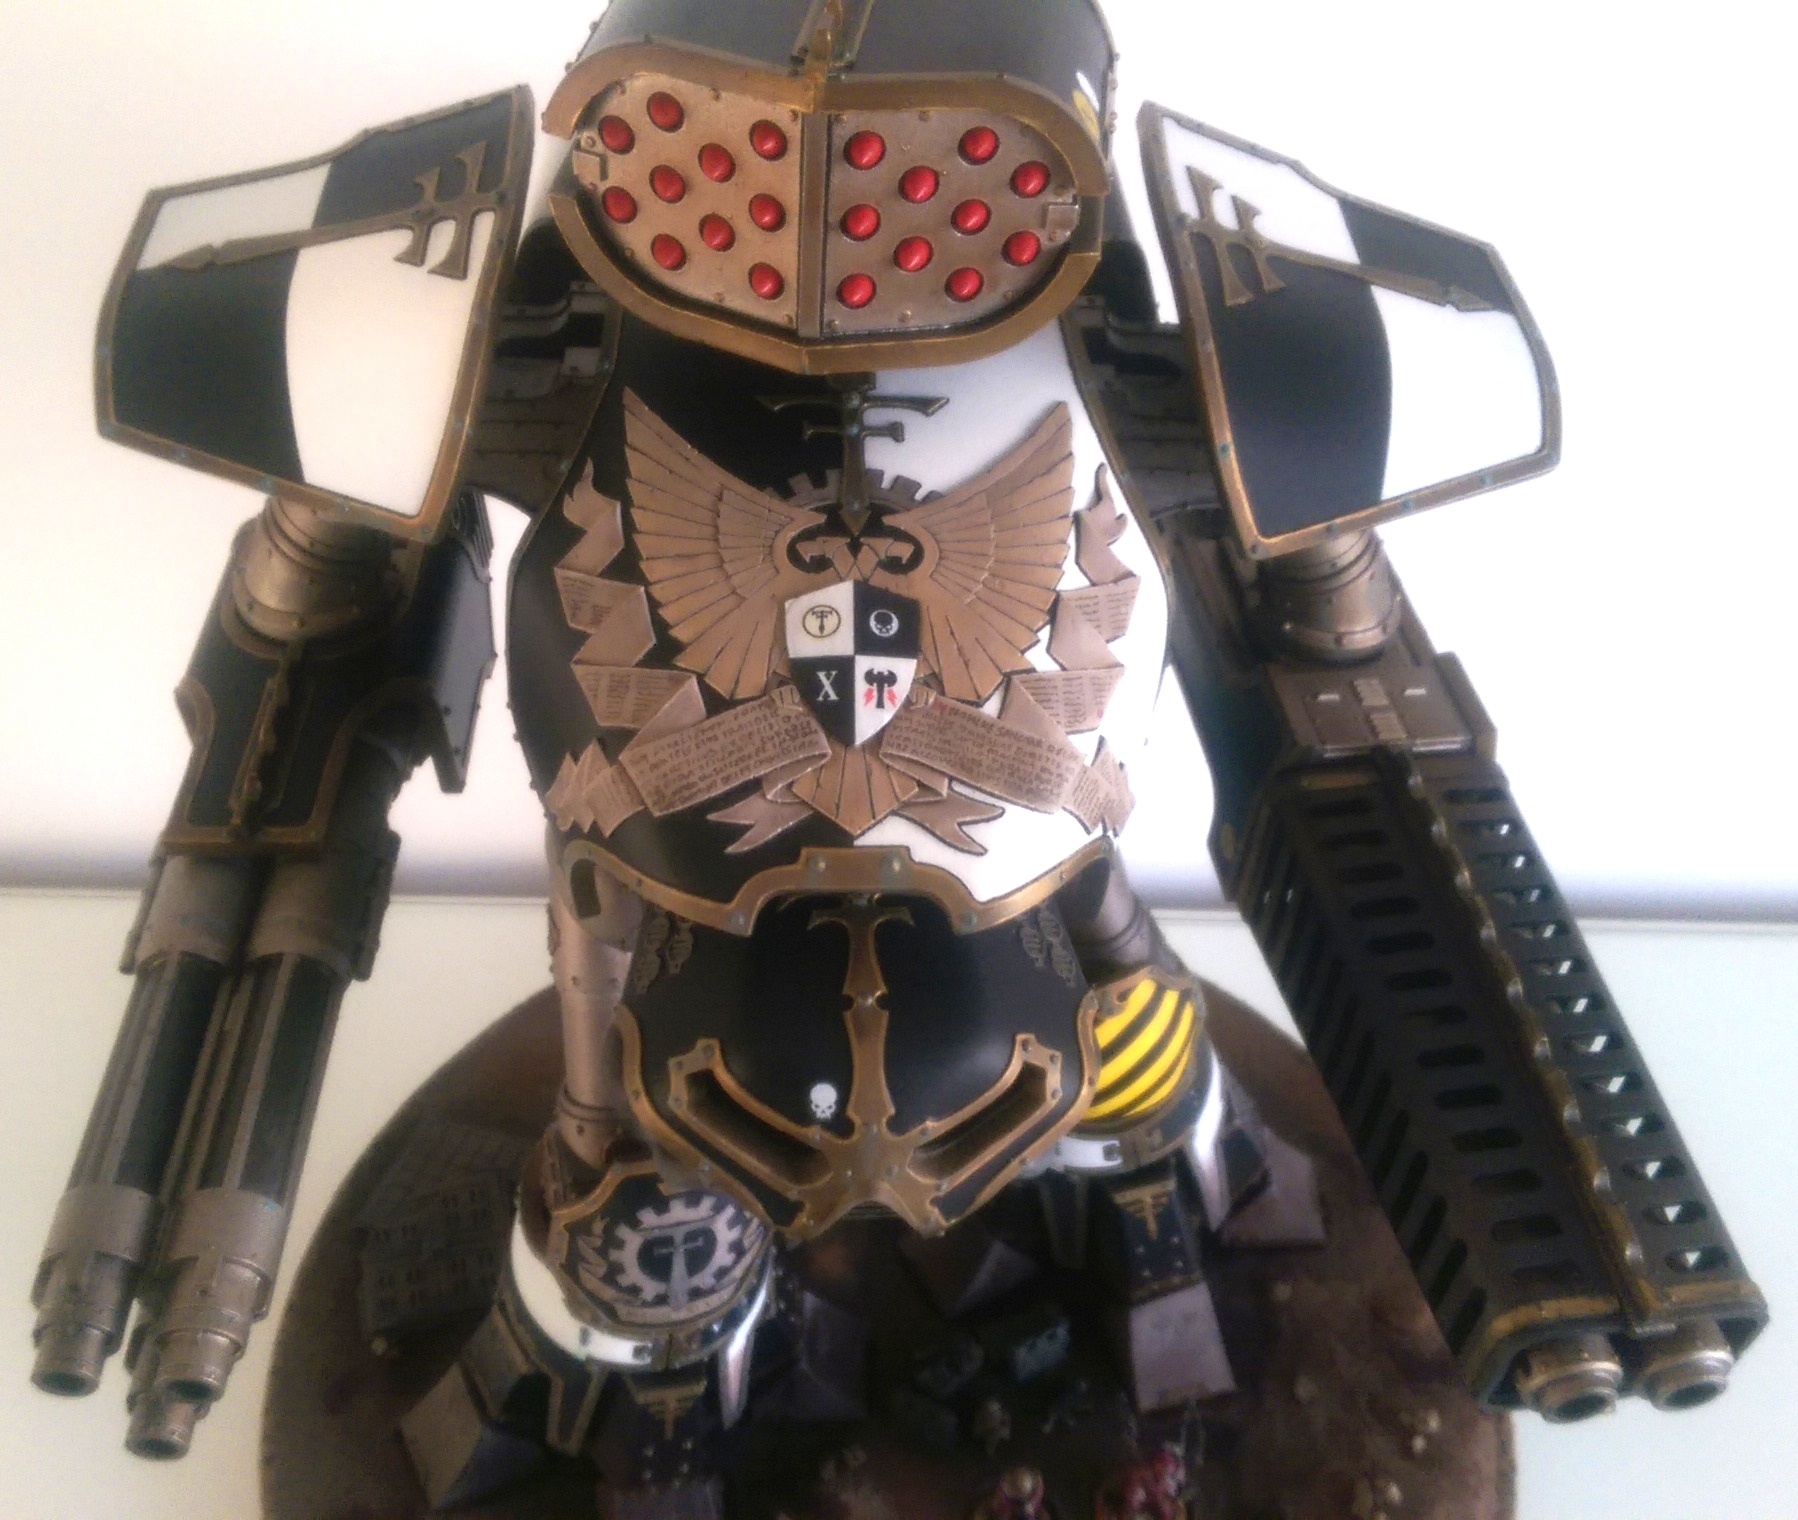
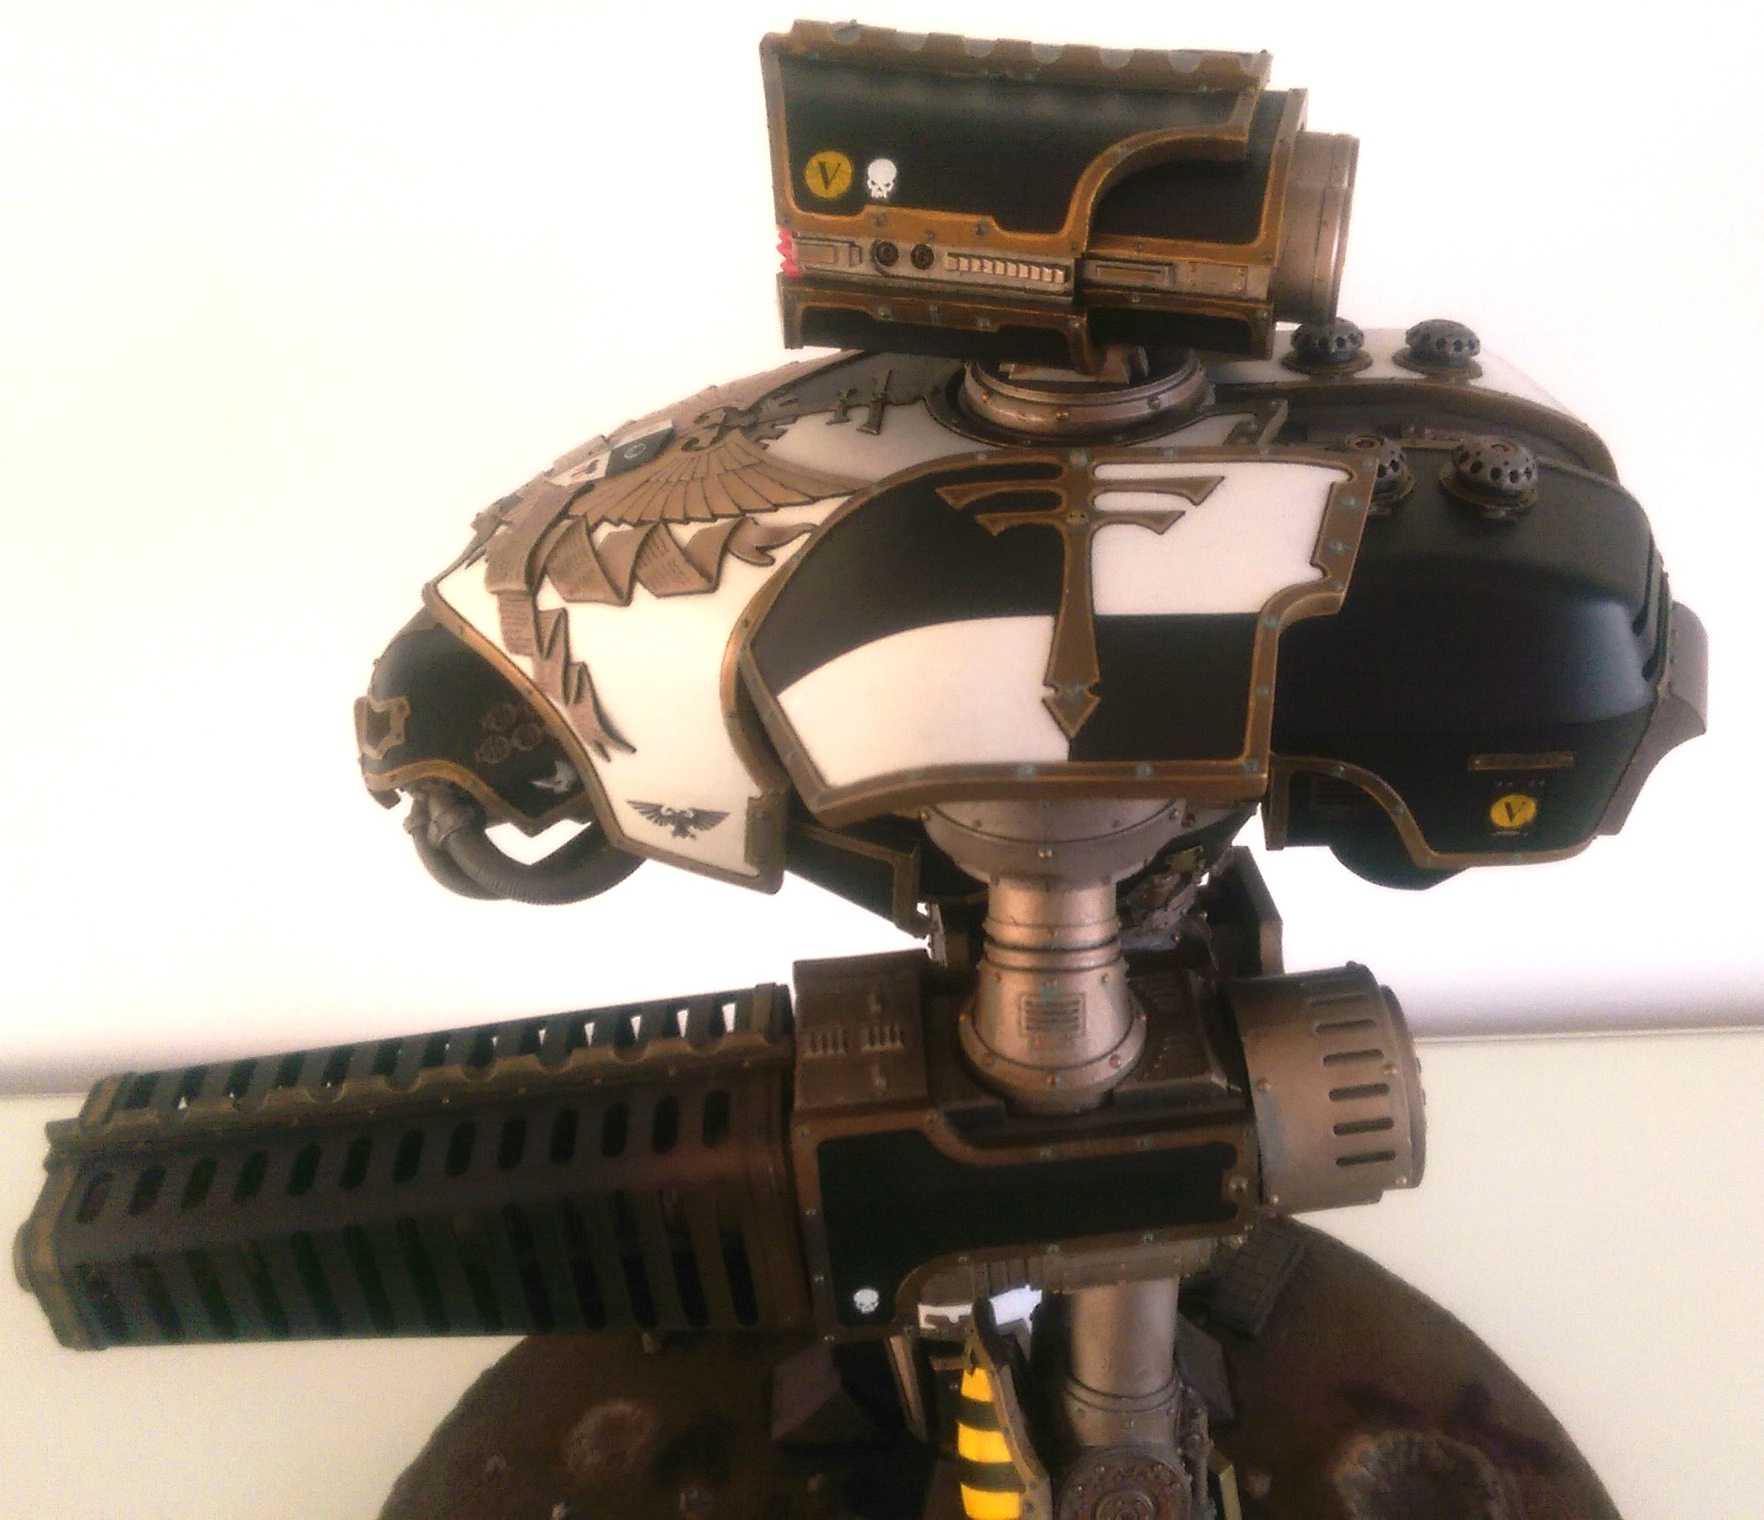
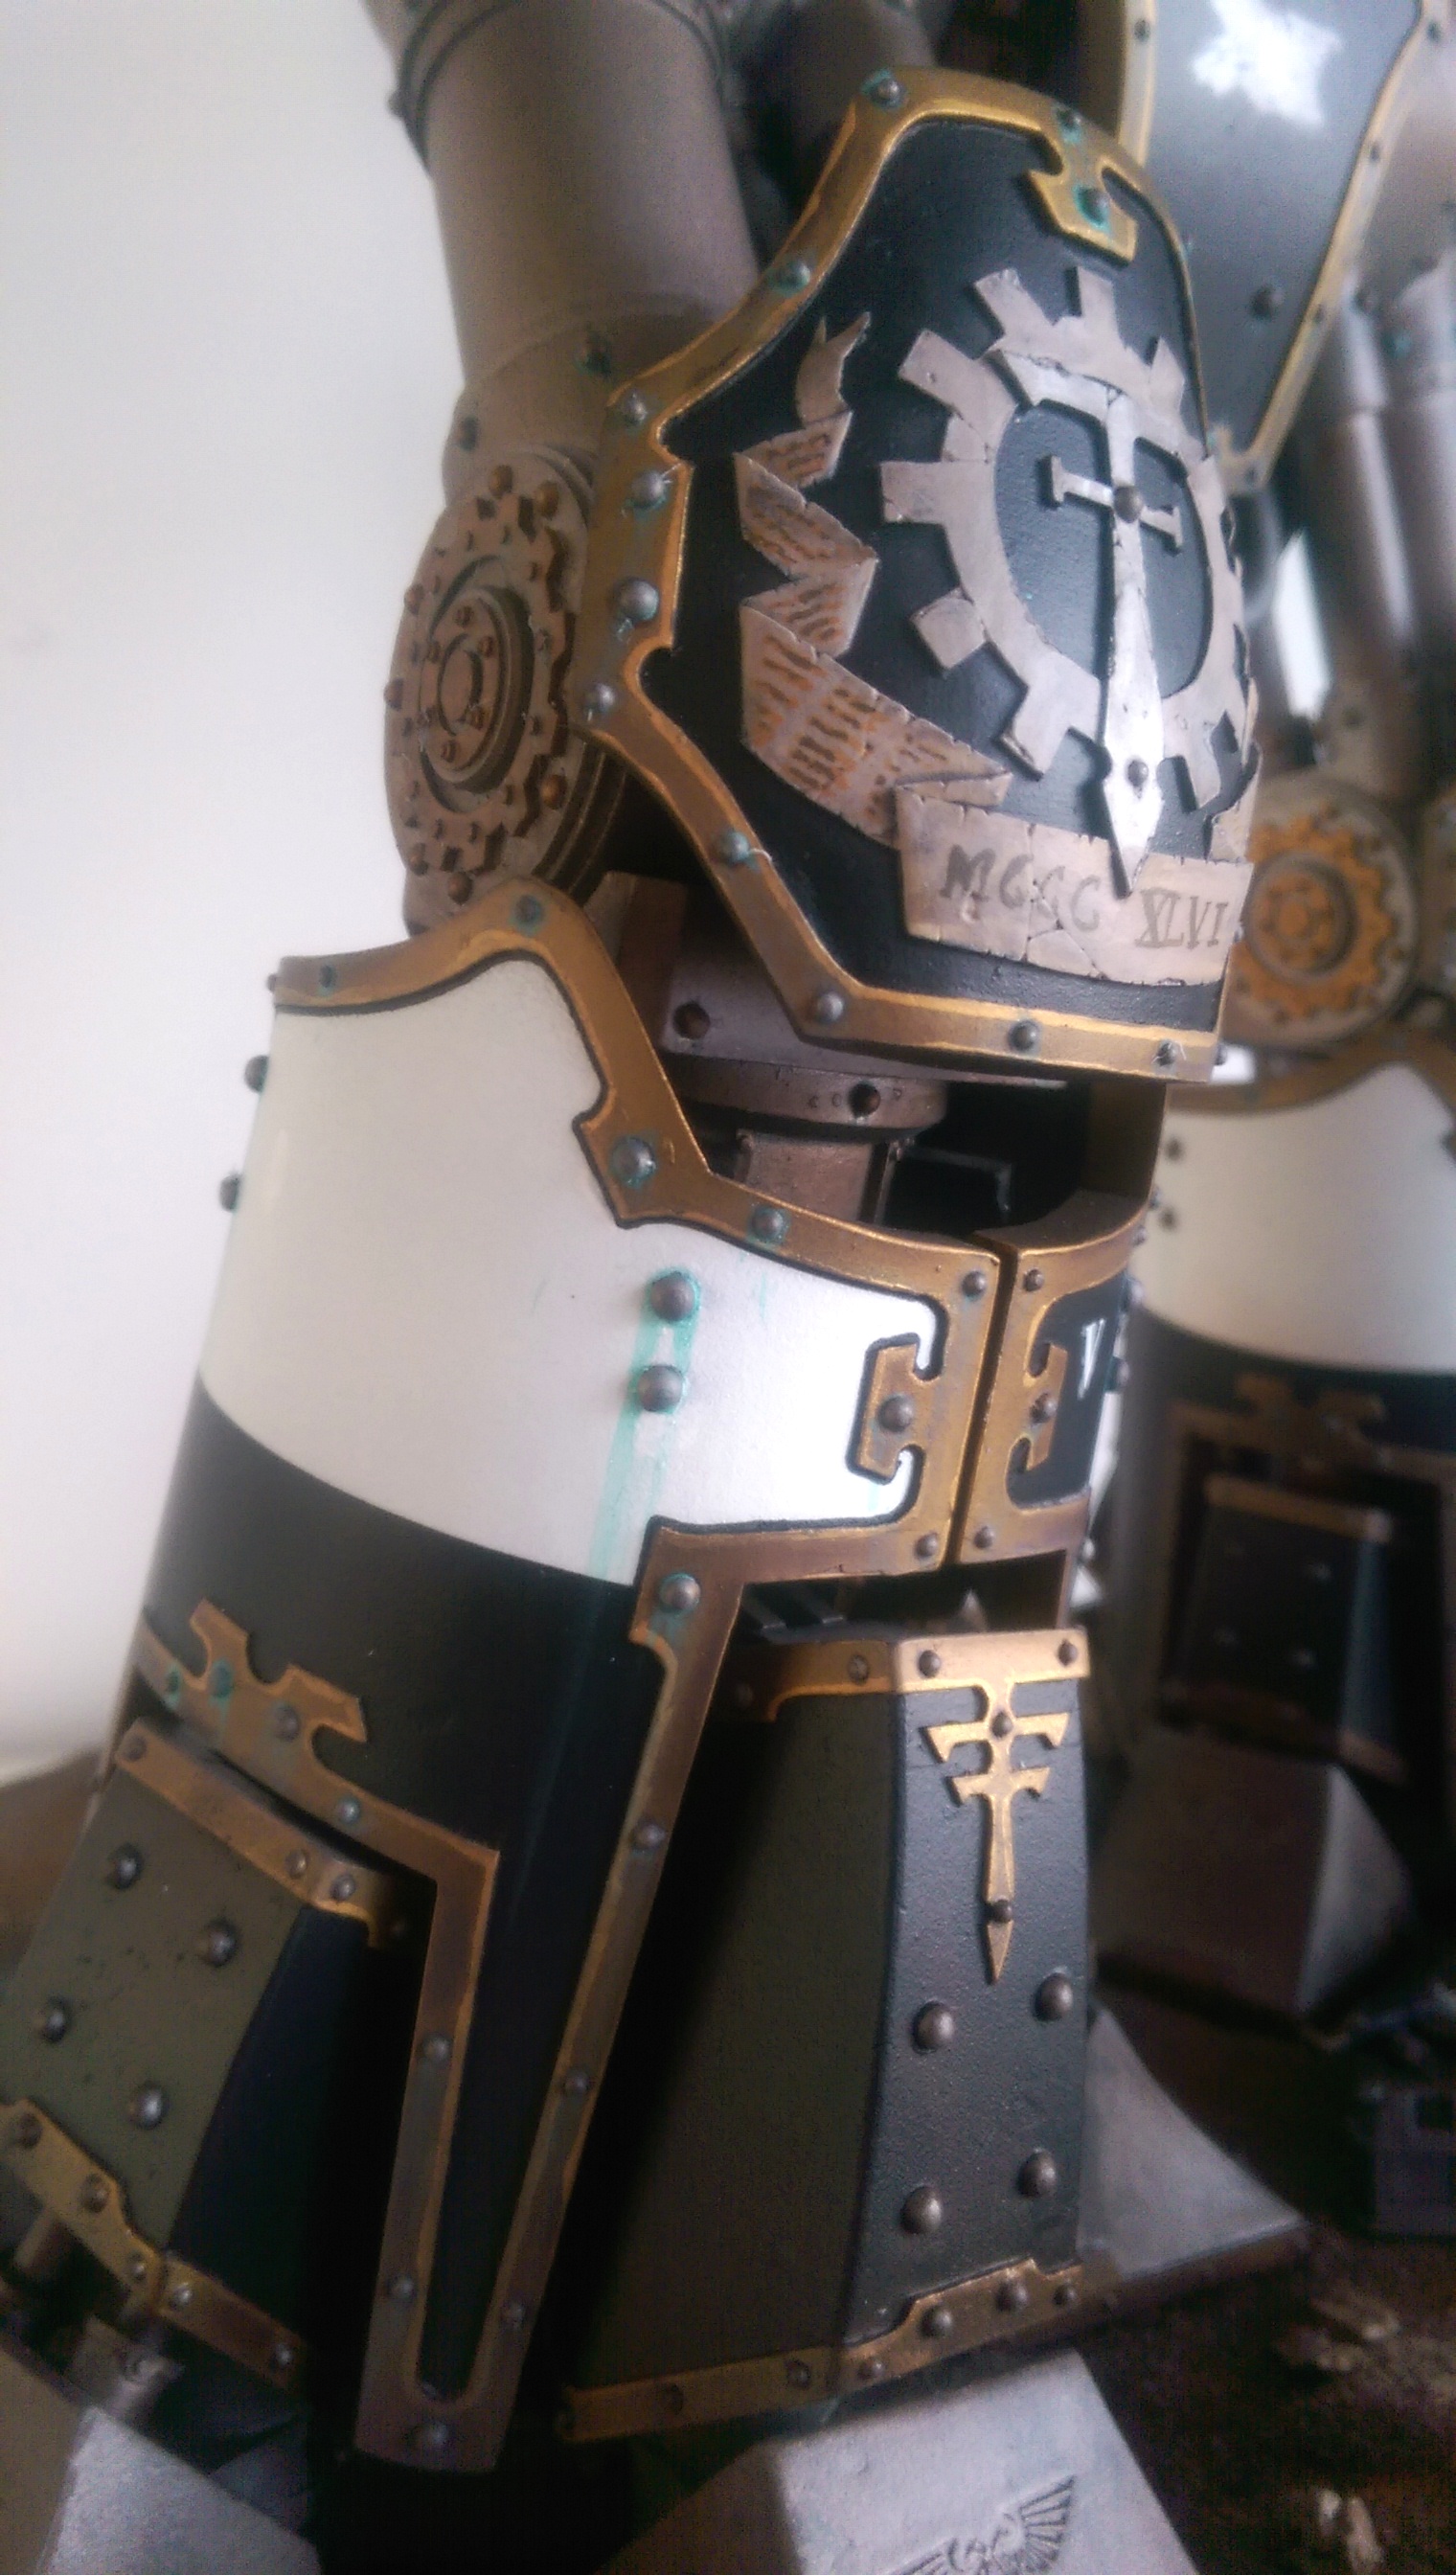
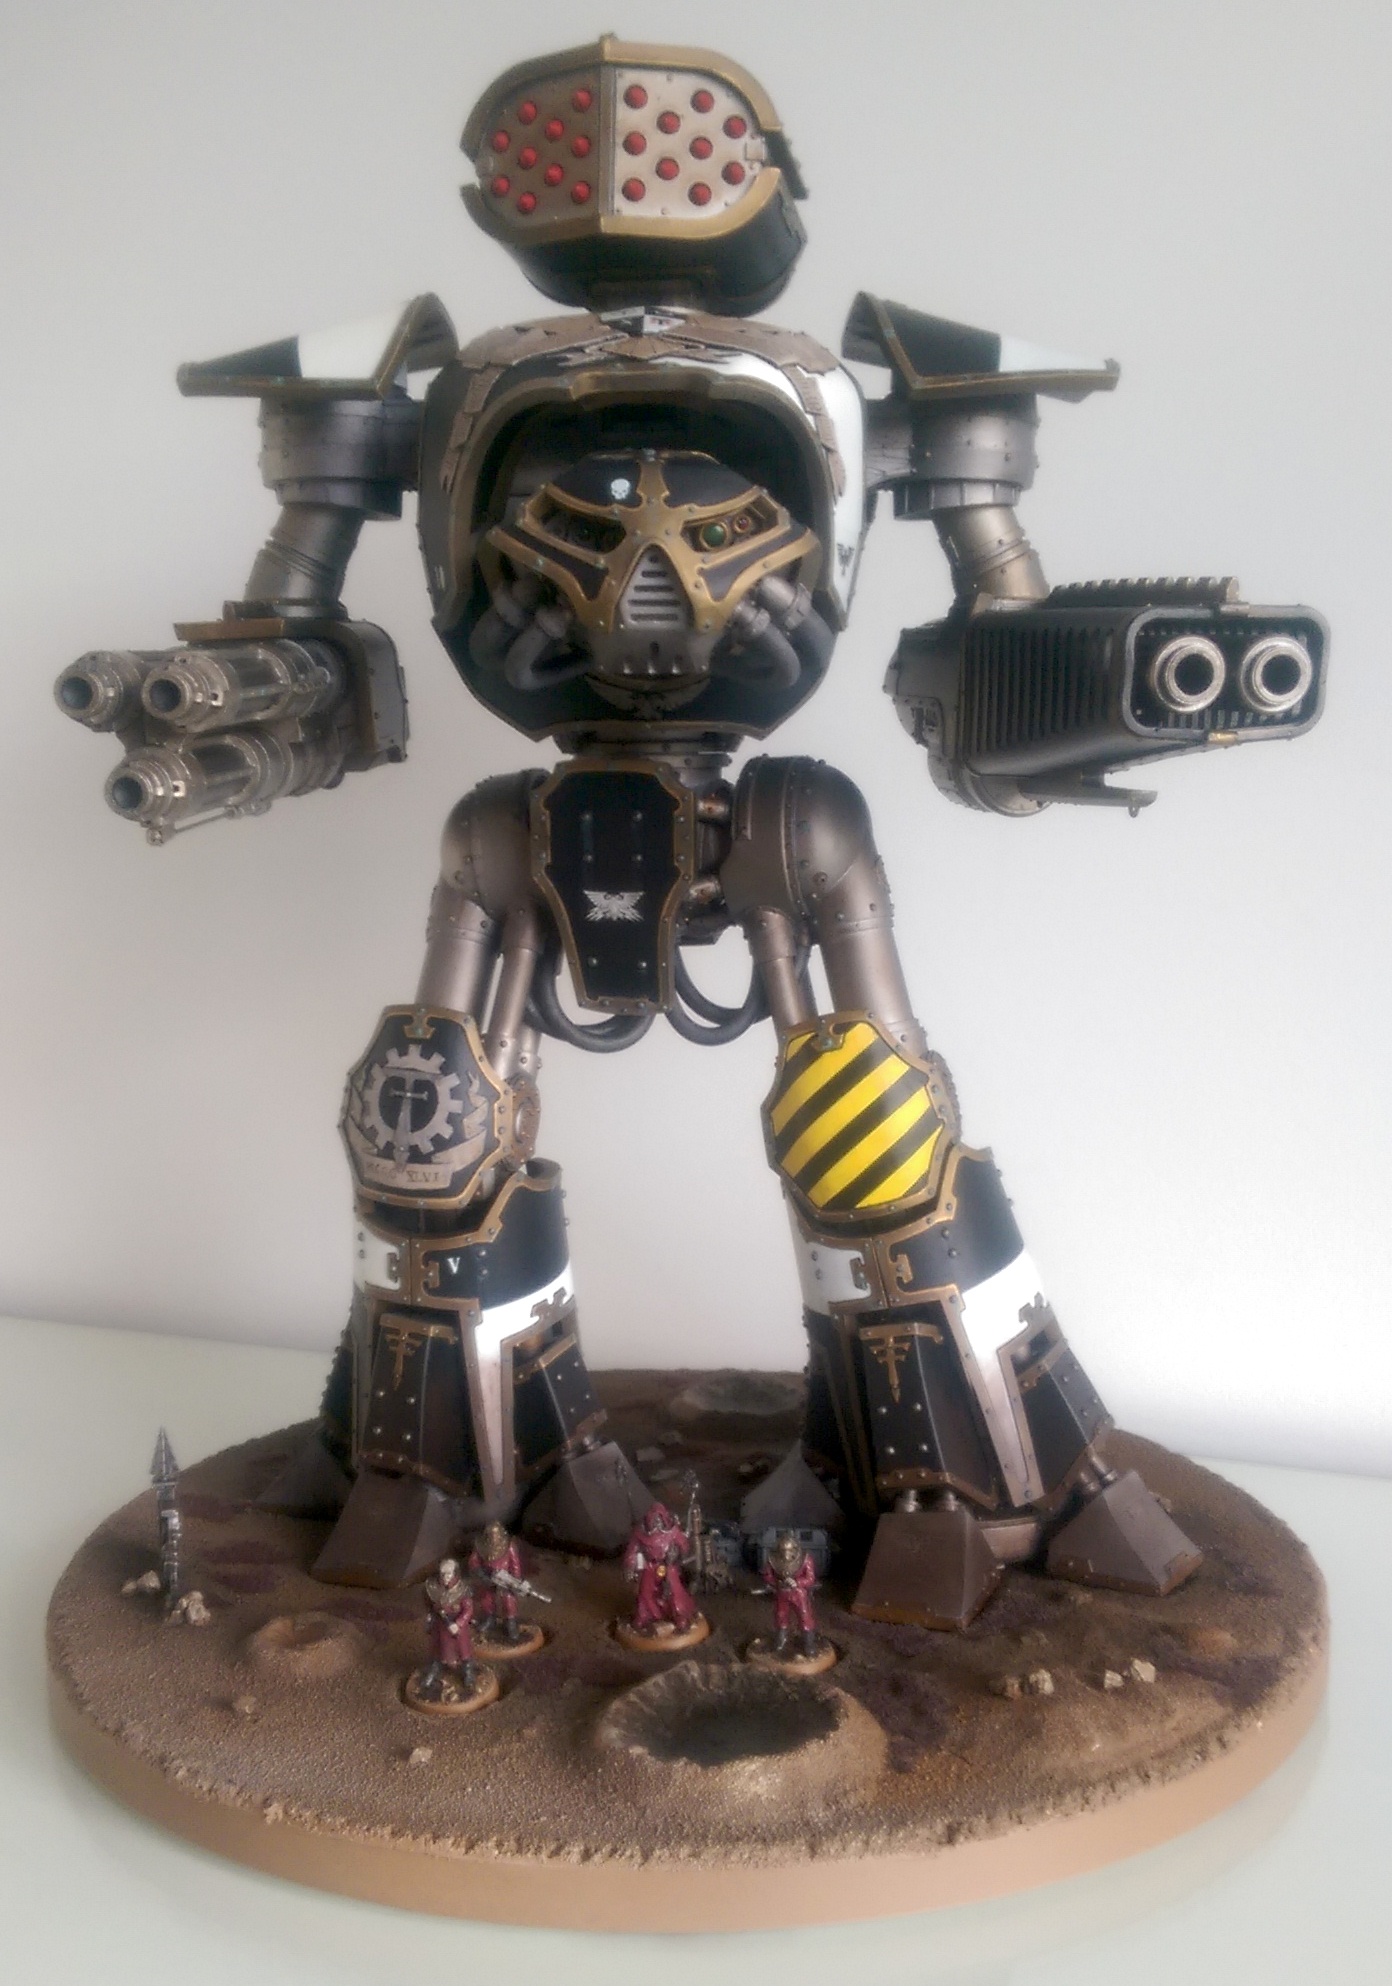
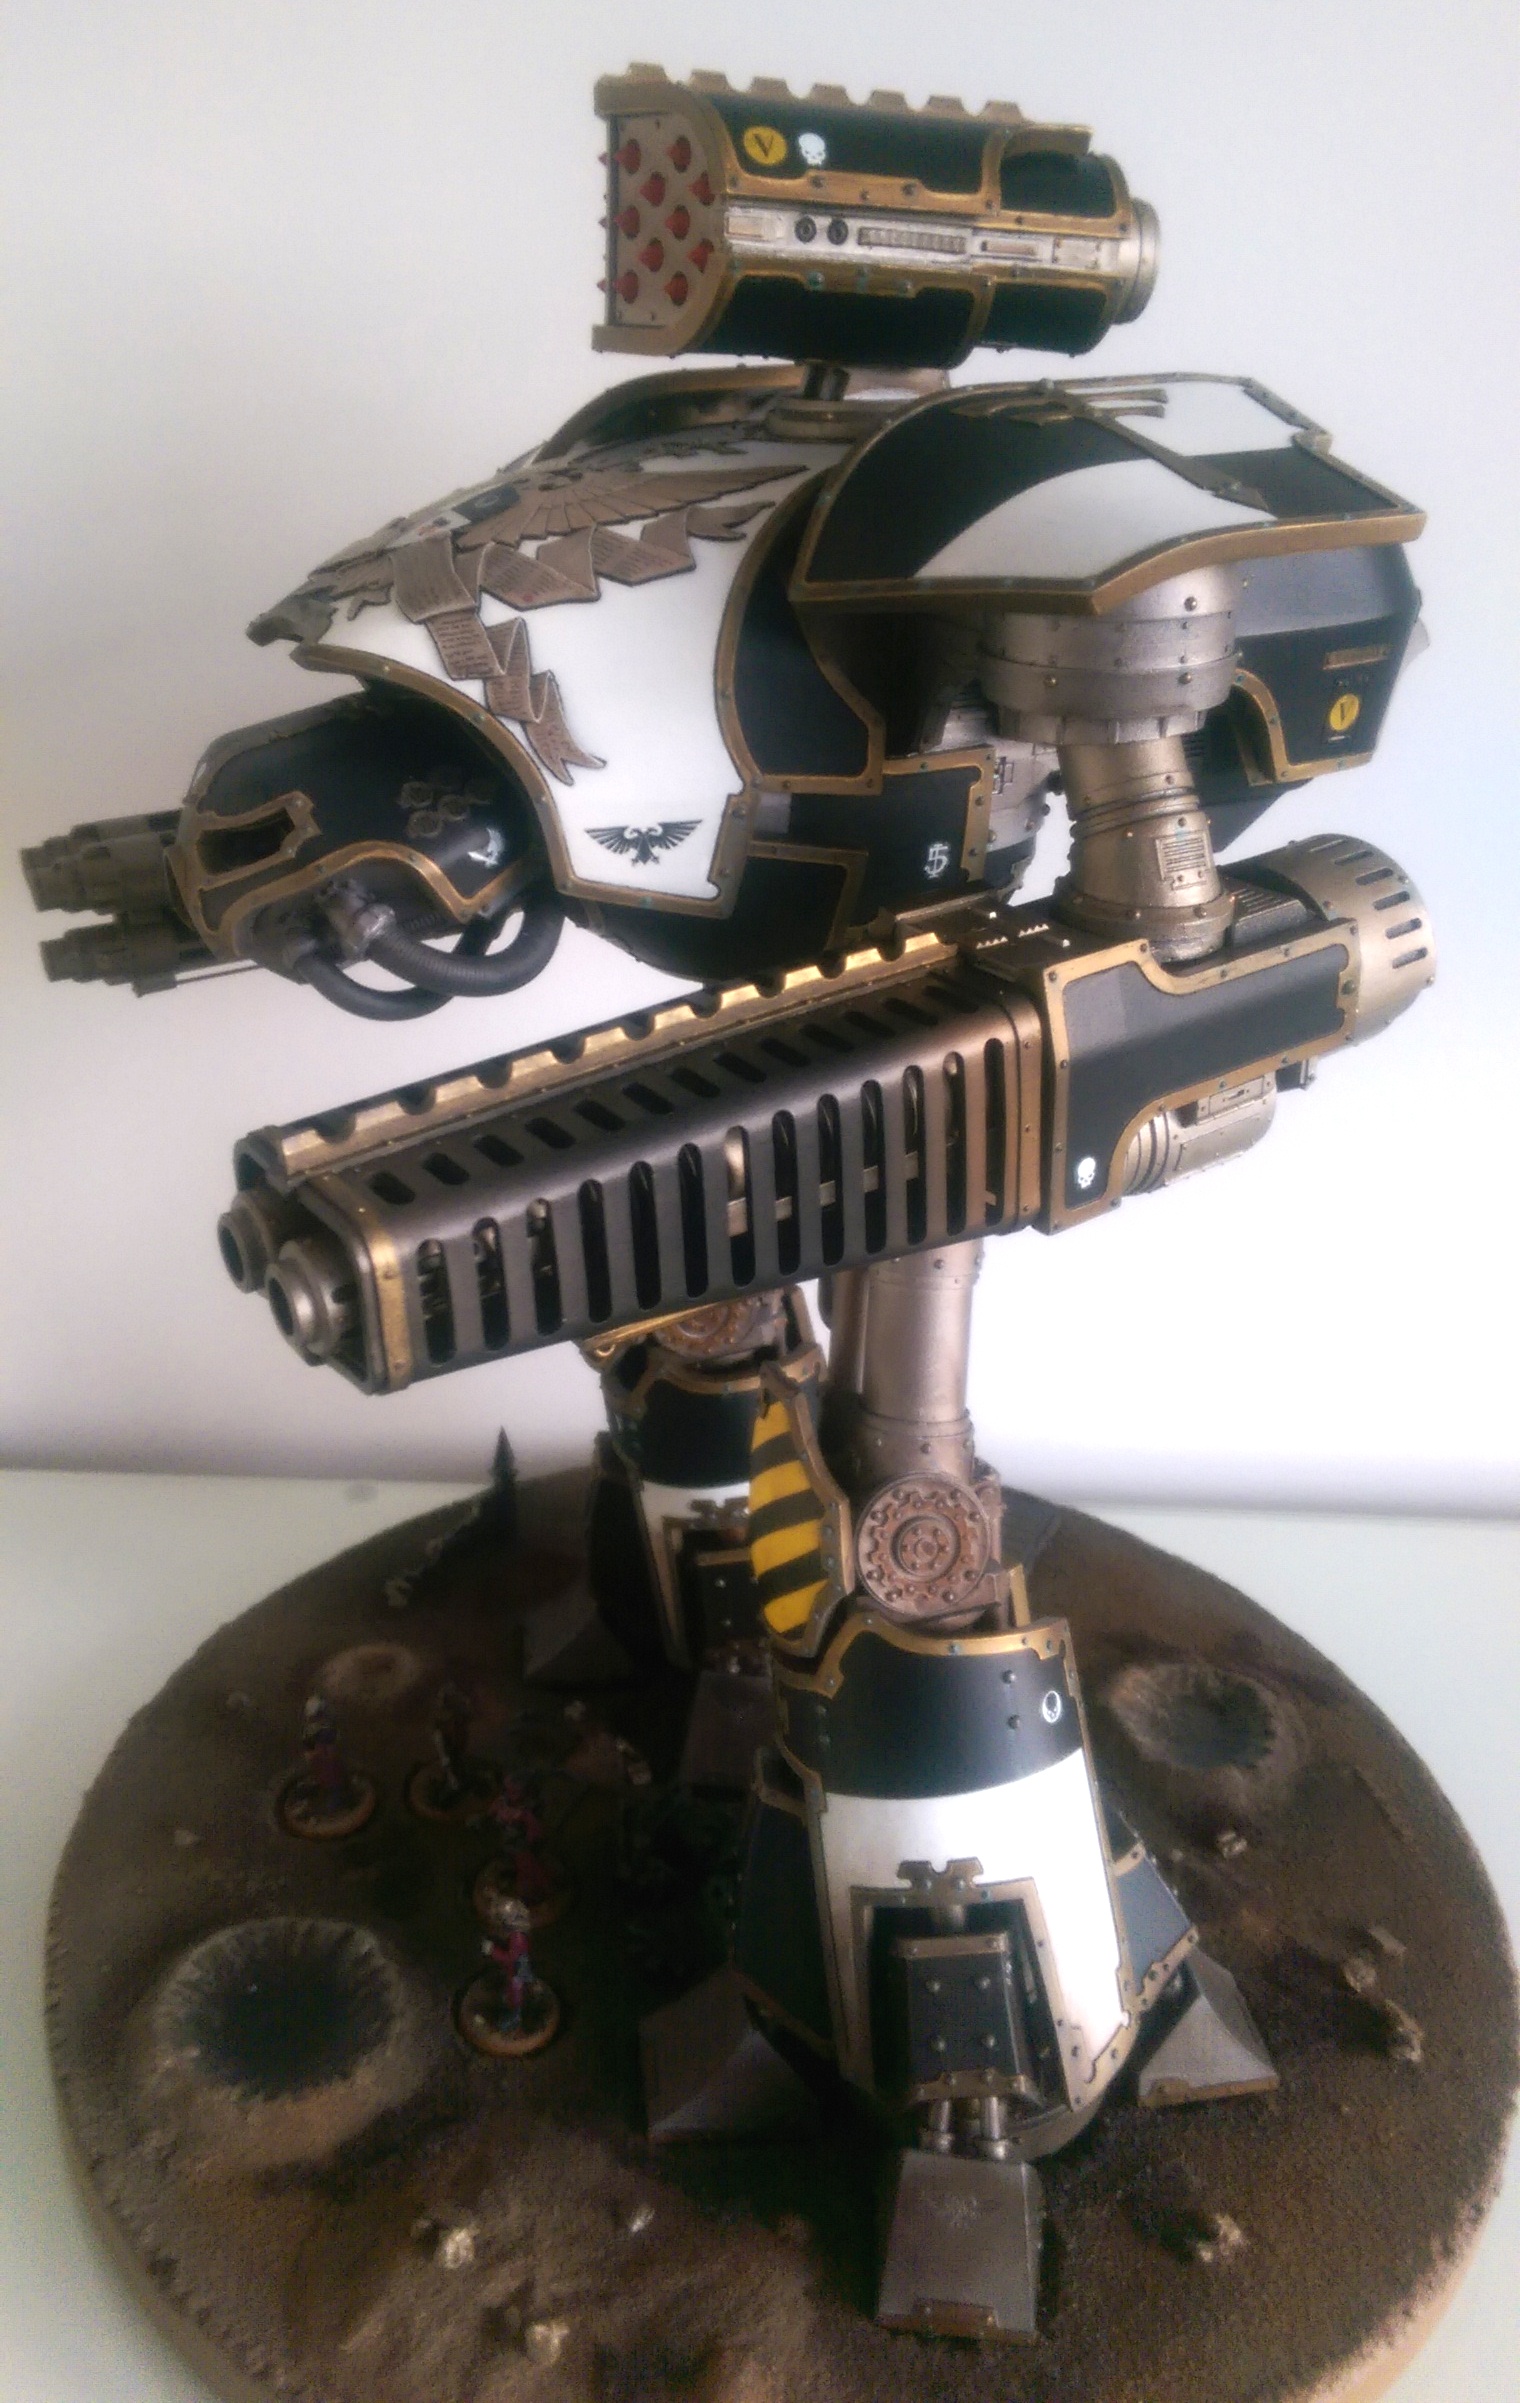
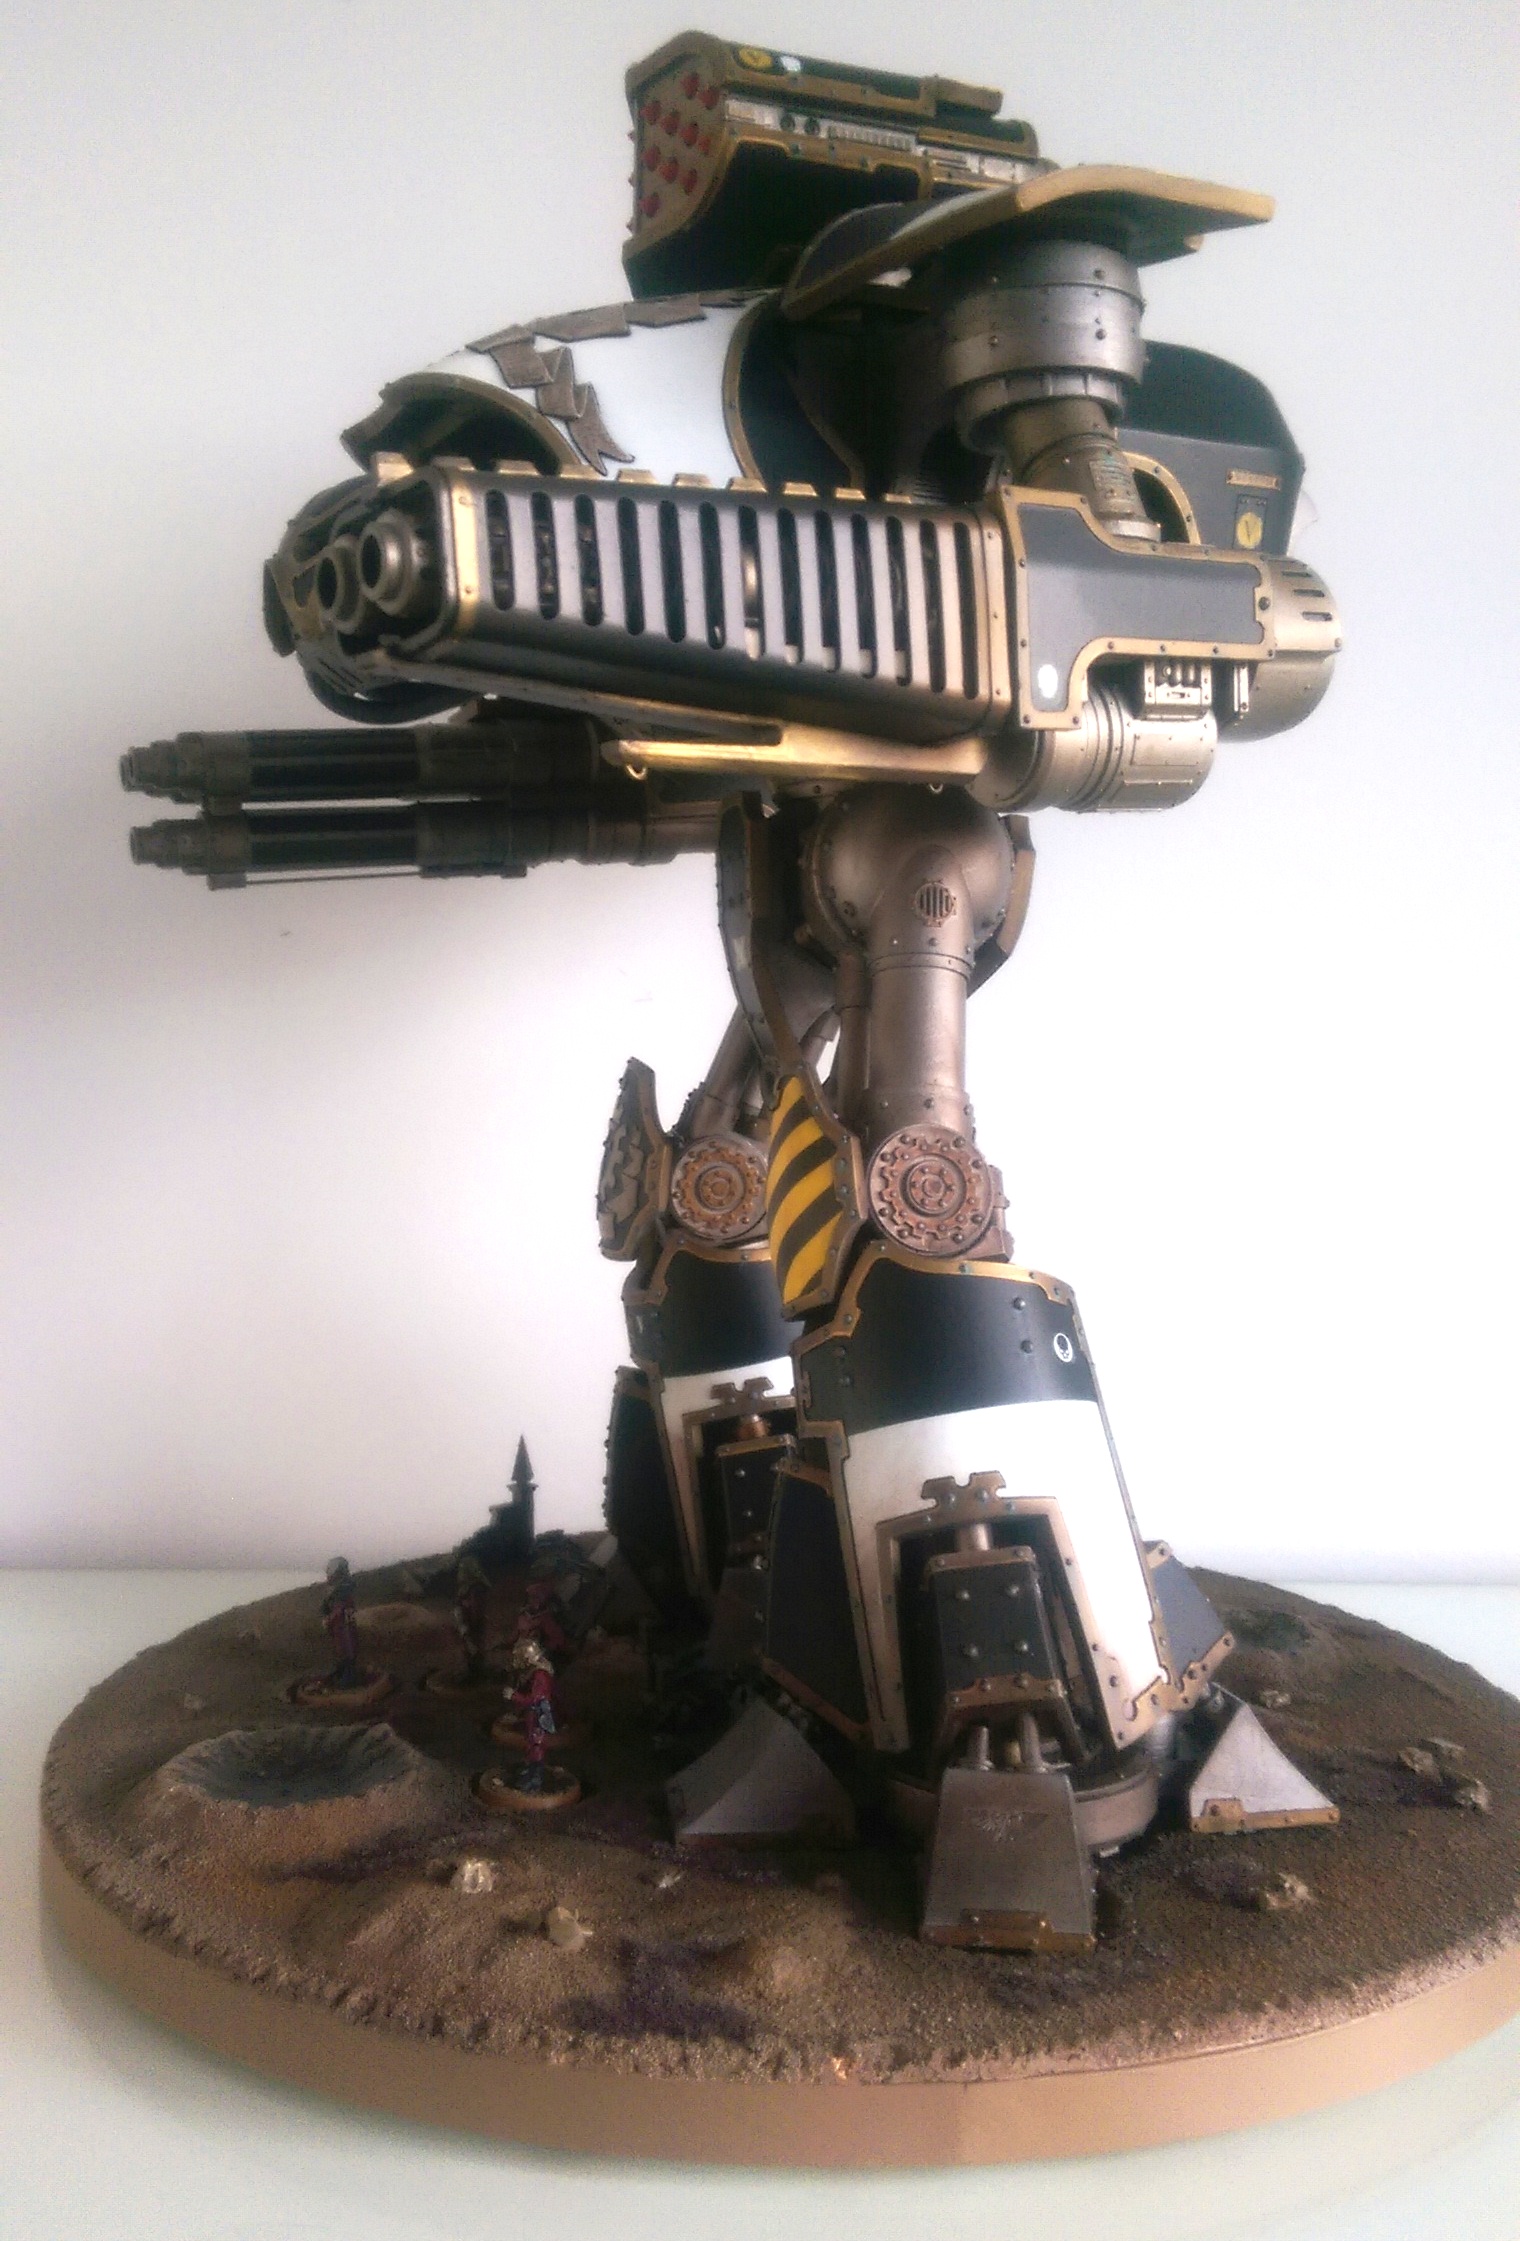
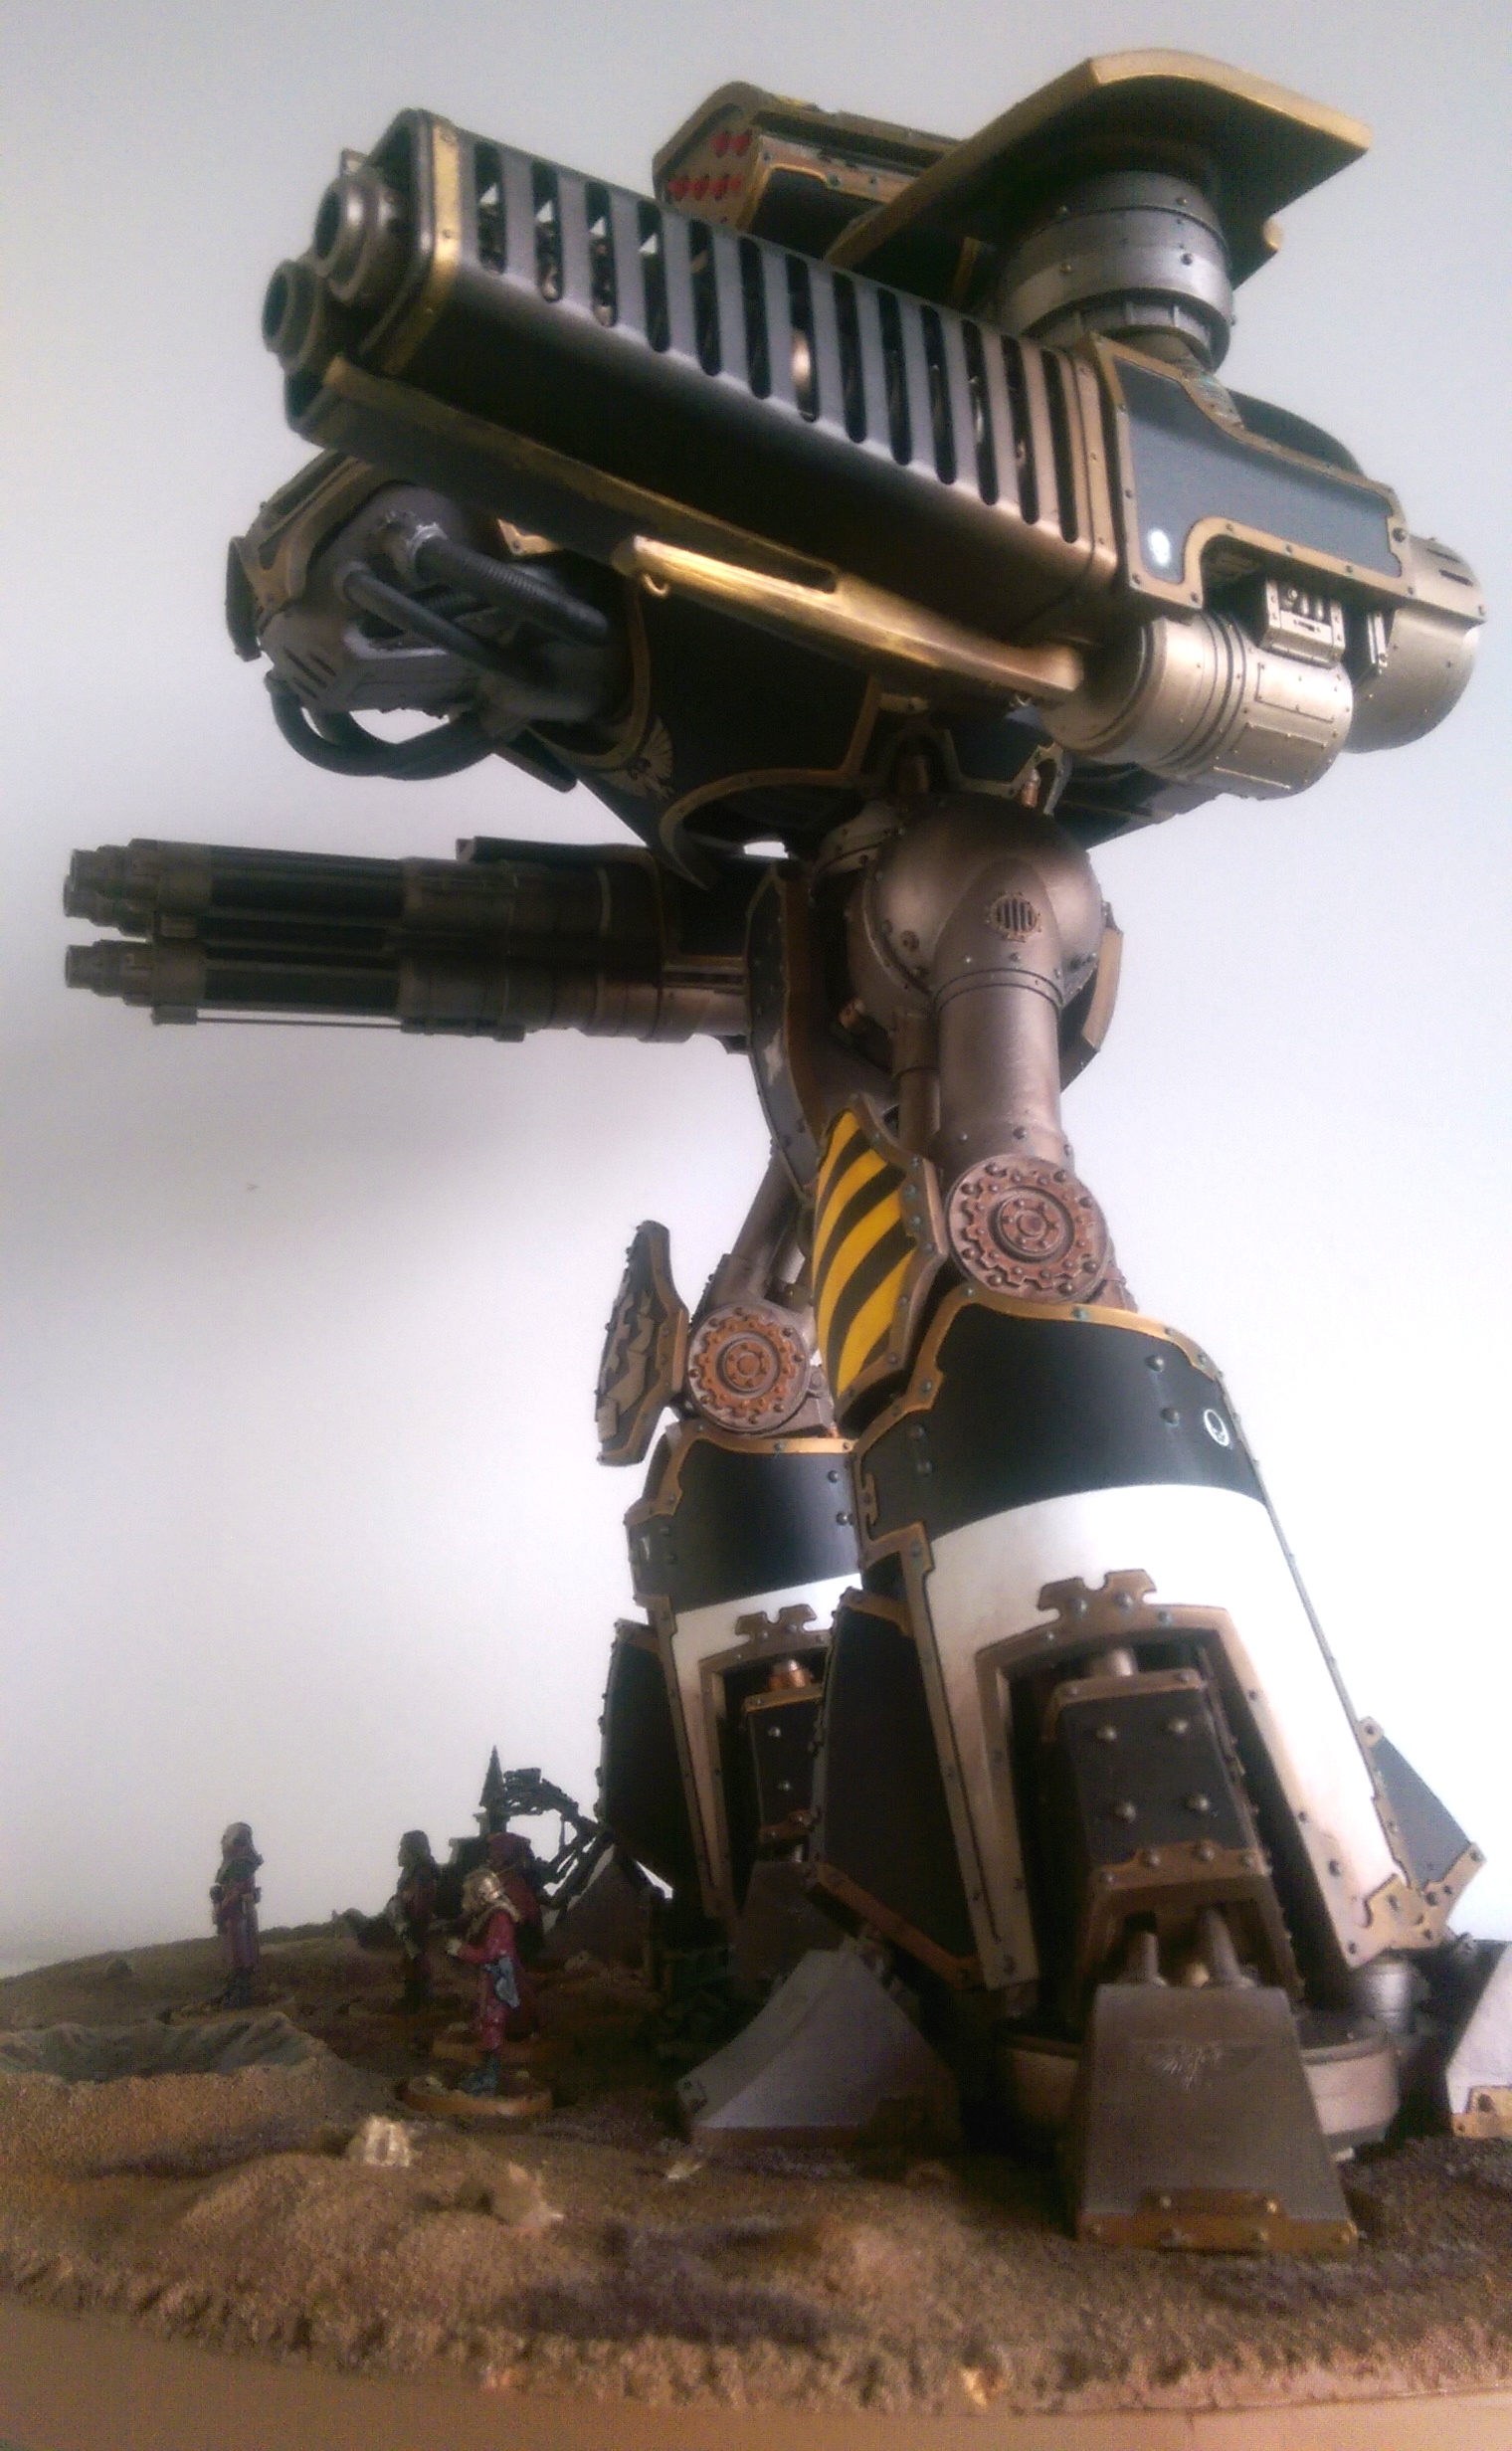
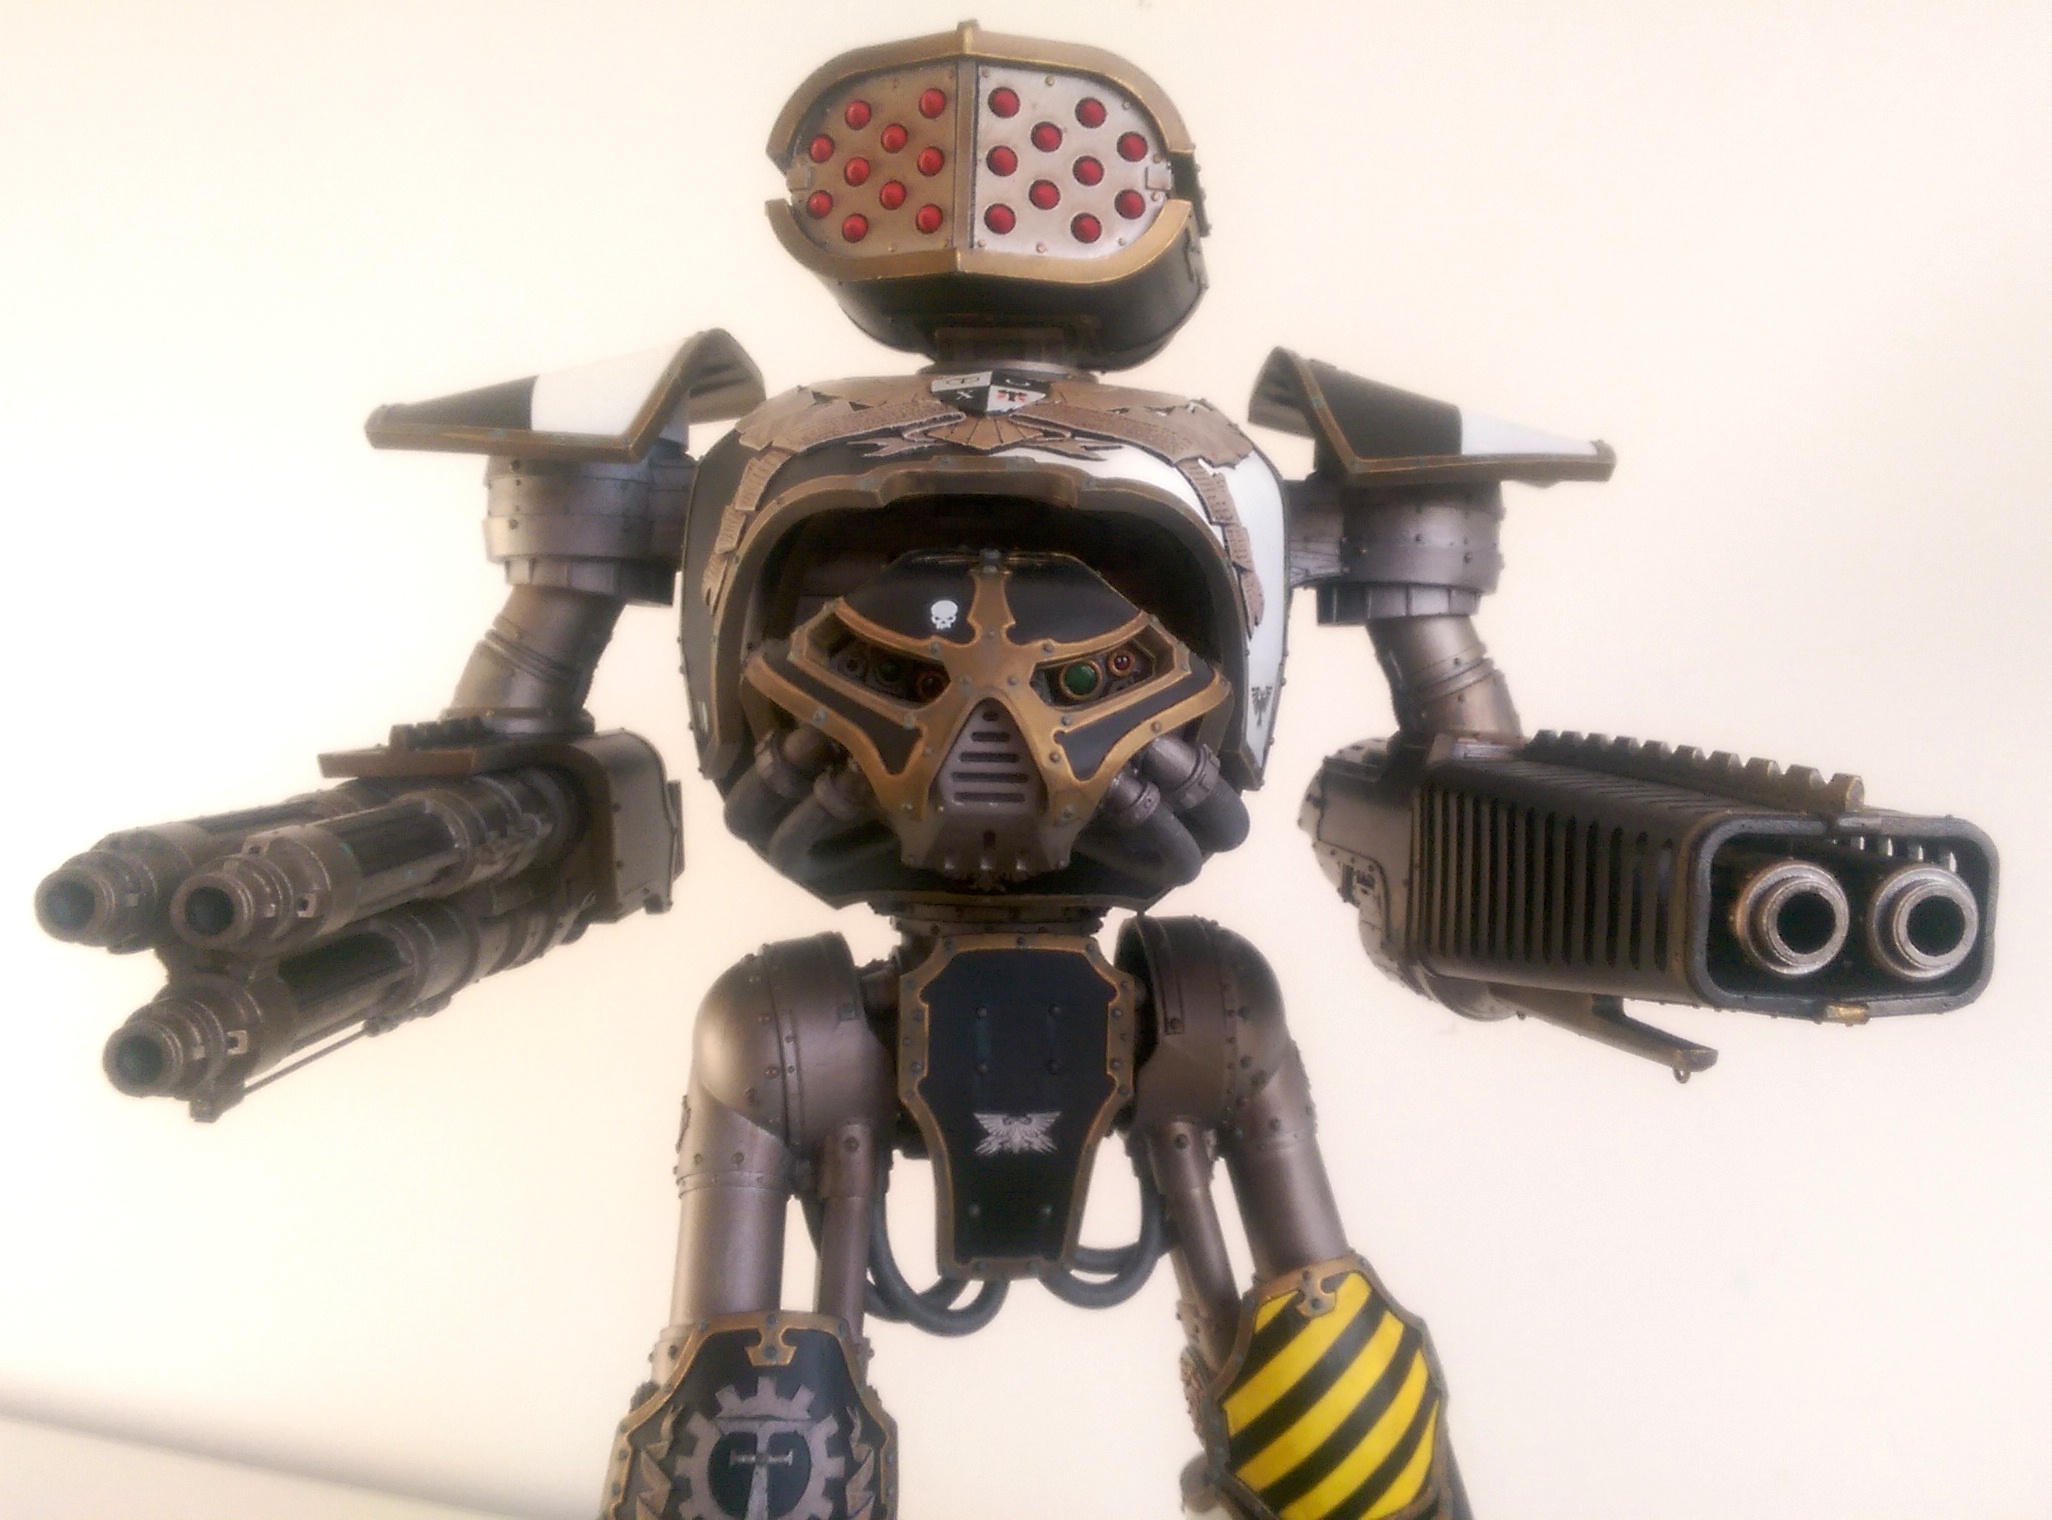
The paint scheme is, of course, the same one I have been painting my Epic titans for 25 years. Here's a quick run-down of how it was achieved:
- Prime with Vallejo black primer (via airbrush)
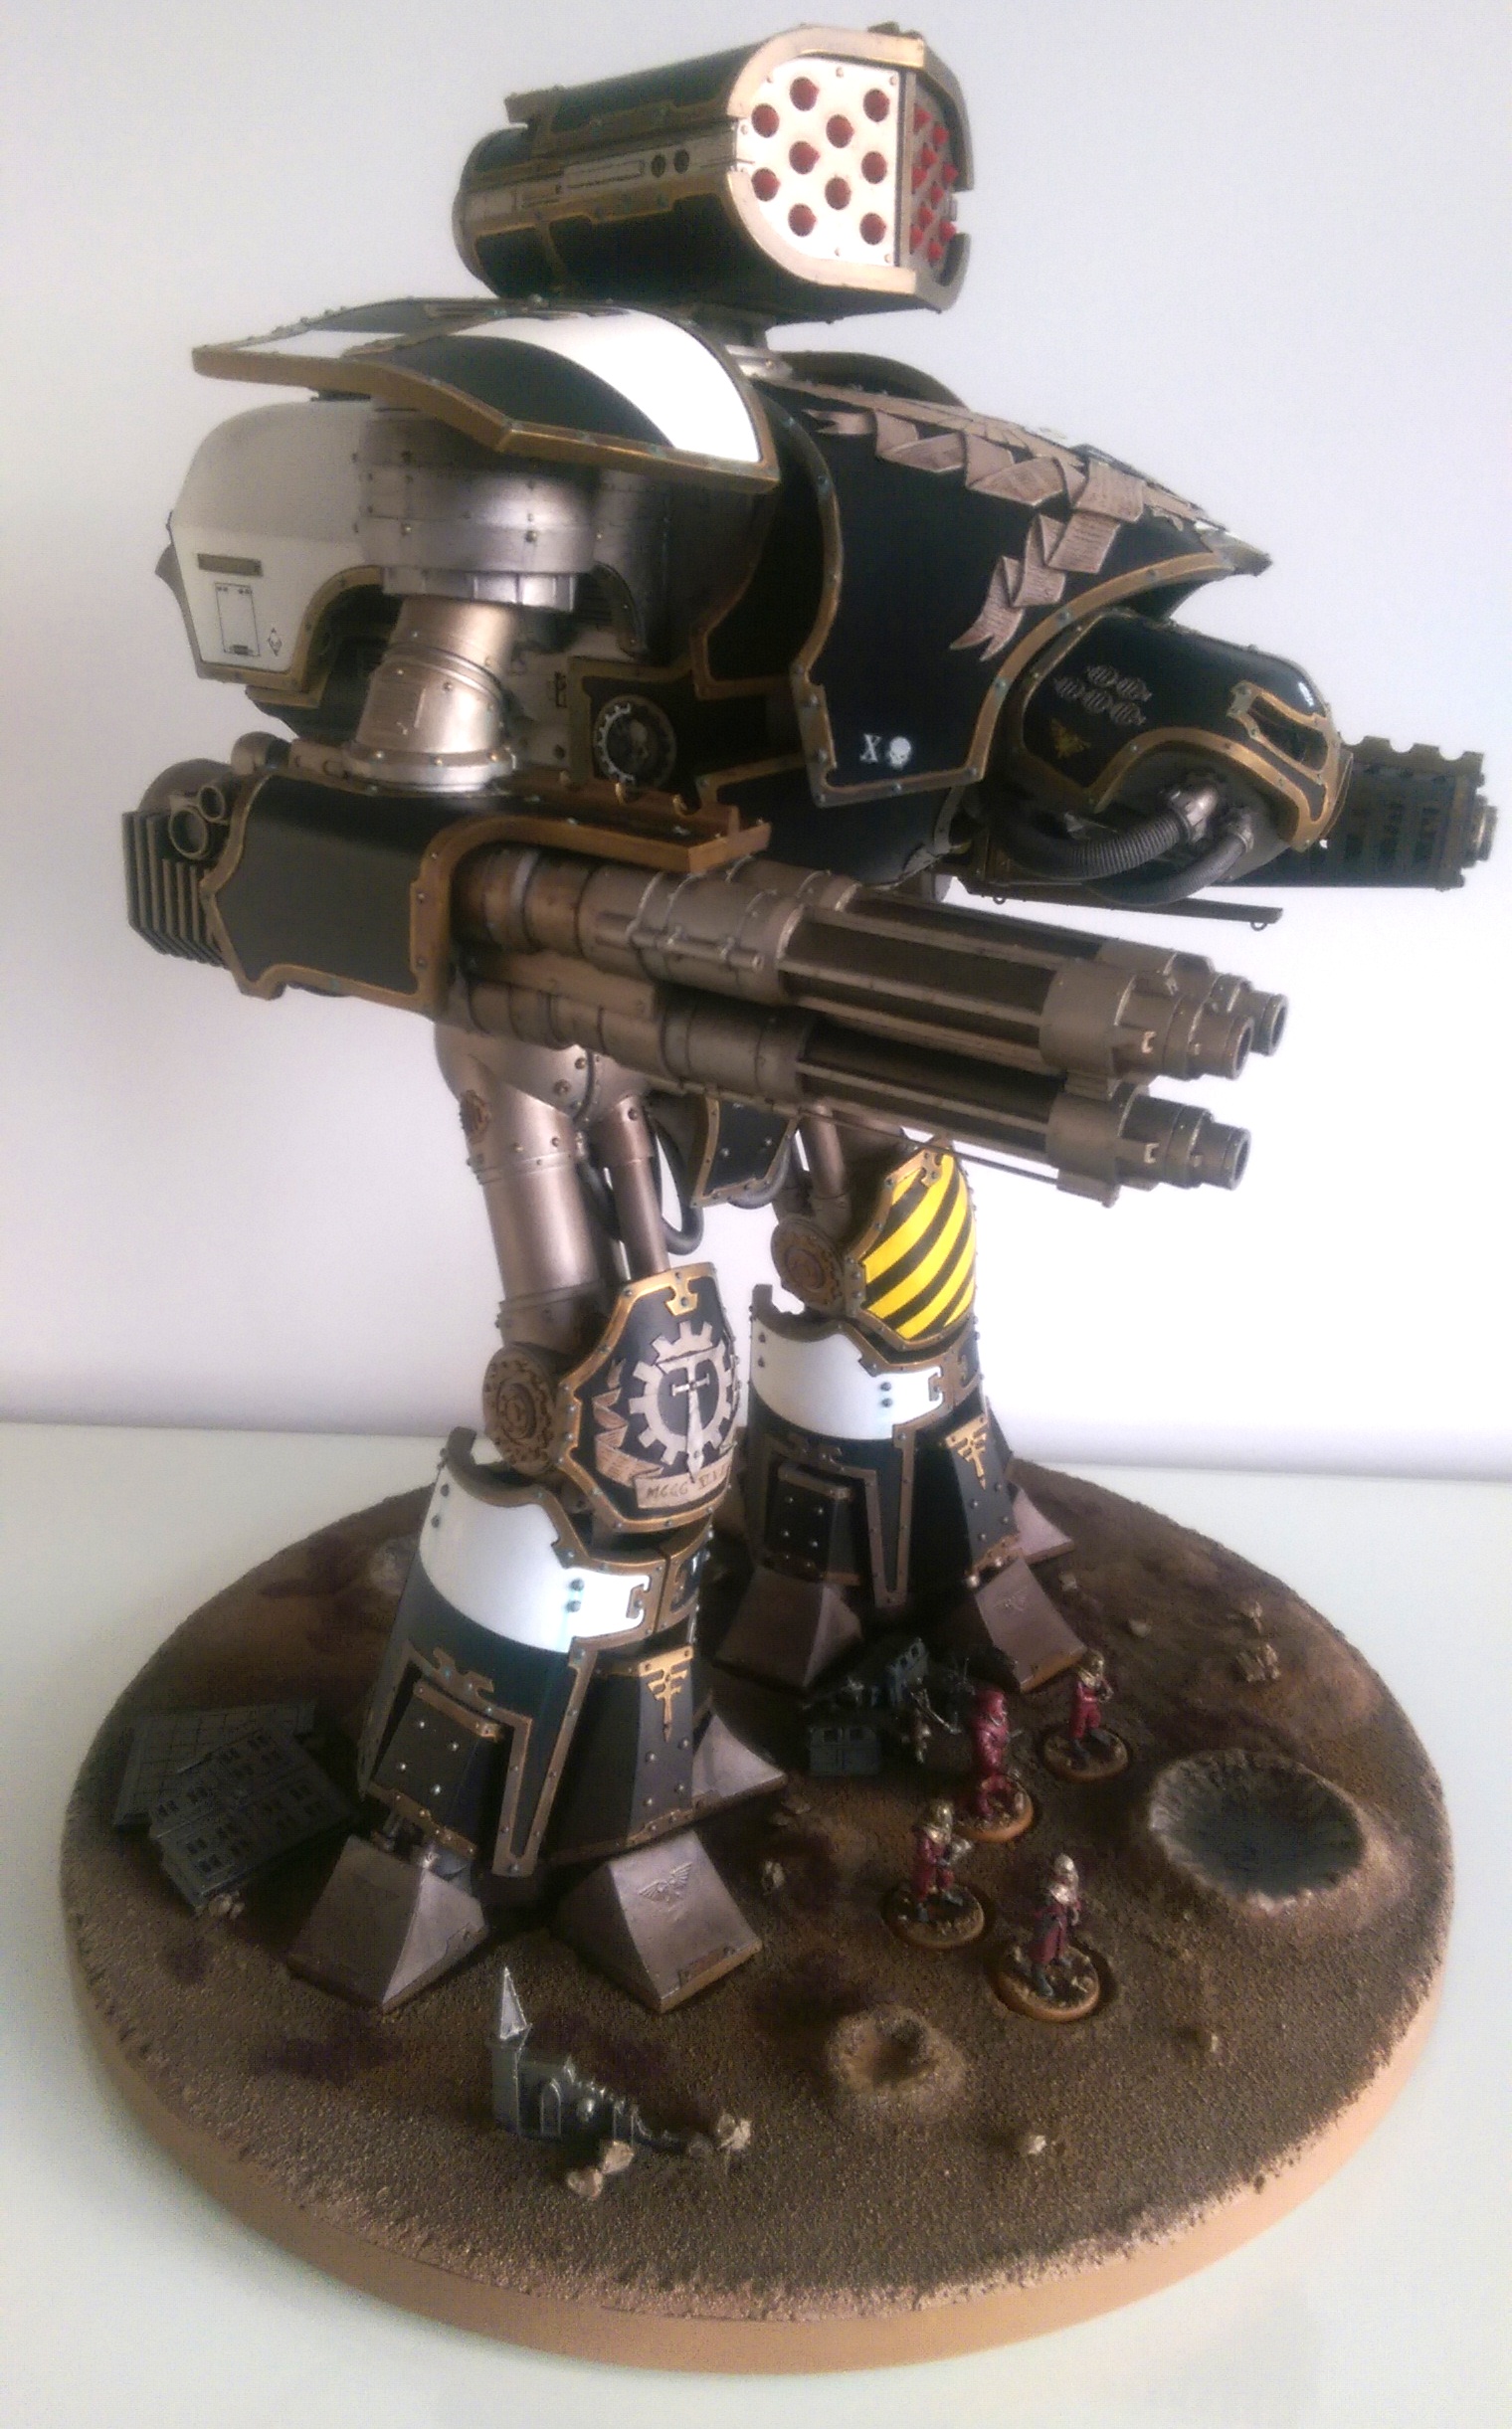
- Mask off armour plates leaving edge banding exposed
- Airbrush Vallejo Model Air Brass on banding
- Wash with Army Painter Soft Tone through the airbrush
- Remove masking and remask to expose quartered sections
- Spray with Citadel Skull White spray
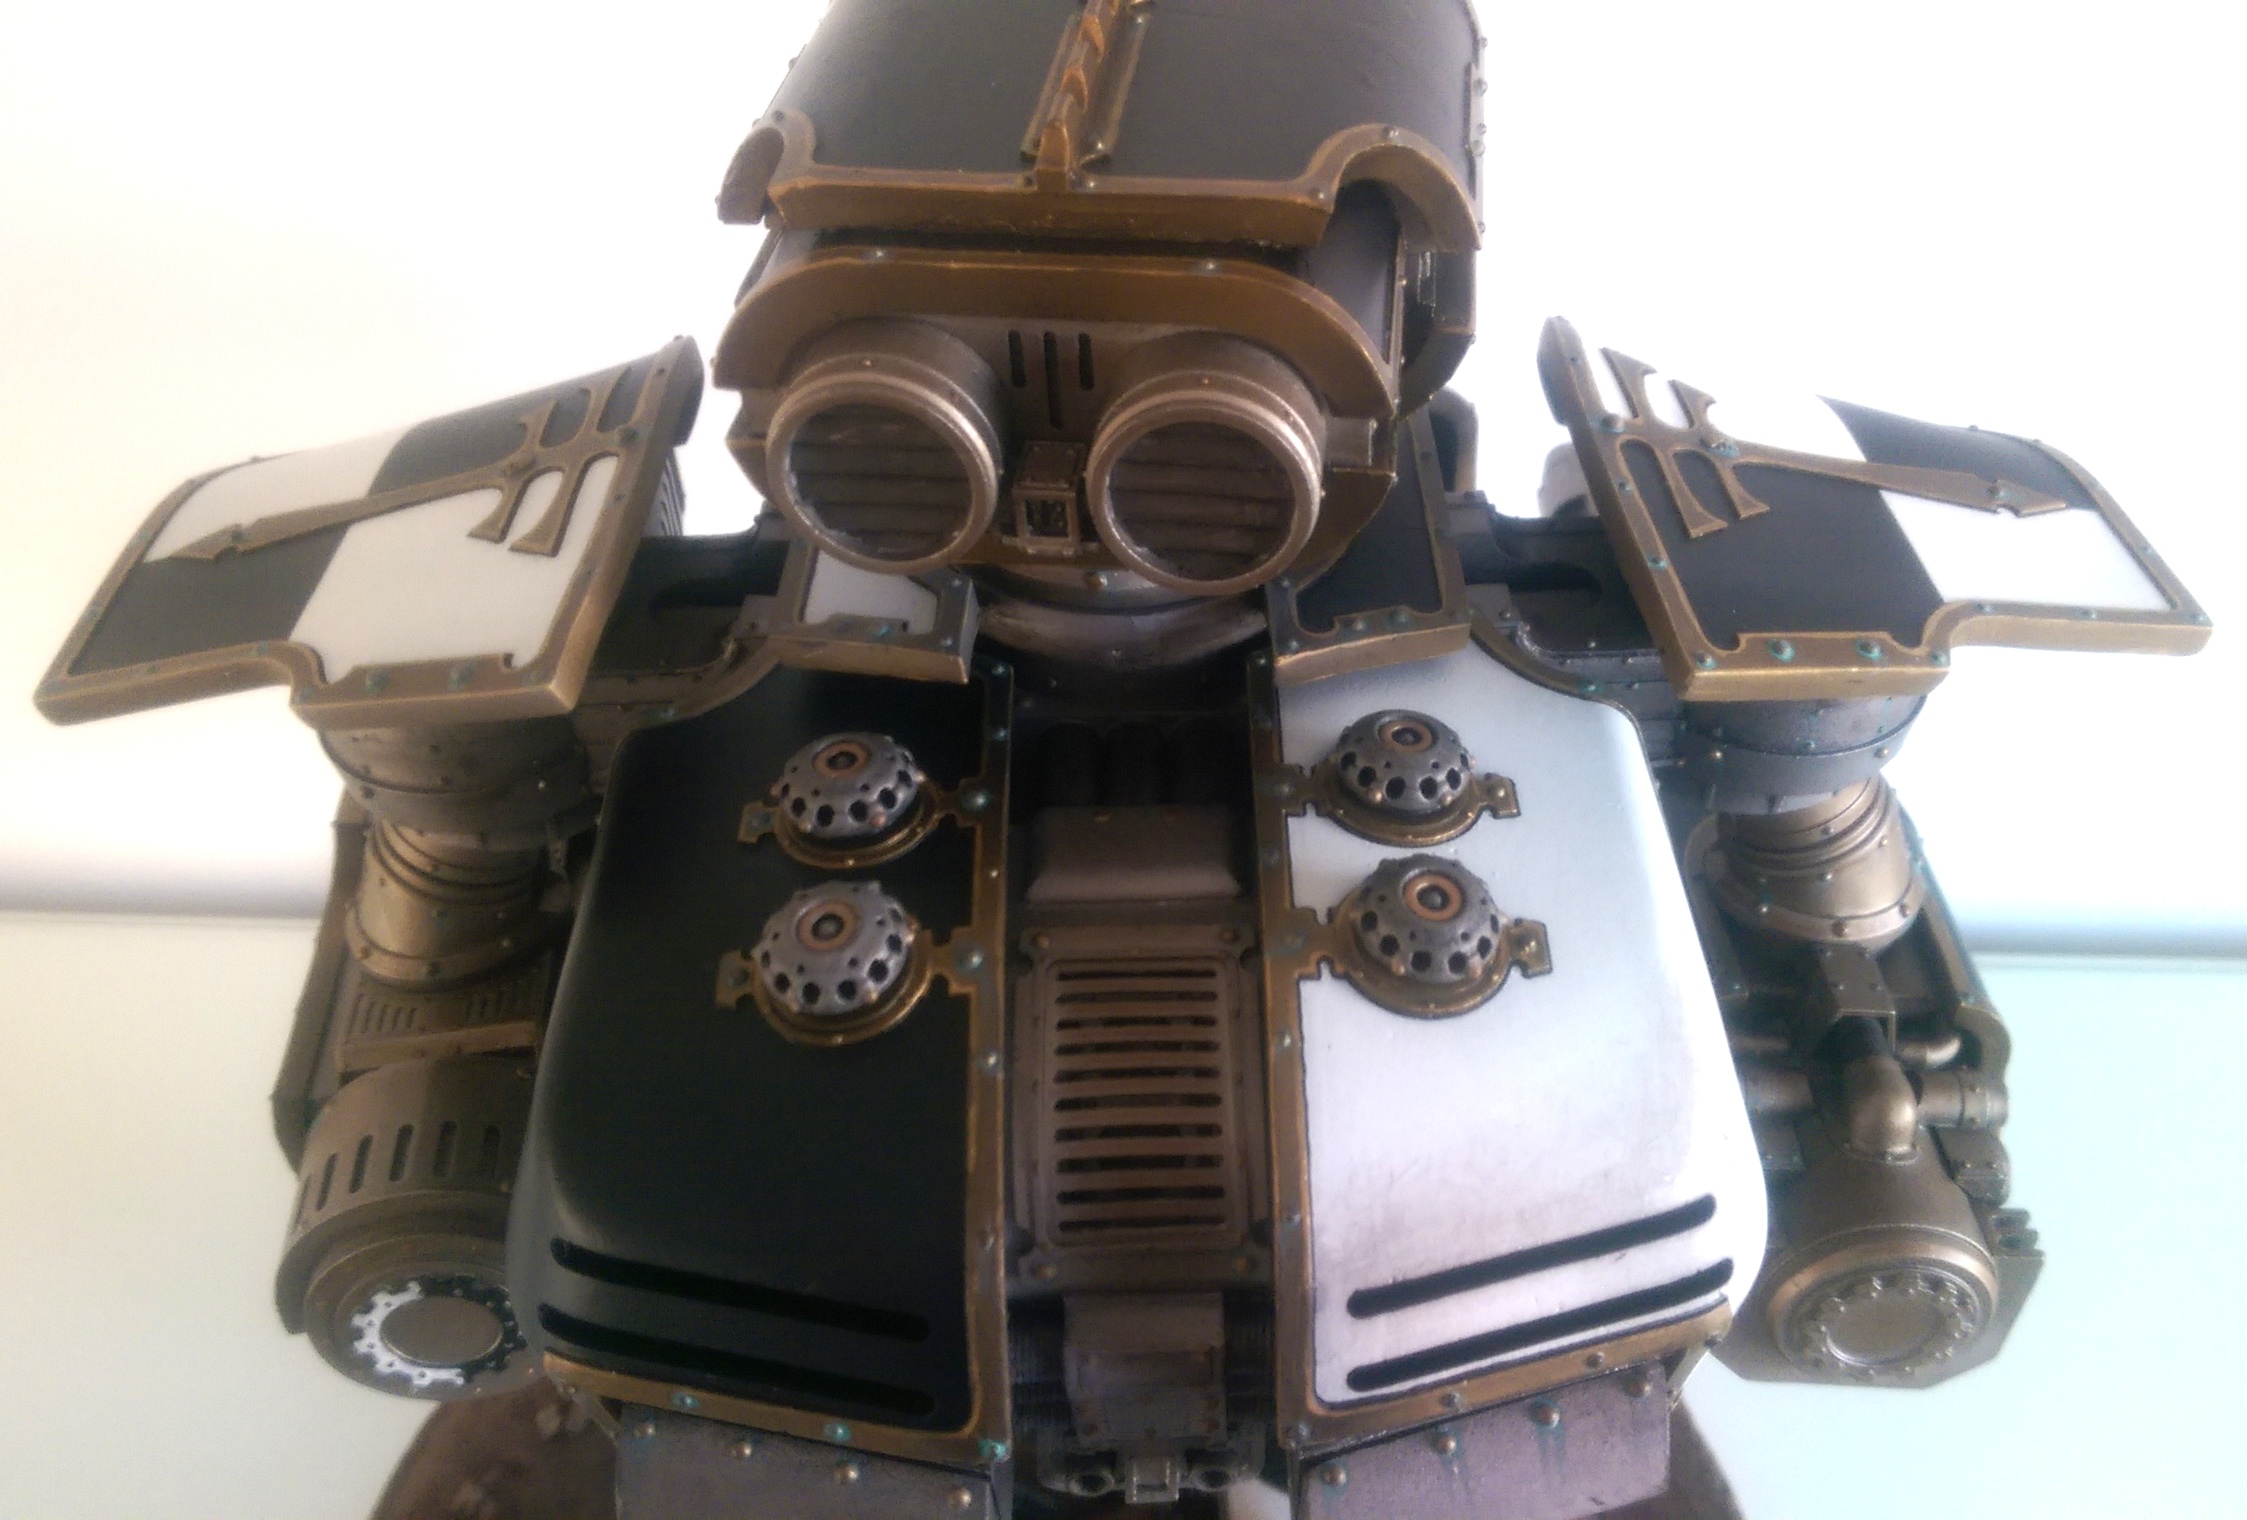
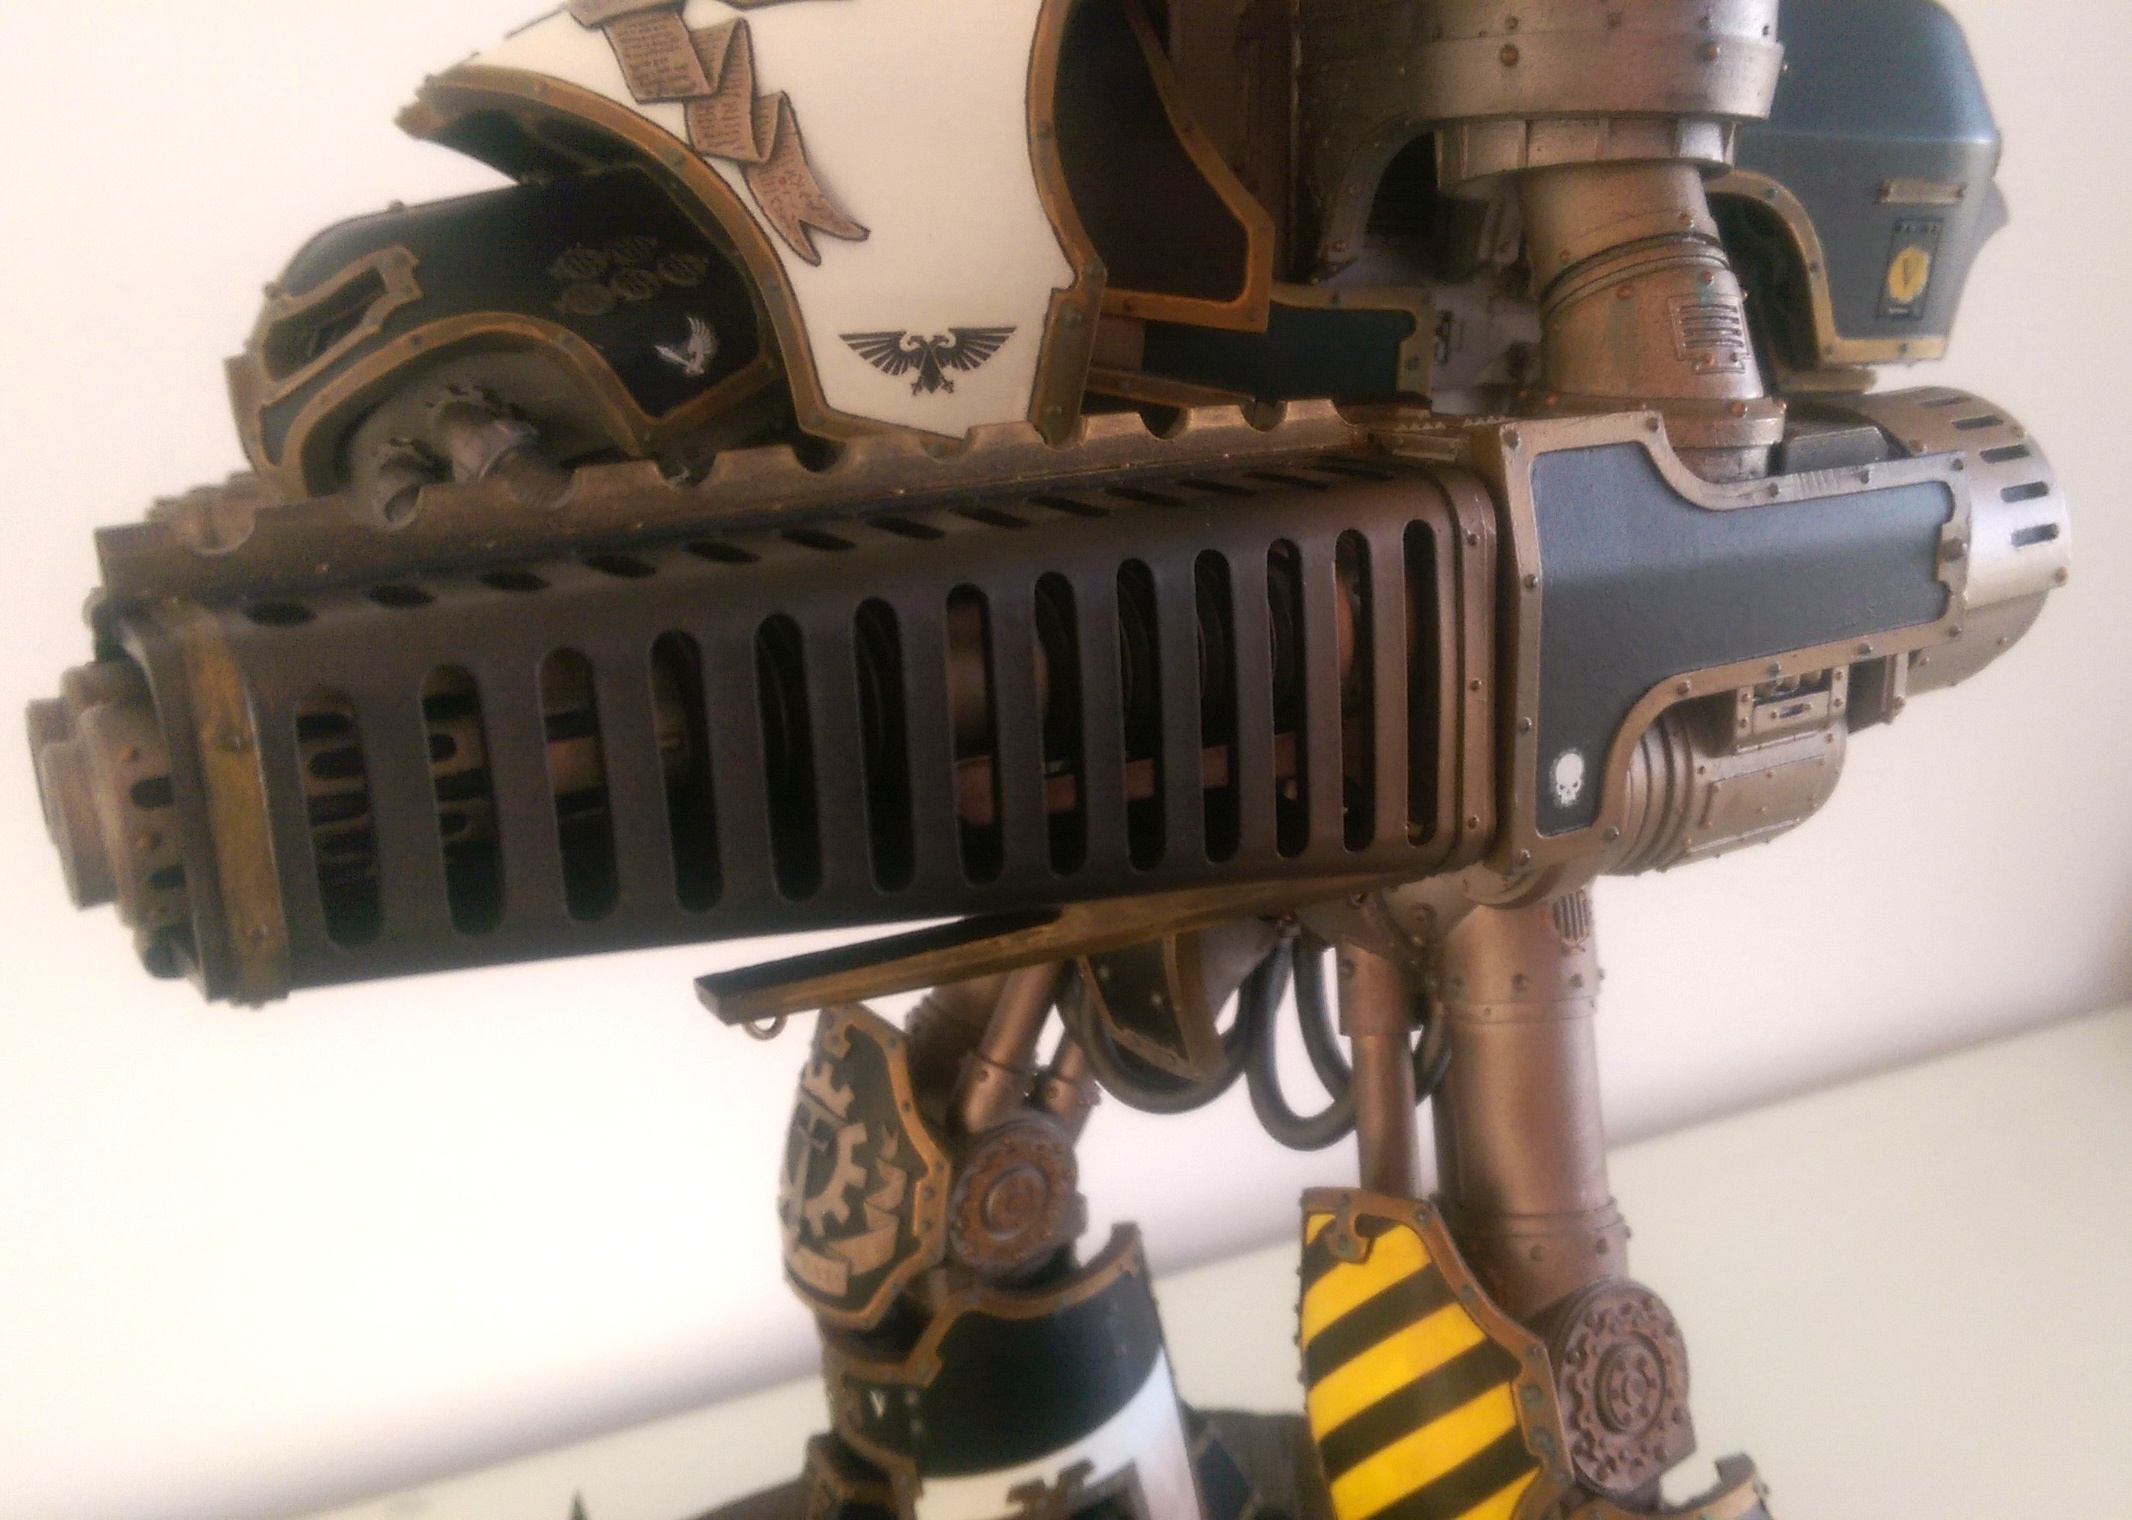
The exposed metal of the superstructure was primed black as above then sprayed with Army Painter's Chain Mail, then washed with Strong Tone through the airbrush. Weathering was achieved using Citadel's Nihilakh Oxide, Typhus Corrosion and Forge World weathering powders.
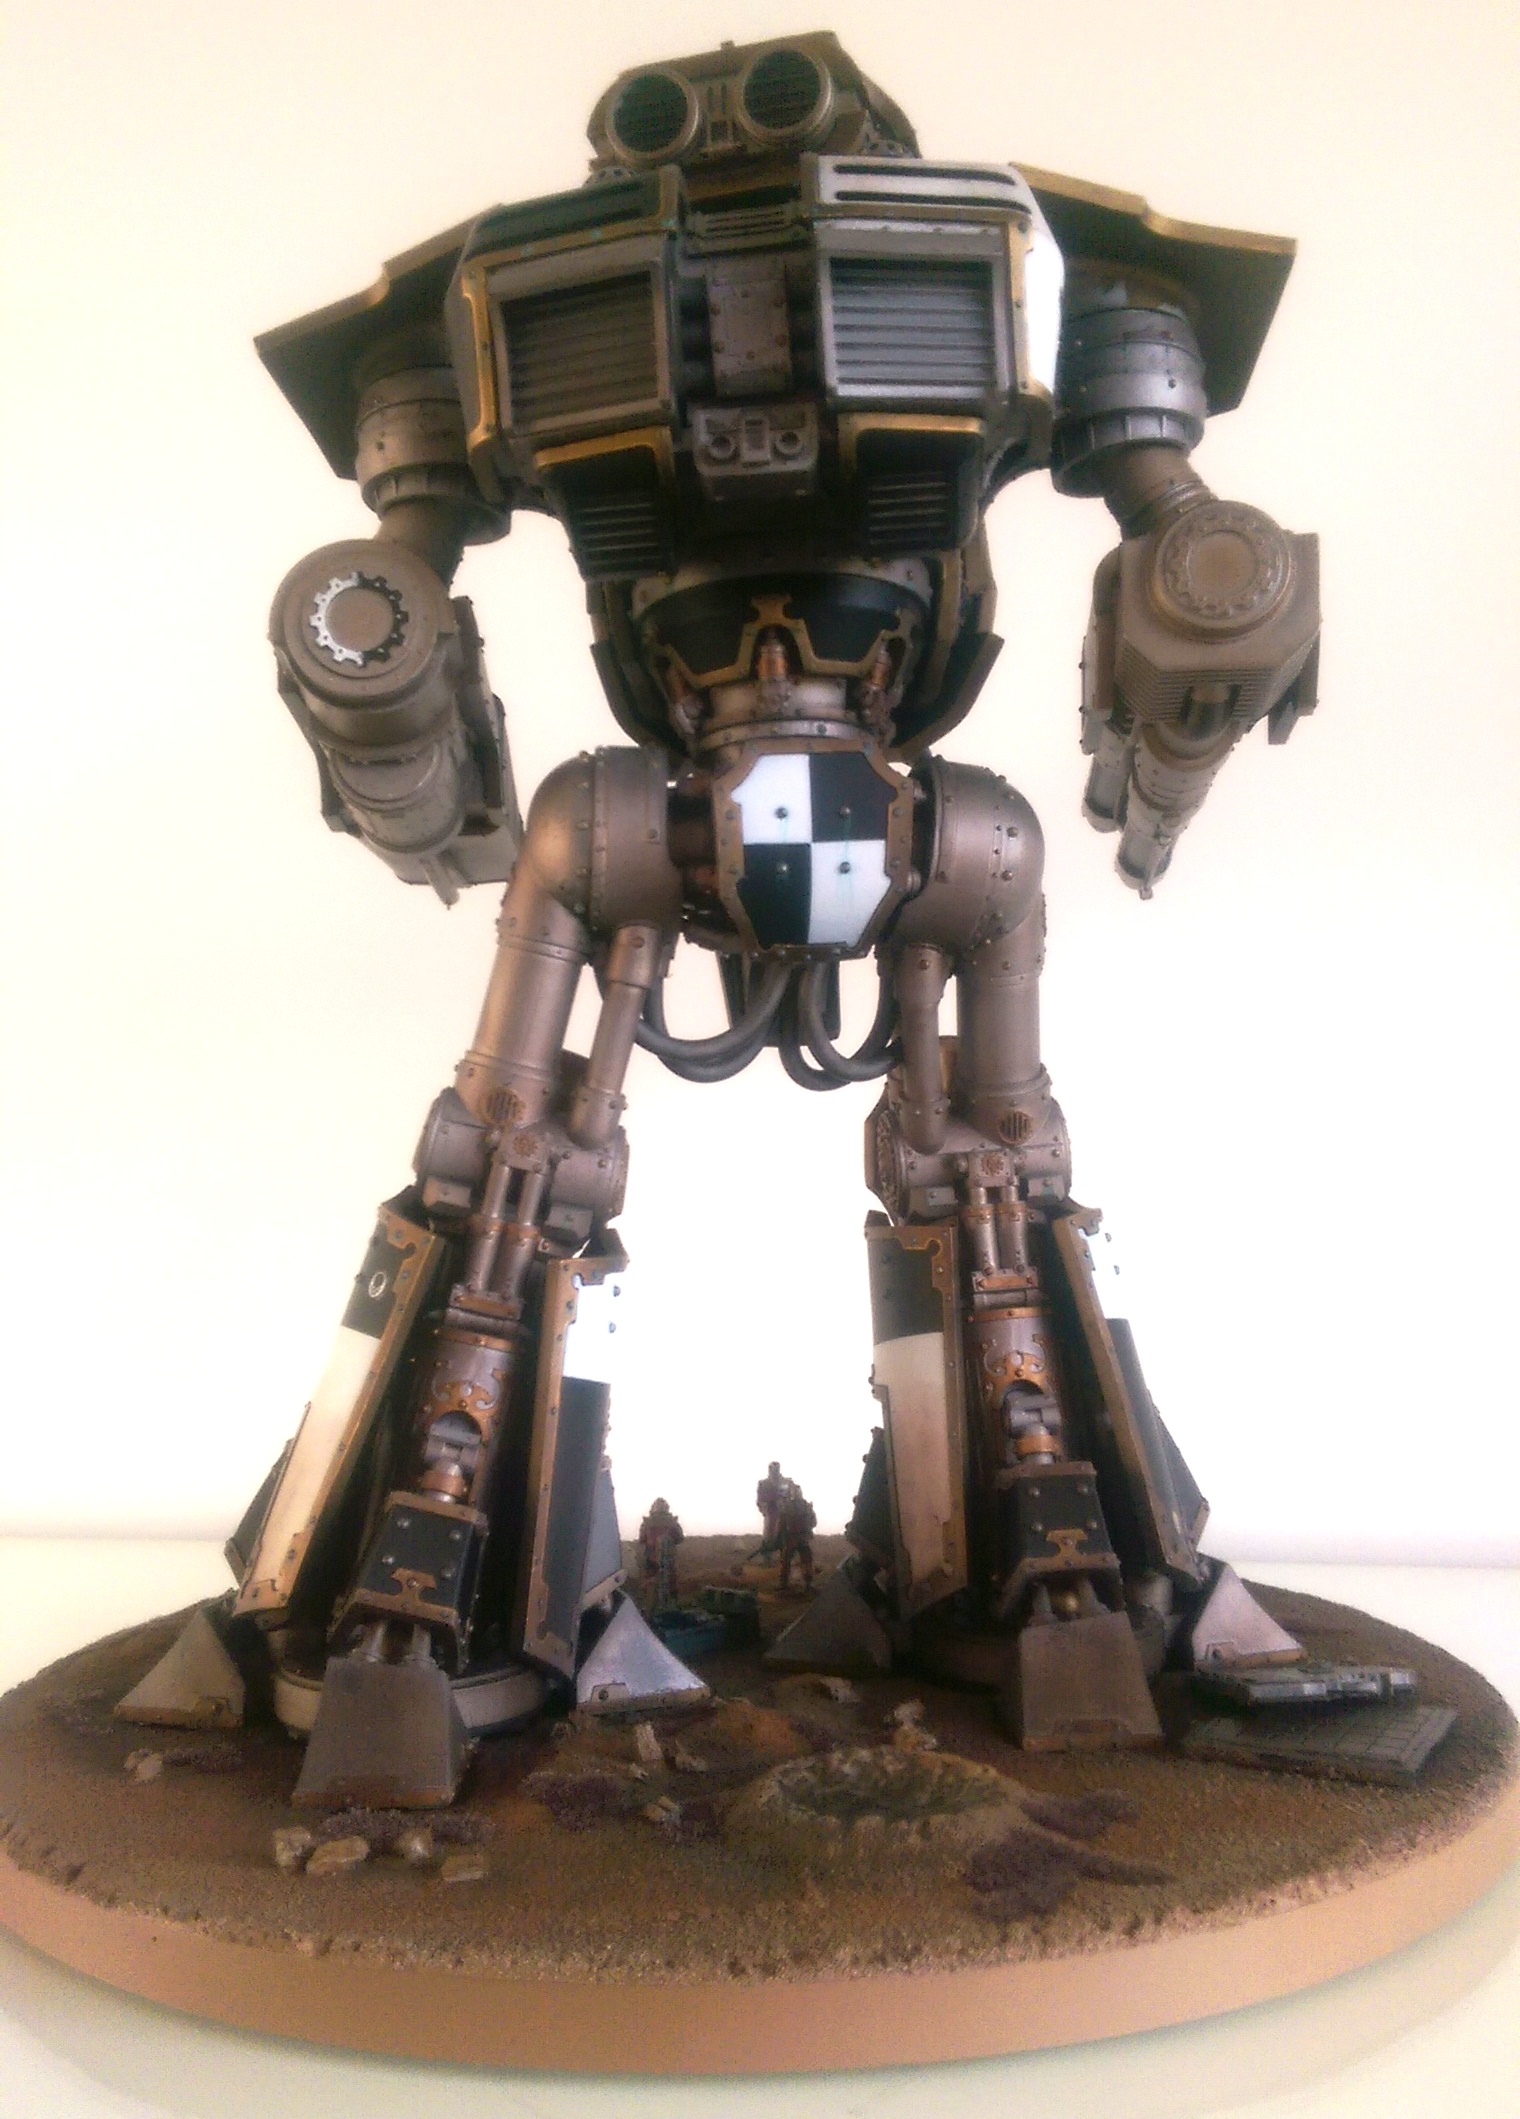
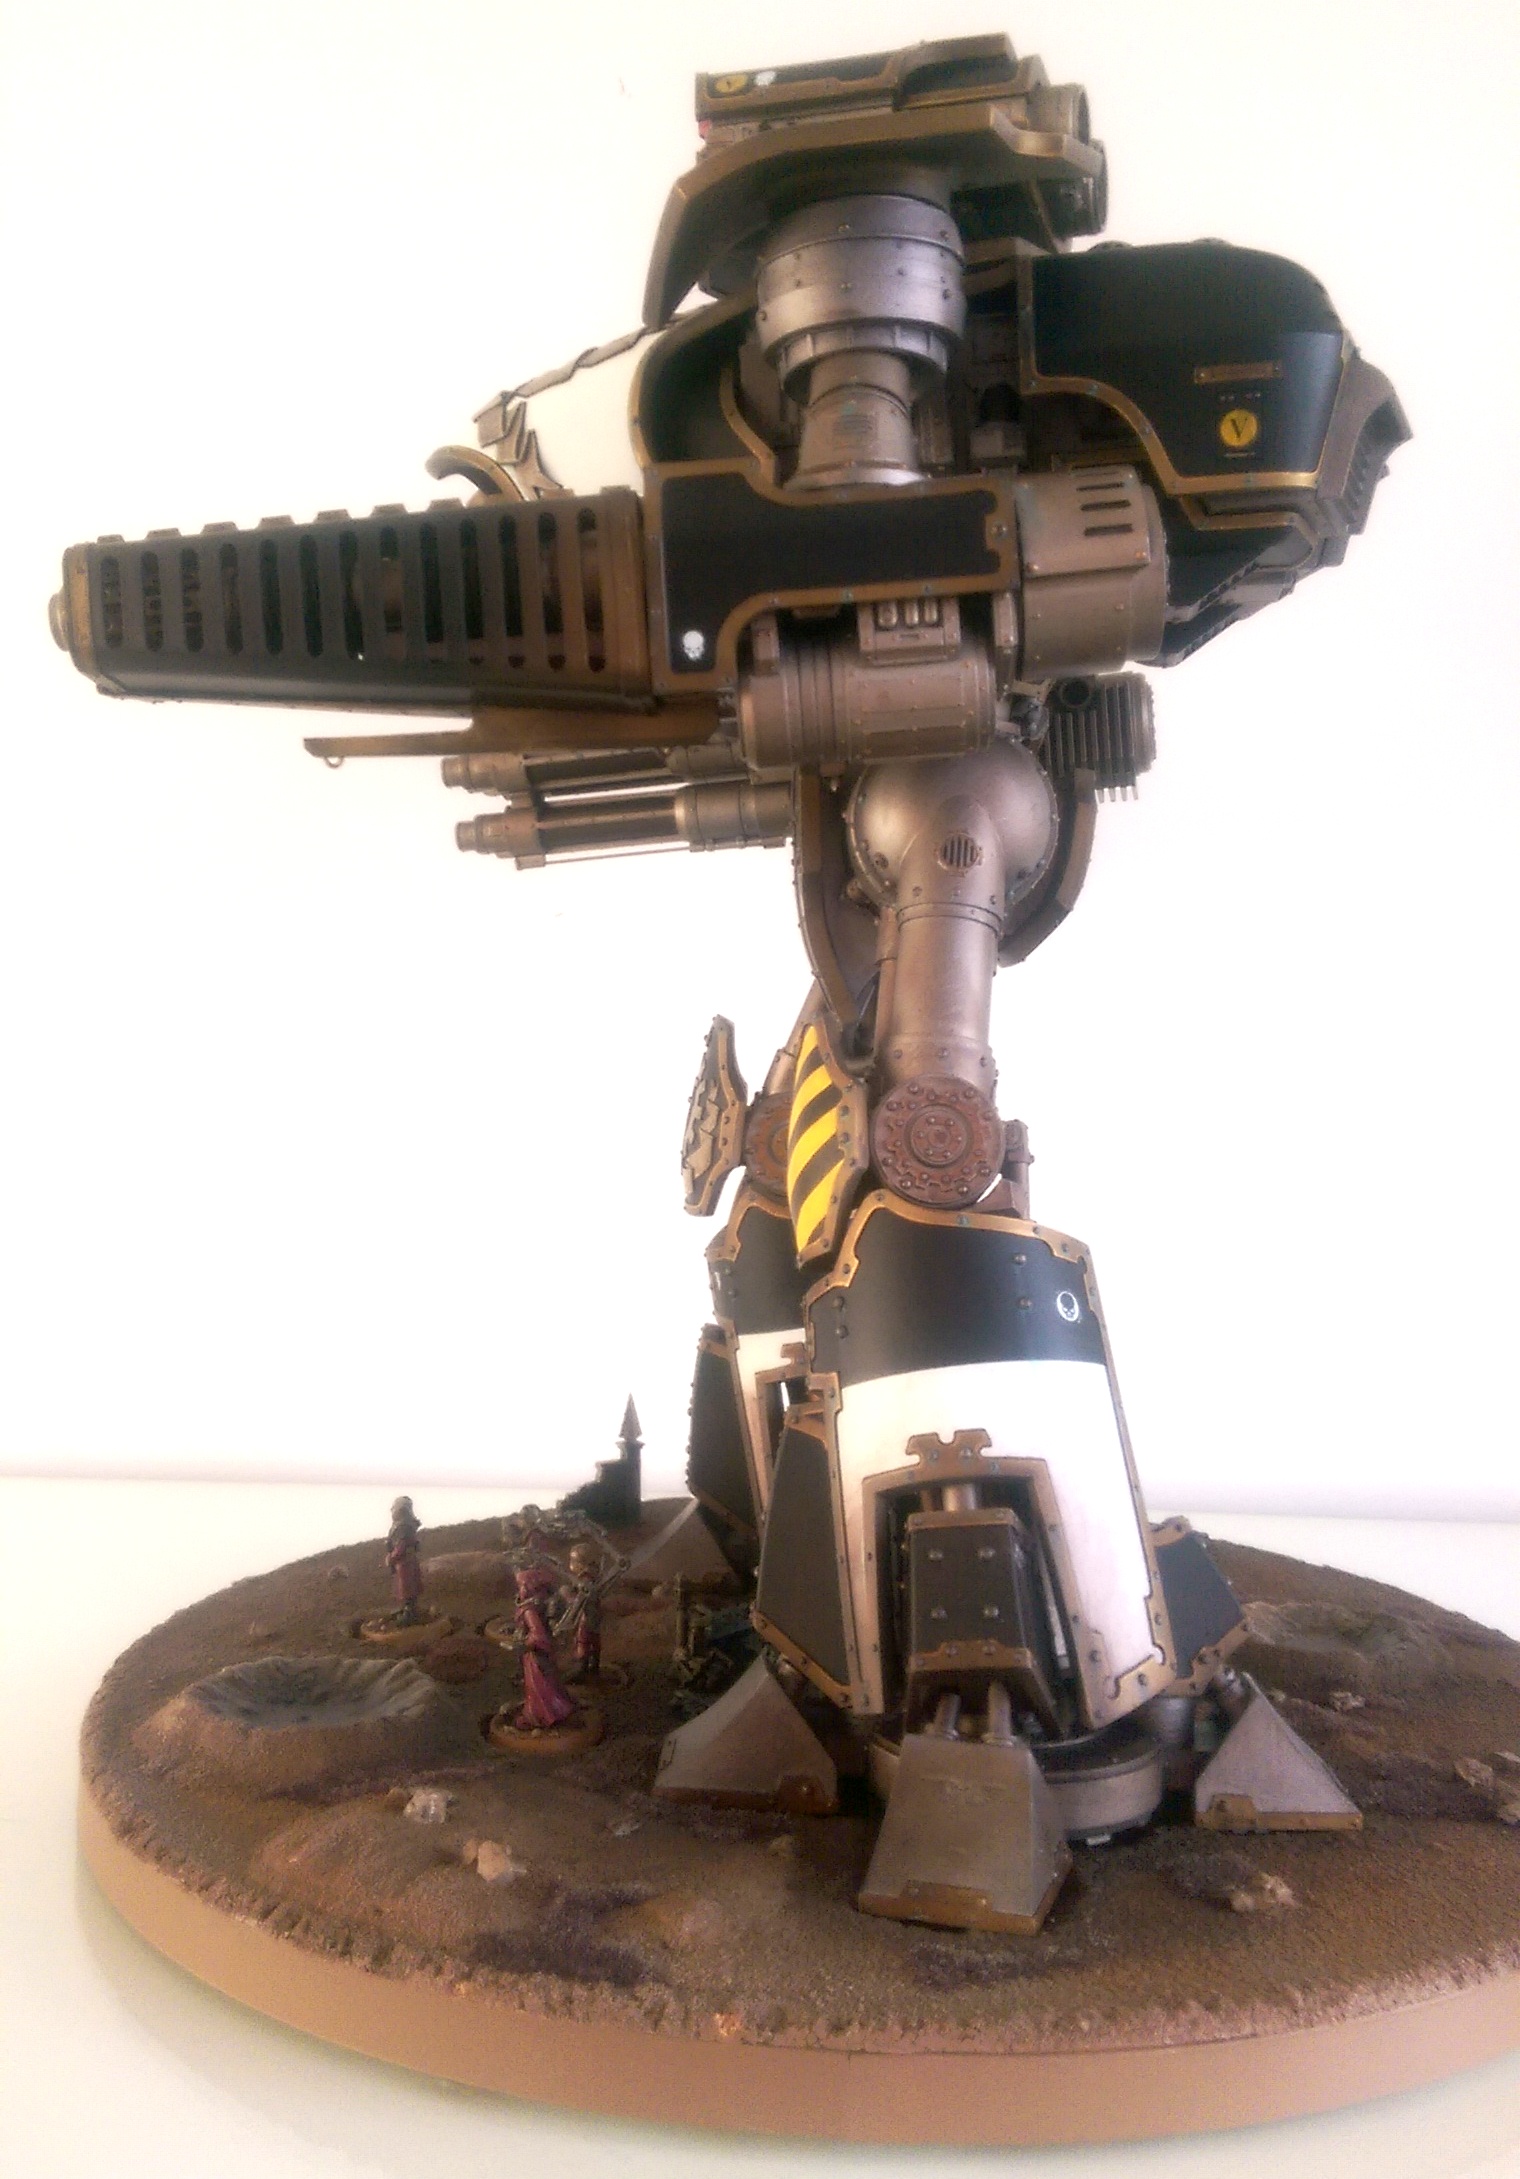
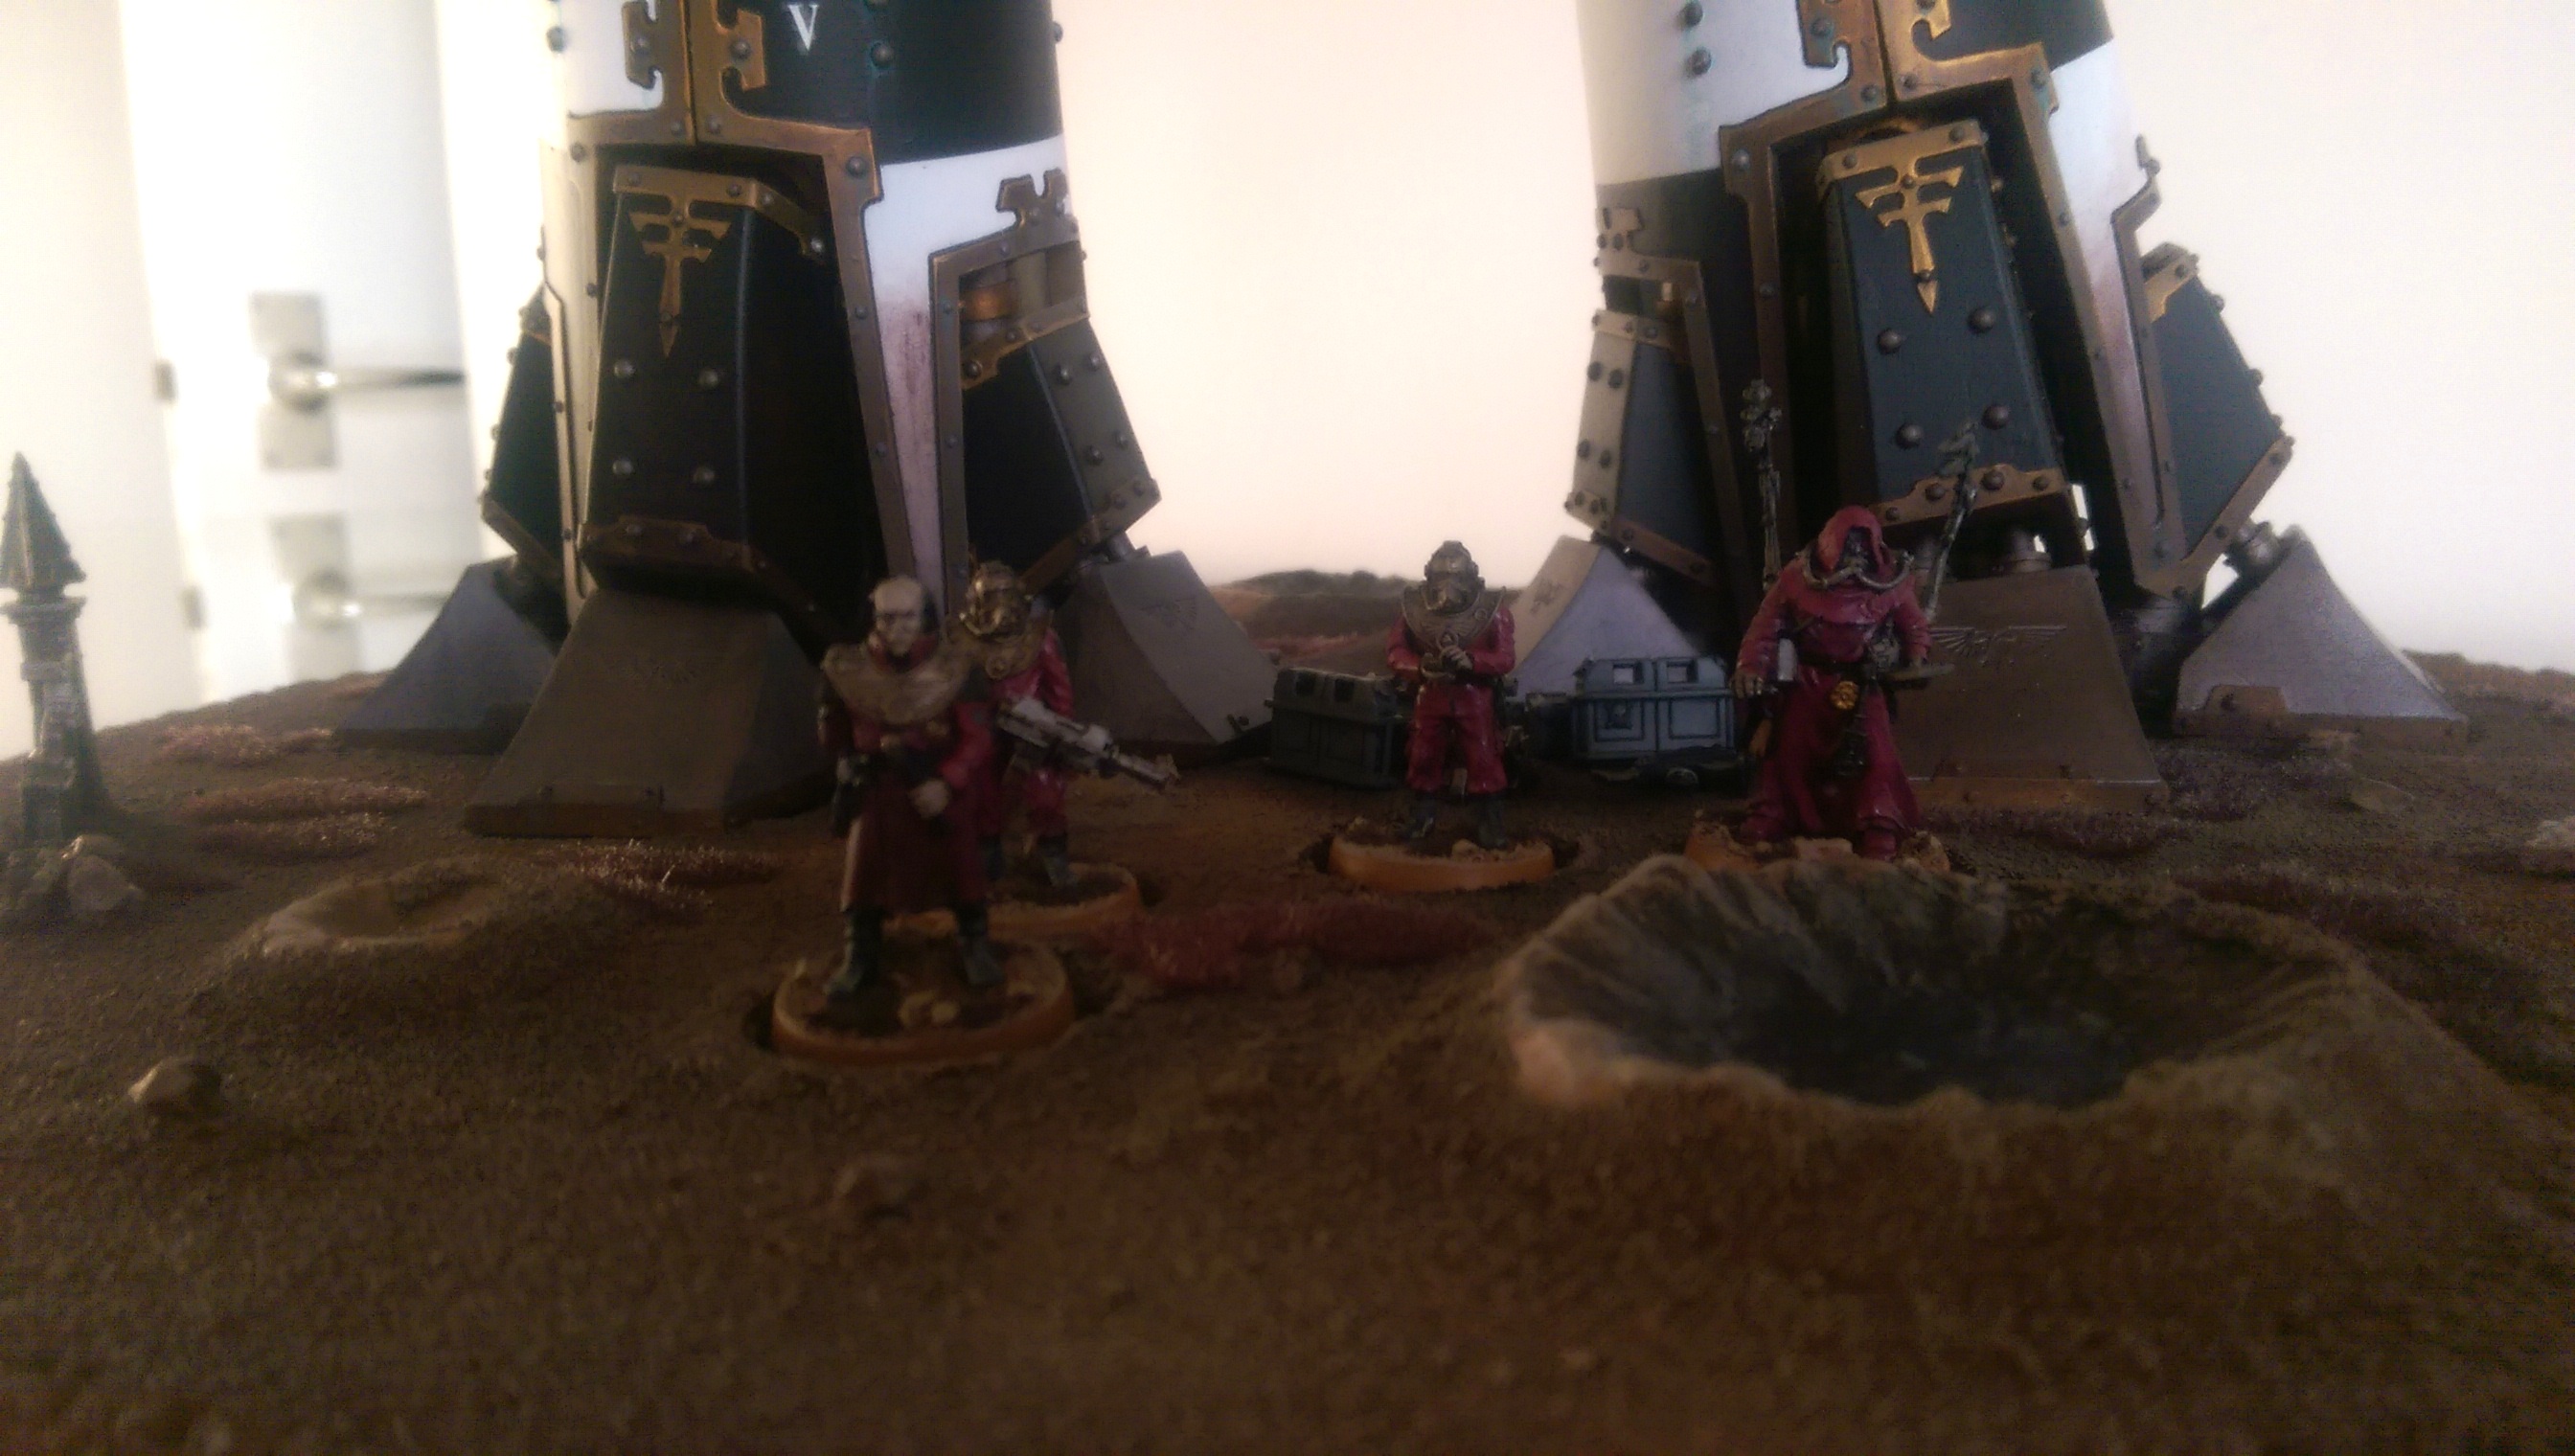
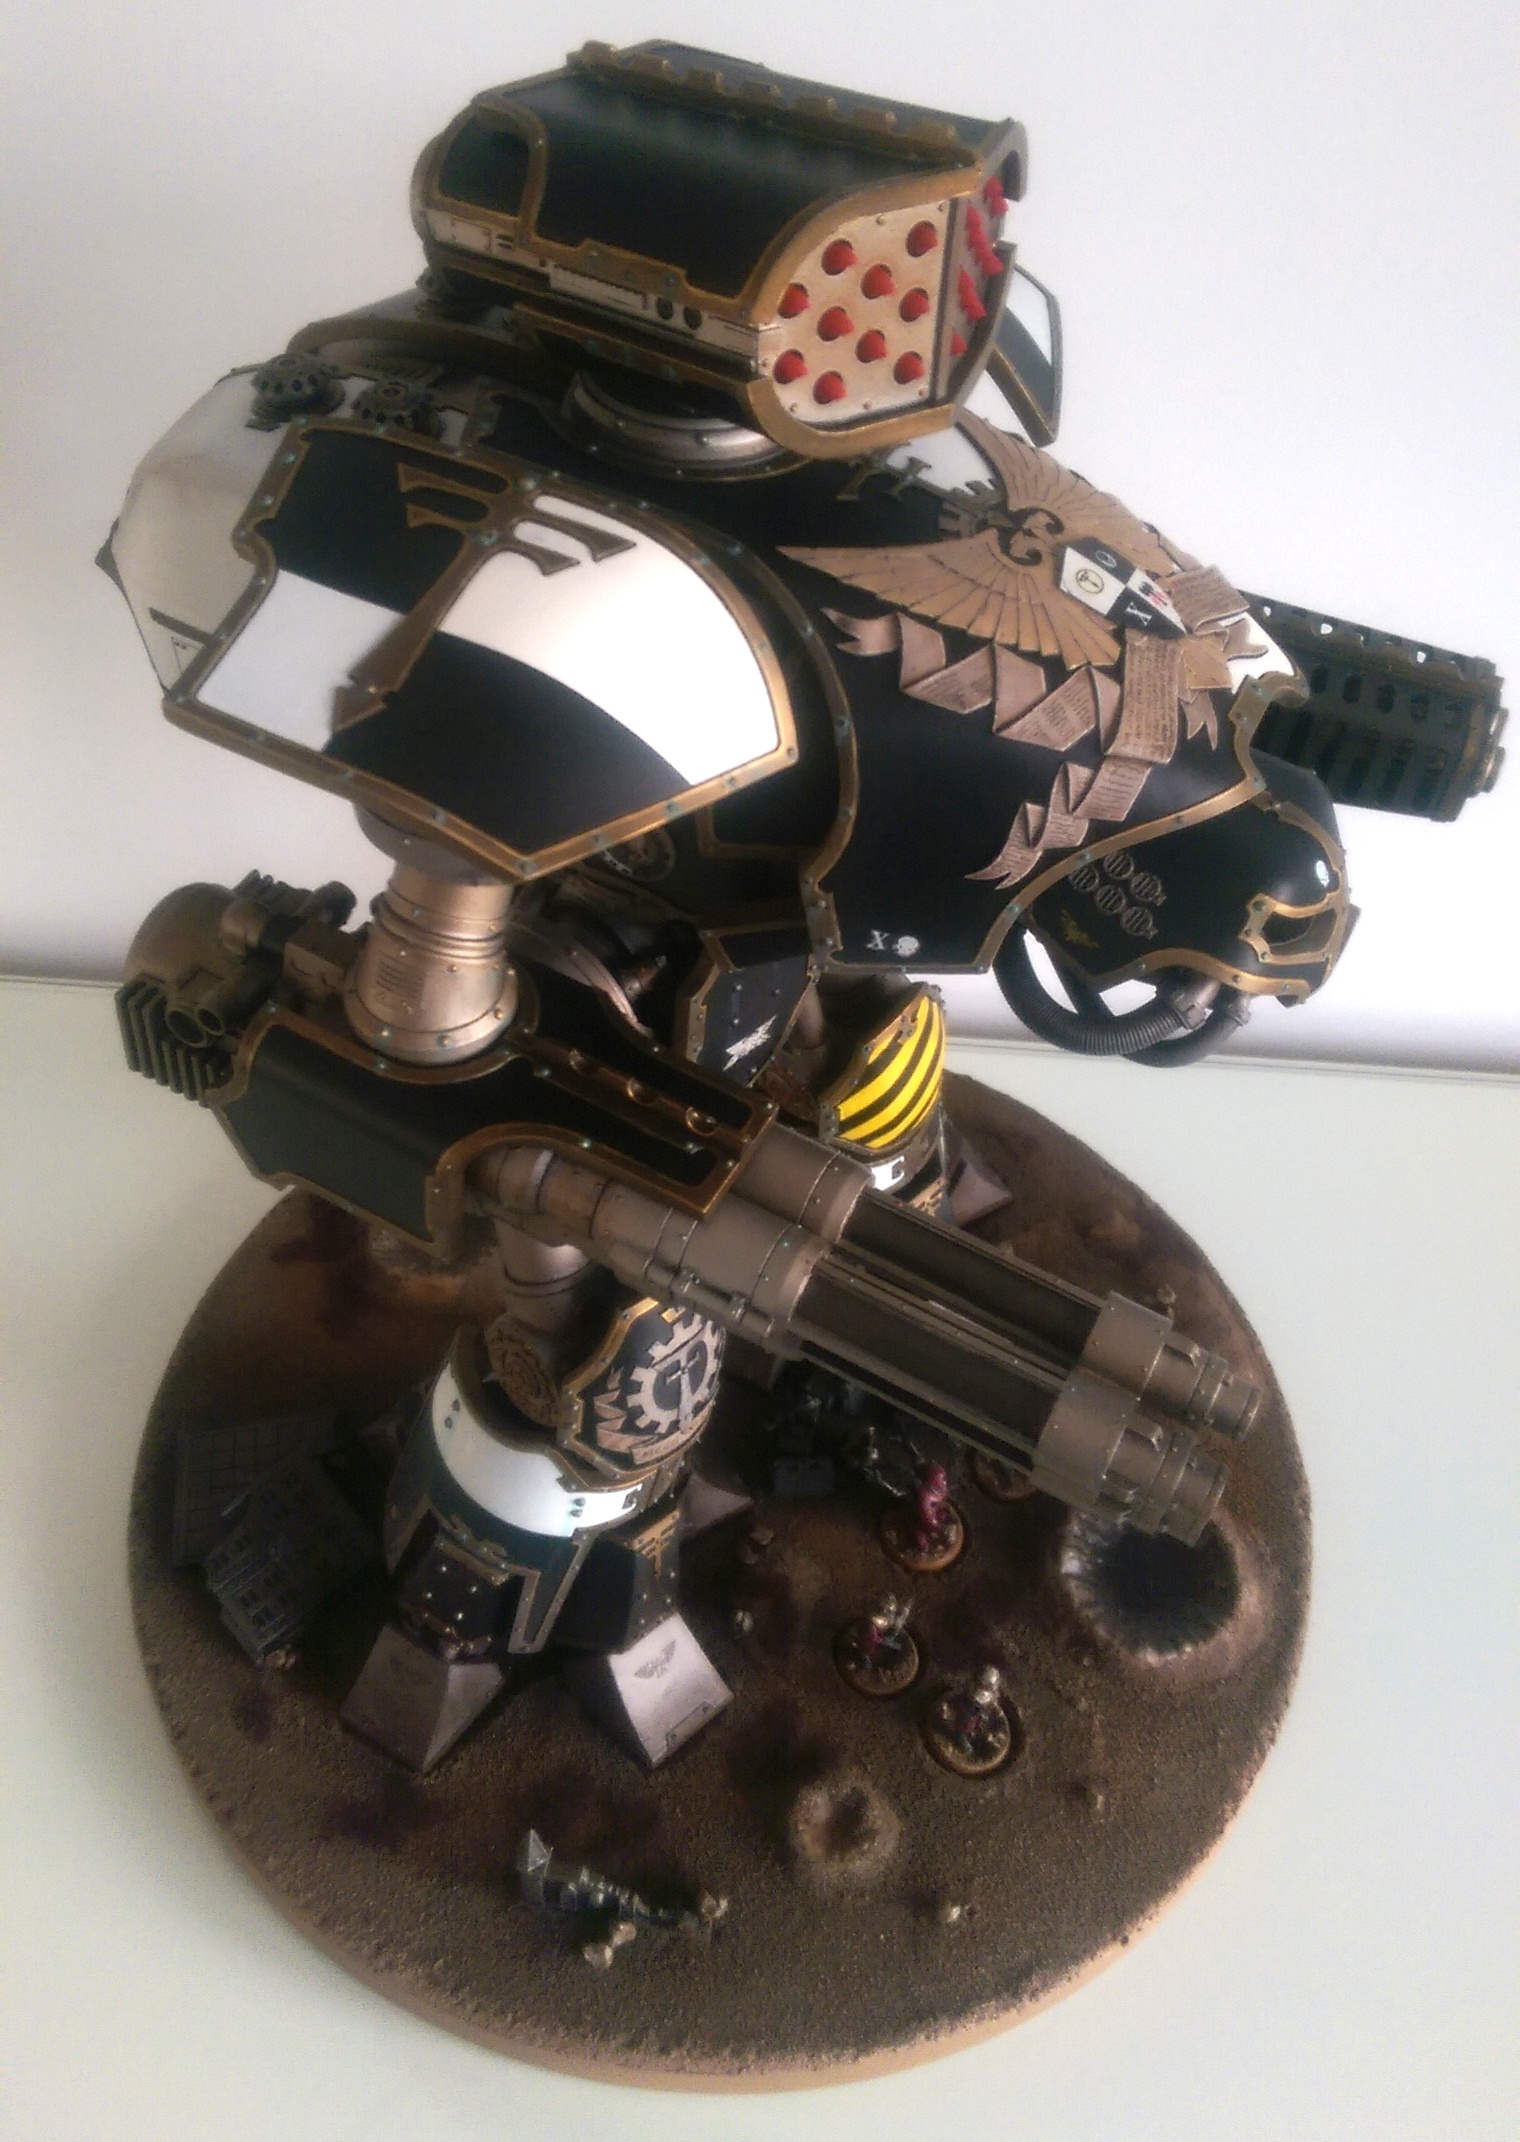
The base is a simple cake base with a belt of plasticard around the outside. It's supposed to match the basing scheme I've used for my Salamander and Necron armies and the Leviathan. There is a layer of cork on top of the base to allow me to create depressions into which the titan's feet can be placed (to create the effect of the ground sinking beneath its feet). I added some crushed up aluminium foil and some craters from Amera Plastic Mouldings to add relief. I then painted with PVA and applied sand. once dried, I sprayed the base with a mix of Army Painter leather and Plasti-kote sprays, drybrushed with a few GW paints and then added static grass (GW's Dead Grass).
Overall, I'd say this project is pretty straightforward, requiring a lot of technique but not much skill: for example, knowing how to pin the leg joints in the most effective way. Since the model was painted almost entirely using the airbrush, the amount of masking required was pretty exhausting and very boring indeed!