I've been trying to get my hands on an old-style Mark II Warlord Titan for quite a while. This miniature, made for only a couple of years from 1995, is the "transitional form" that links the old-school "beetleback" warlord titans from Adeptus Titanicus to the current Mk. III "Lucius" pattern Warlord titan, and I've always really liked the design.
I was finally able to get hold of one from eBay, and for a pretty good price. Unfortunately, the reason was that one of the titan's feet was missing. Ever the optimist, I decided to turn this problem into an opportunity, and have a go at making a duplicte of the foot using Green Stuff (aka kneadatite, basically two-part epoxy putty optimised for miniature modelling).
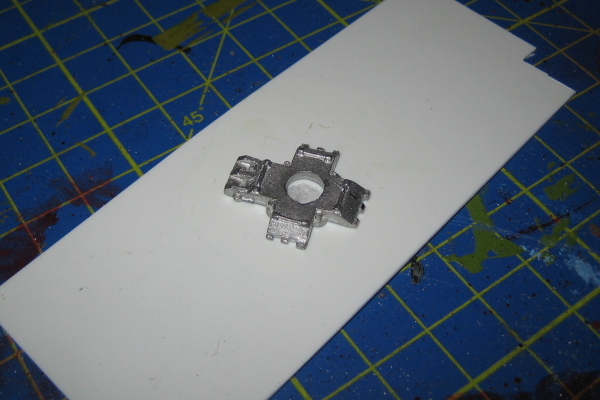
The first step was to take the foot piece that I did have and glue it very lightly to a piece of plasticard. I used a very small amount of superglue, as I wanted to be able to separate the foot from the card:
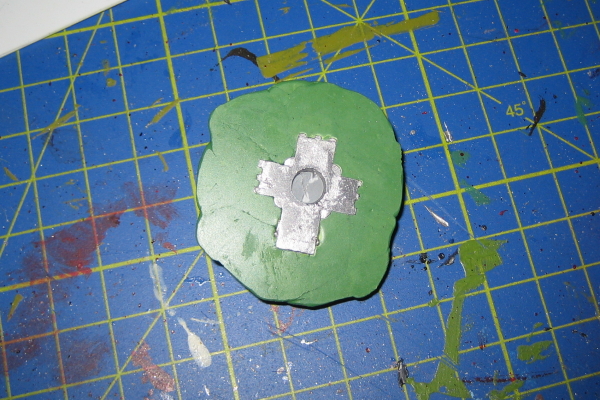
Then I made up a large chunk of Green Stuff — more than I probably needed, but that's better than not having enough — and covered up the foot. It's important to push down firmly when applying the Green Stuff, as you don't want creases, voids or bubbles. I applied the Green Stuff a small piece at a time, slowly building it up so that it covered the entire foot:

I waited a couple of days to give the Green Stuff plenty of time to cure. Then I removed the plasticard backing to expose the original, embedded in the Green Stuff mould:
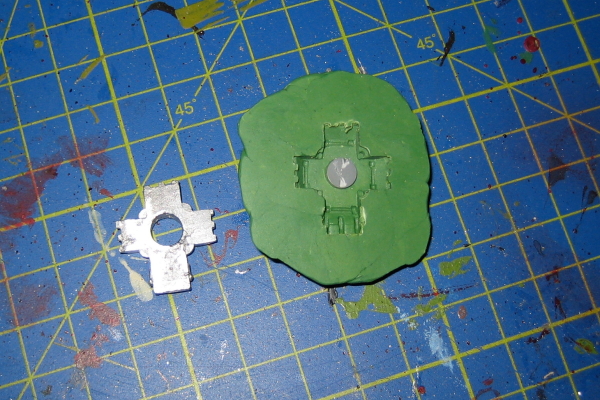
The conventional wisdom is that you should use a "mould releasing agent" to prevent the Green Stuff from sticking to the original, but I'm a physicist, and I had a more elegant solution: heat. When heated, different materials undergo thermal expansion at different rates, so all I did was run it under the hot tap: the Green Stuff and the lead original expanded at different rates, and the foot just popped out:
The next step is to make up another load of Green Stuff, from which the casting would be made. Since I'm using the same material as the mould, I can't use my heat trick to remove the casted piece from the mould, I had to use a release agent this time: once I'd made up the Green Stuff and rolled it into a ball, I dipped it into some olive oil, and pressed it down into the mould:
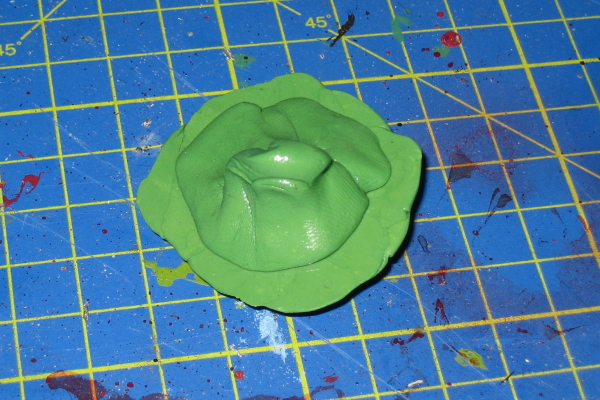
After leaving it for a few hours to cure, I was able to remove the cast from the mould very easily:
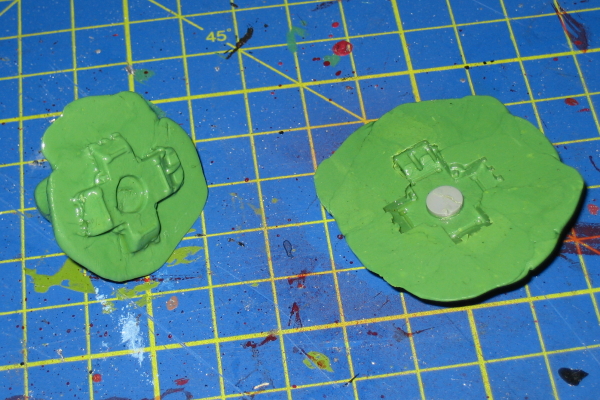
I waited overnight for the Green Stuff to harden, and after giving it a good clean to remove the oil, I then used my trusty razor saw to remove the foot from the rest of the Green Stuff, and hey presto:
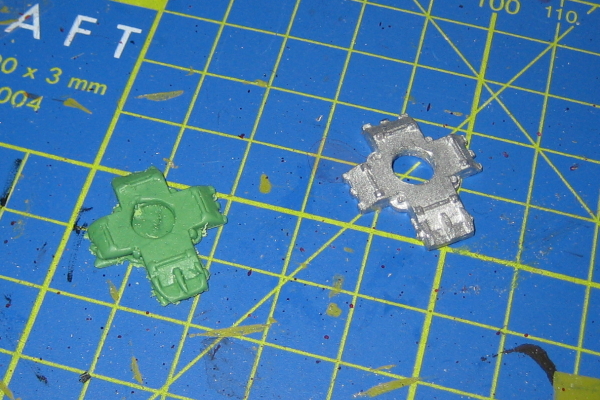
All it needs now is some cleaning up and trimming, and it's ready for painting.
