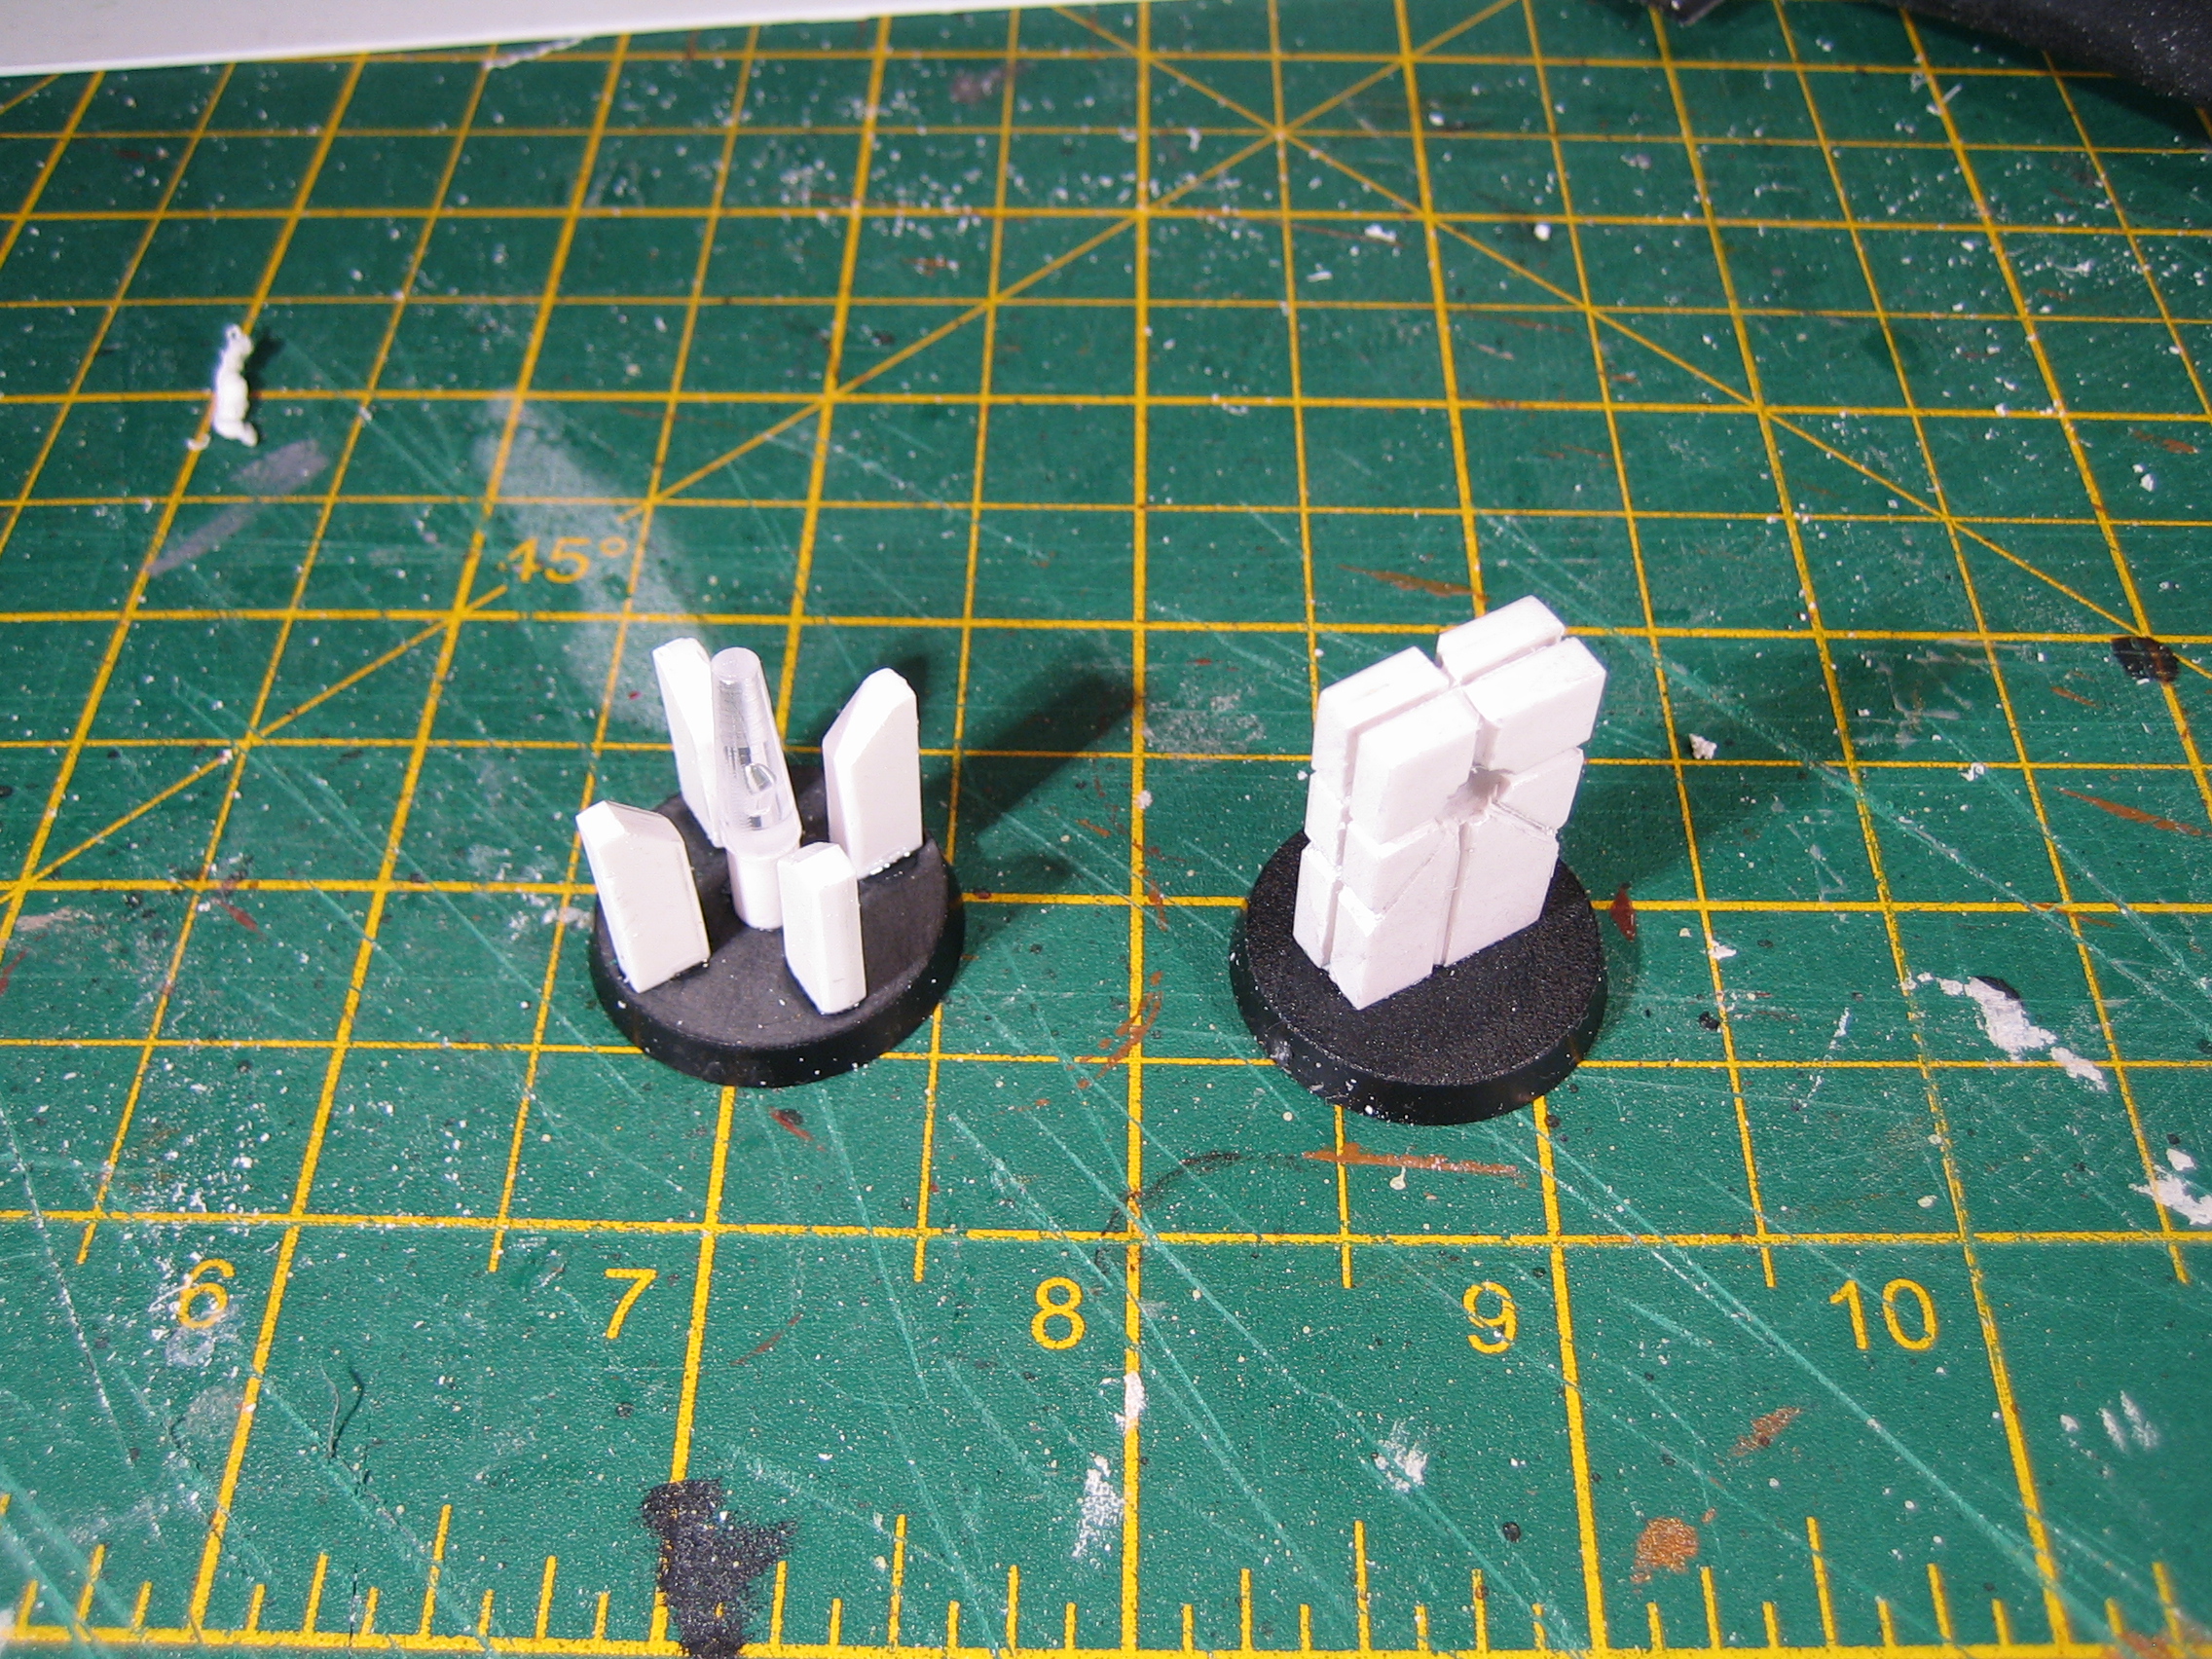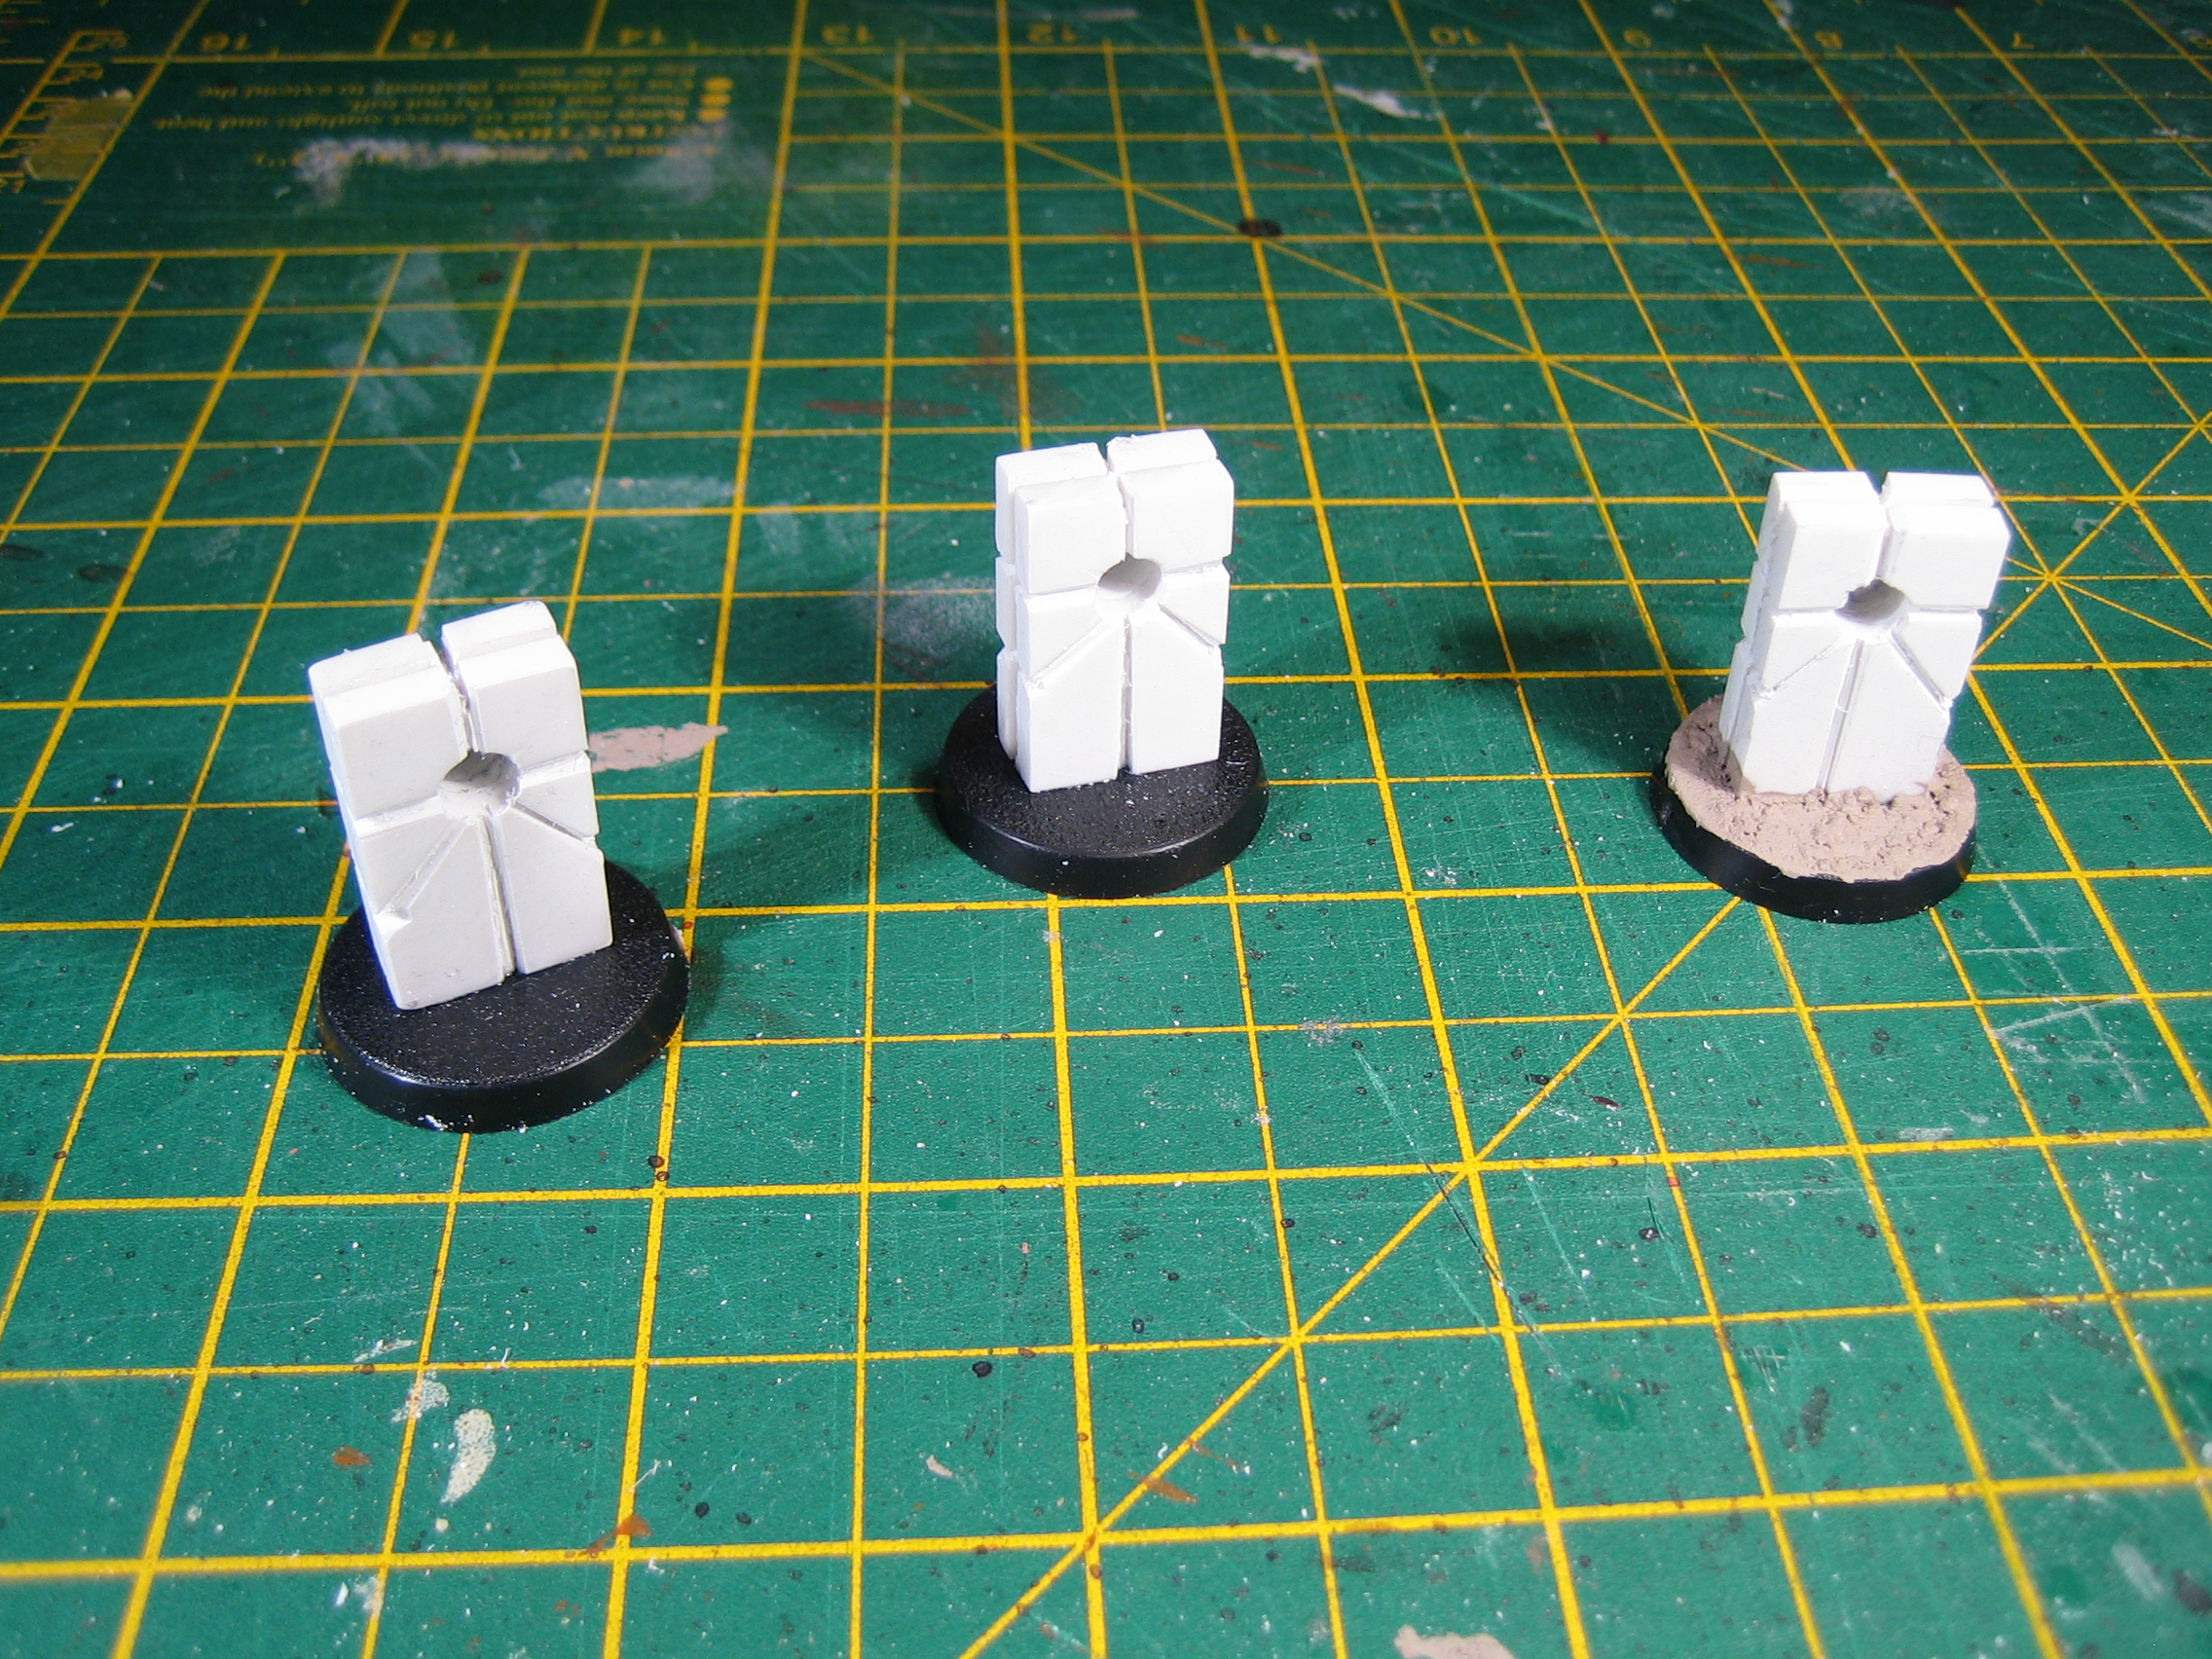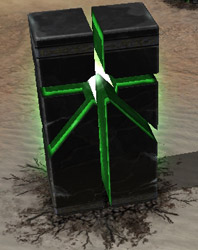
This is the method I came up with (it took a couple of attempts). First, the ingredients:
- 3mm plasticard
- 1mm or 0.5mm plasticard
- Liquid poly cement
- 5mm drill
- Razor saw
- Clothes pegs
The first thing to do is cut out two 15mm x 24mm rectangles from the 3mm plasticard. I decided to score on the design while they were still attached to the main sheet. You'll almost certainly want to use a razor saw to do this.
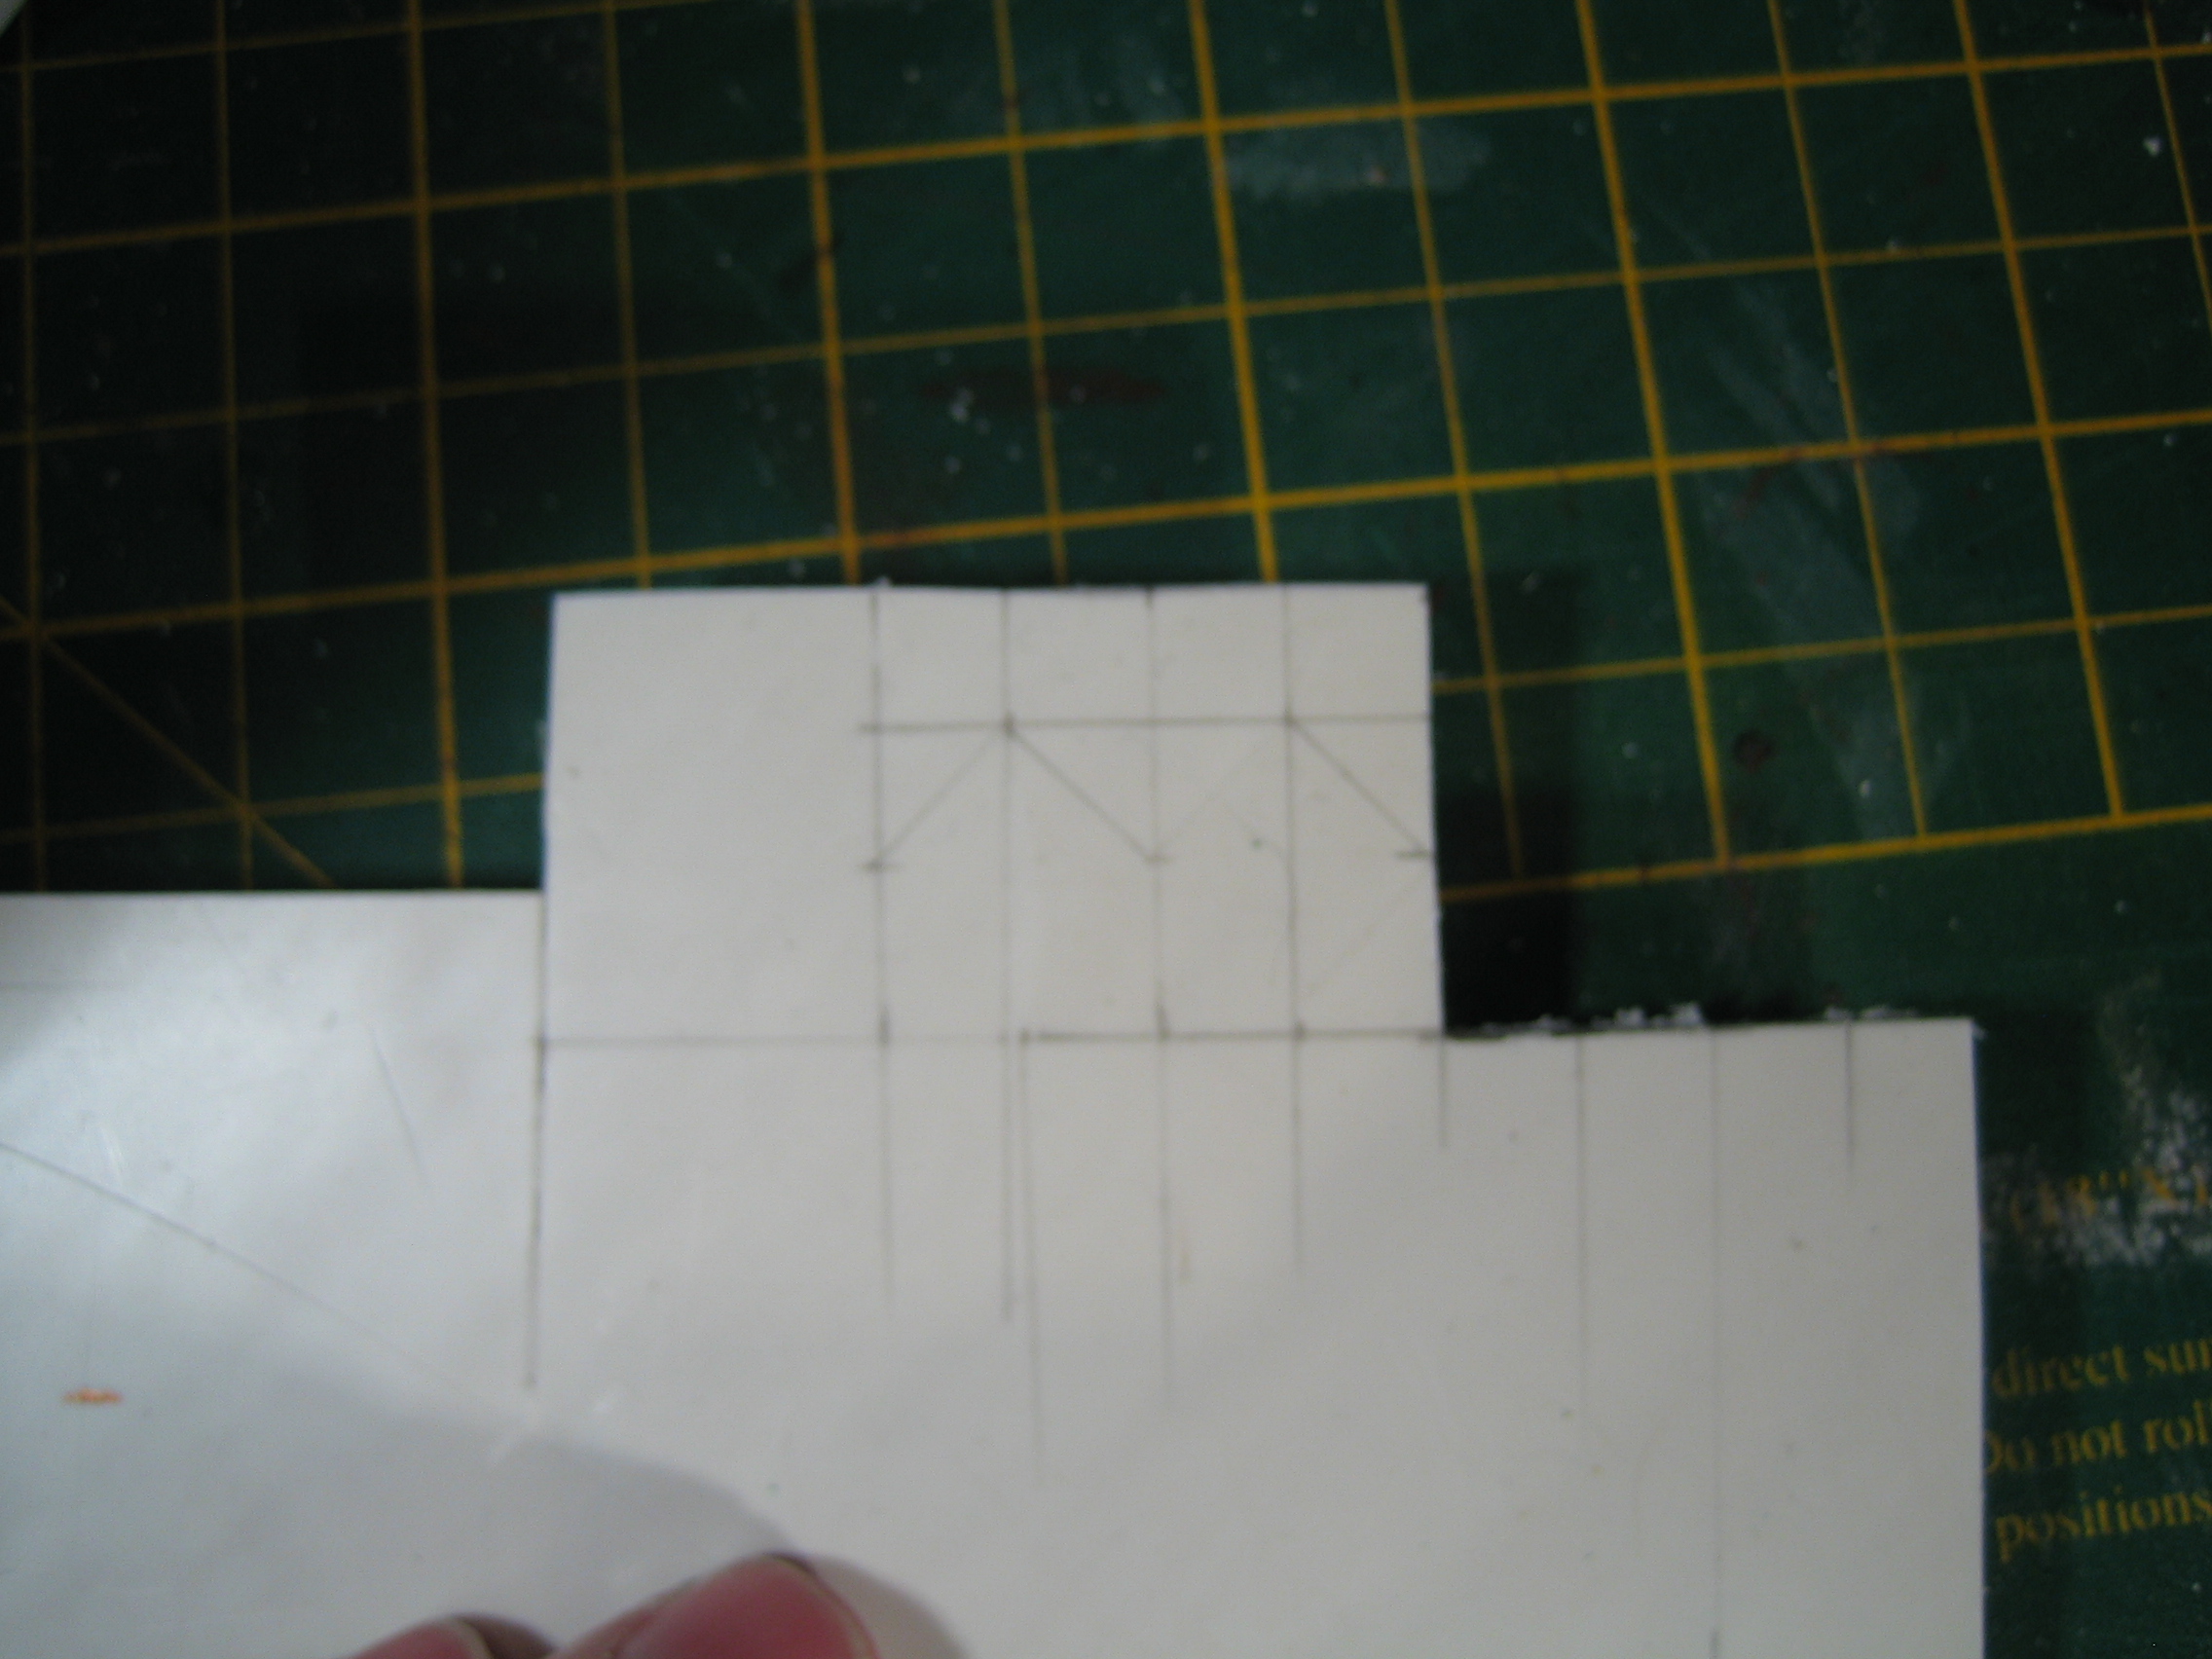
Then cut a 12mm x 22mm piece of 1mm or 0.5mm plasticard. This is a spacer that goes between the other two pieces, making a sort of sandwich. It's smaller than the other two pieces so that a gap shows. Glue them all together with liquid poly and use some clothes pegs to clamp them together.
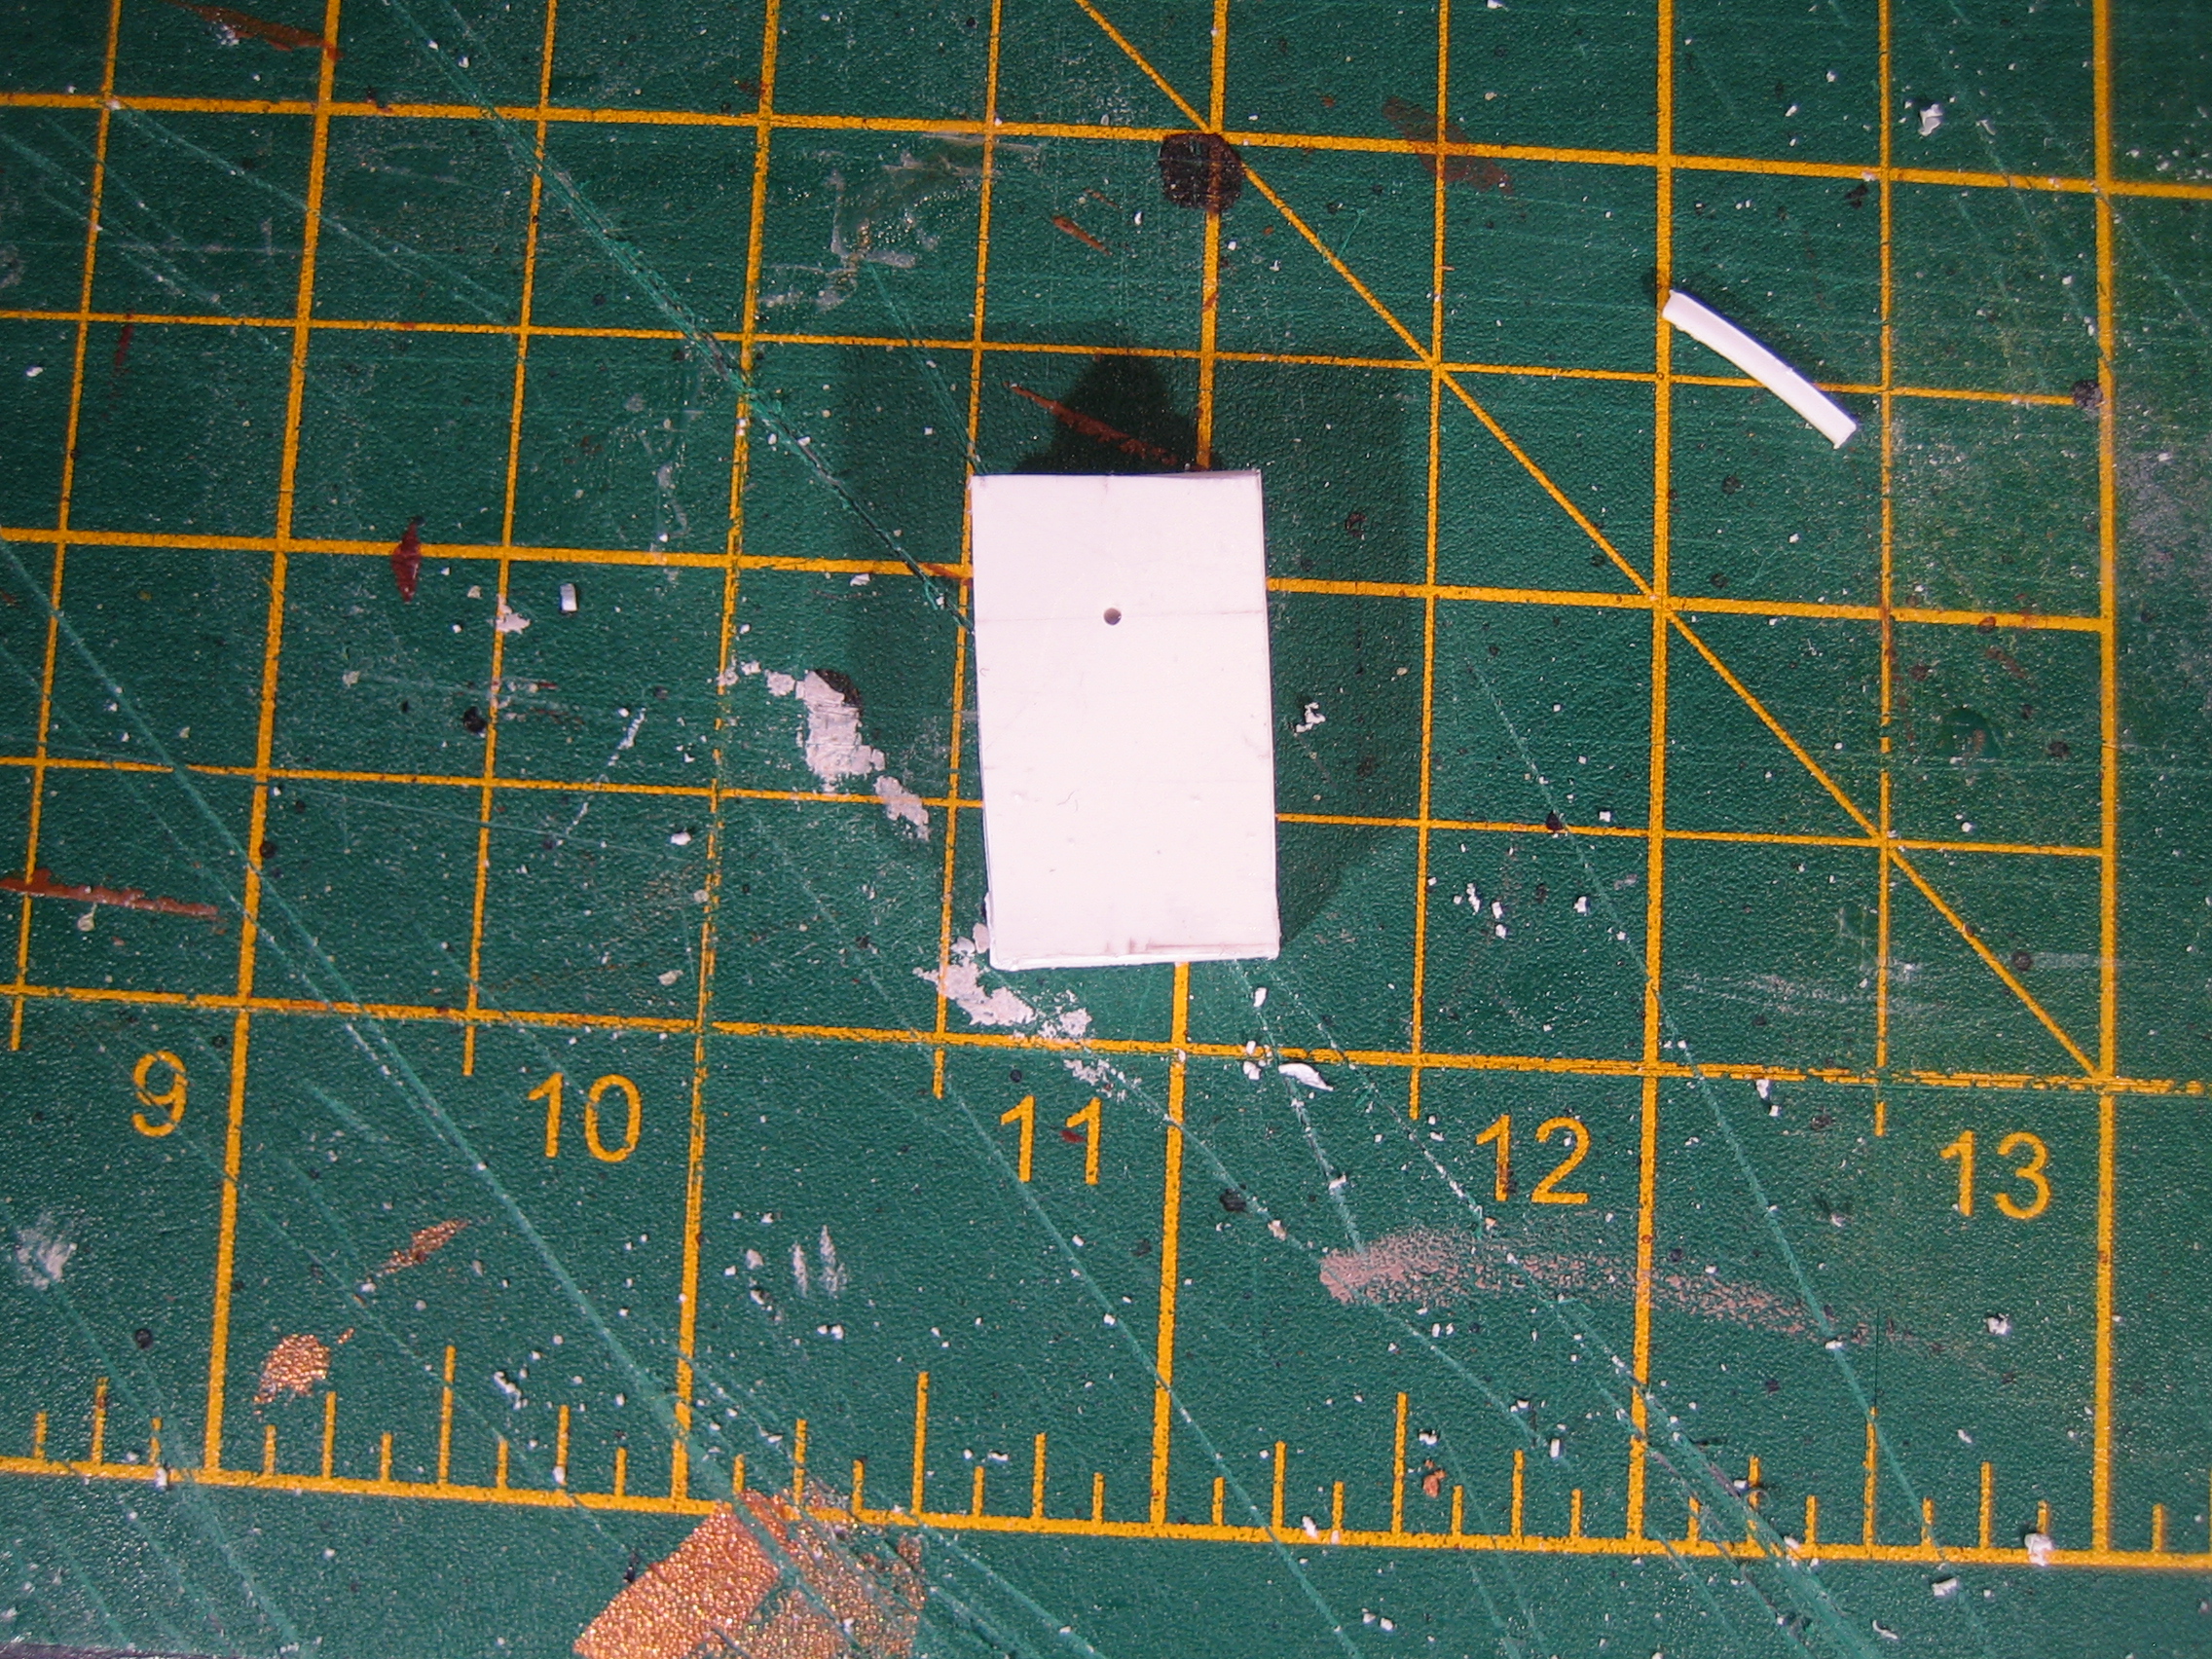
Once the glue has set, use a 5mm drill to drill a hole through the middle. The hole should be 7.5mm from the top, and on the centre line. I drilled a pilot hole with a pin vise to make the drilling a bit easier.
Once you've drilled the hole, take your razor saw and cut grooves over where you've previous scored. If your razor saw is a thin one like mine, you may need to make two parallel cuts and carve out between them. A round file can be used to chamfer the edges of the grooves.
Mount on a 24mm base and you're done! Here's the finished piece.
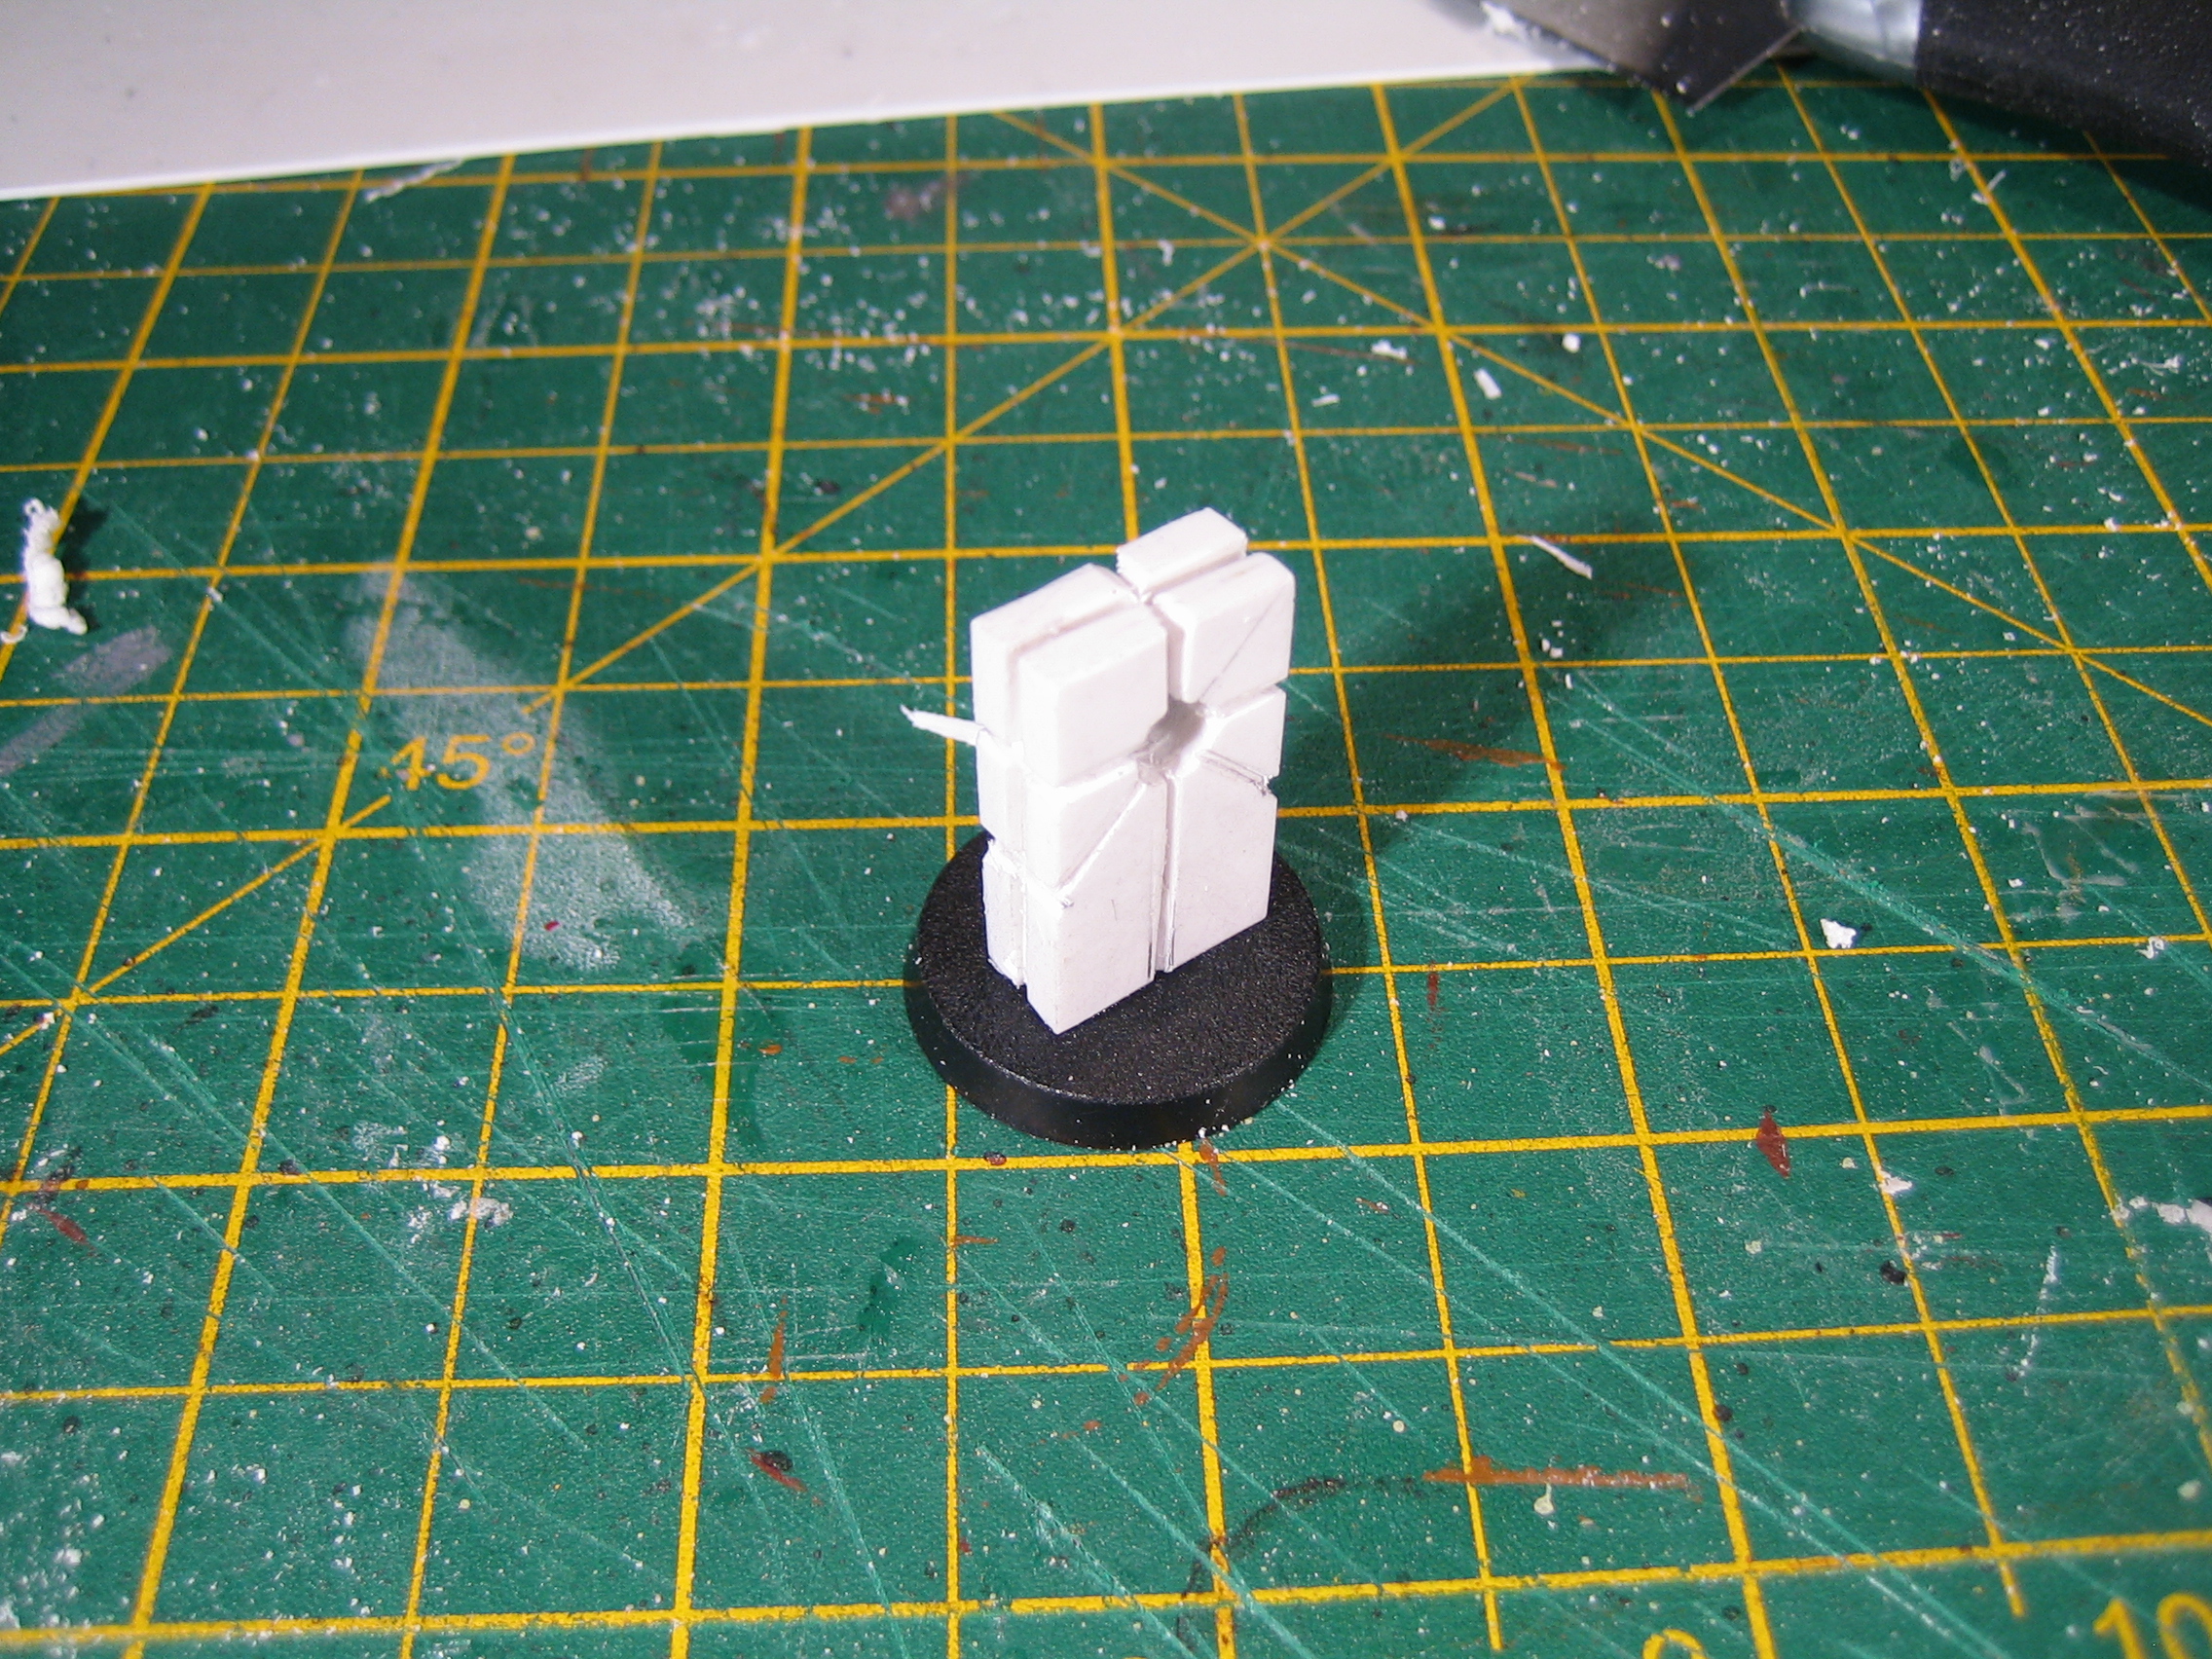
Here's another terrain piece I made. You can get quite nice effects with just a few bits of plastic.
